Введение
This guide will teach you the way to replace the screen on the zte max and show you how to tear it down.
Выберете то, что вам нужно
-
-
JUST LIFT IT UP FROM THE CORNER WITH A FLAT HEAD OR A SIMILAR TOOL FROM THE ONE YOU SEE ON THE PIC
-
-
-
-
LIFT UP THE BACK WITH A FLAT HEAD OR A SIMILAR TOOL TO A FLAT HEAD , SO YOU CAN REMOVE THE BACK COMPLETELY
-
-
-
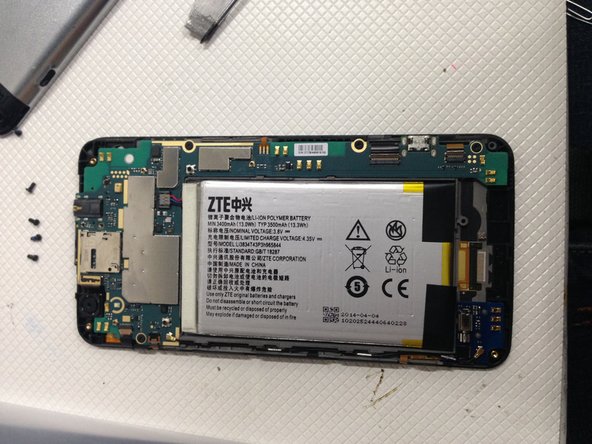
WITH A PHILLIP SCREW DRIVER REMOVE THOSE OTHER SCREWS.
-
WITH A FLAT HEAD REMOVE THE RIBBONS AND THE BATTERY CONNECTORS
-
-
-
-
AFTER YOU APPLY THE ADHESIVE TAPE JUST PUT THE SCREEN ON THE CORRECT POSITION AND MAKE SURE YOU PUSH THE RIBBONS CORRECTLY
usually your walk troughs are amazing and on point but i found this one to be a bit lacking a got to the point of getting the battery off but i can not figure out how to remove the metal part that is under the battery some more help would be appreciated thank you
Aaron
Akelize30@gmail.com
-


To reassemble your device, follow these instructions in reverse order.
To reassemble your device, follow these instructions in reverse order.
Отменить: Я не выполнил это руководство.
34 участников успешно повторили данное руководство.

11 Комментариев
So how do you get the battery connector unplugged?
take a small flat head screw driver stick it under the white connector (from the side that has the red wire) pry upwards and it will come off. its wedged into the plastic encasing. dont stick the Flathead in all the way you might damage the connectors underneath.
Use the black tabs stuck on the bottom of the battery to lift the battery up... assuming you have removed all bolts and flat cables as instructed up to this point. when you do this, work it back and forth applying heat from a heat gun or hair dryer. the battery will eventually give way and you can take the entire circuit board and battery and lay it over on its backside next to the screen.
Take your heat gun or blow dryer and apply heat to the volume buttons still stuck to the side of the screen, remove the buttons.
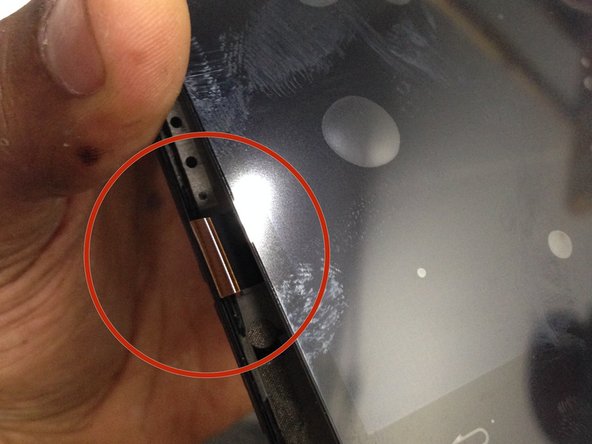
Now apply a great amount of heat, front and back, until it's very warm to the touch, push through the small holes located on the back of the screen housing to apply pressure on the back of the screen. Keep applying pressure to those holes and eventually the screen will start to give way enough to get a spudger in and work the screen the rest of the way out.
dude I can not get this battery out I'm afraid to apply to much heat to it I don't want the battery to explode on me lol, how much heat can this battery take?
Not unless u short out the motherboard. But I've done about 1500 or more repairs and I've probably destroyed 1 motherboard in all that time. Generally, if u know what your doing and take ur time there's no data loss.
Put adhisive where ? On which side?
If I are not using precut adhesive you will need to apply adhesive on all four sides of the screen.
How do you plug the battery back up
Pls where can I source the touch screen/pad mine is broken and I like this phone
Problem after replacing screen. It turns on and constantly resets