Введение
This guide will help you replace the motherboard in your ZTE Prestige 2. Before you start, check out our troubleshooting page that will help you decipher any basic problems before taking your device apart. Some reasons you may need to conduct this replacement is because the motherboard may have water damage, overheating continues to occur, and/or some other form of significant damage. Before beginning, make sure to power off your device completely and disconnect from any external power source.
Выберете то, что вам нужно
-
-
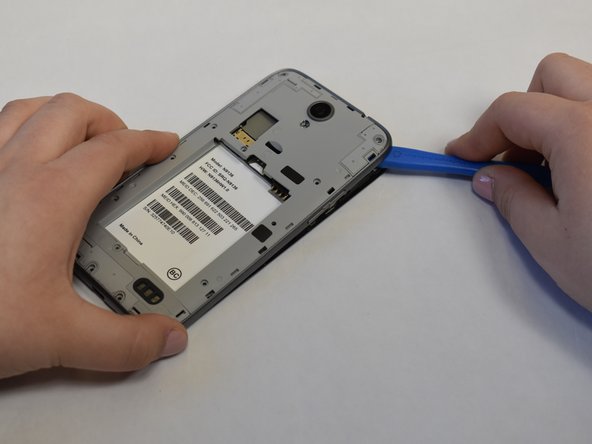
Use the iFixit opening tool to open up the device by wedging the tool under the back case and popping it open.
-
-
-
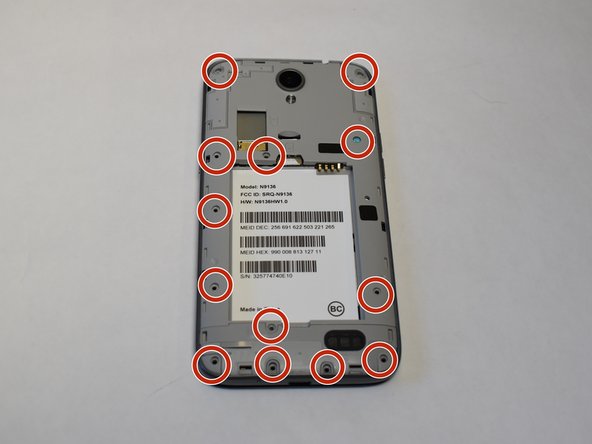
Use a Phillips #00 screwdriver to unscrew all 12 of the 3 mm Phillips screws located along the edges of the device’s back panel, as well as the blue 3mm Phillips screw labeled “ZTE” located towards the top right.
-
-
-
-
Then use the iFixit opening tool and wedge it under the grey back panel and pop it off.
-
-
-
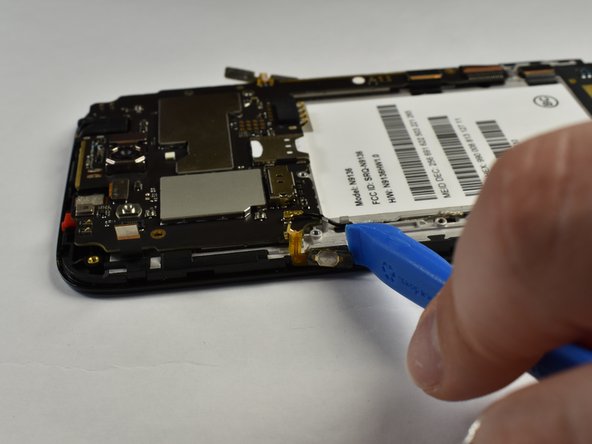
Remove the three 3 mm Phillips #00 screws on the edges of the motherboard.
-
-
-
Use the iFixit opening tool to dig under the sticker where the volume and the power buttons are located on both sides.
-
-
-
Use the curved tweezers to gently remove the black cable running down the left side of the device and disconnect it from its socket.
-
-
-
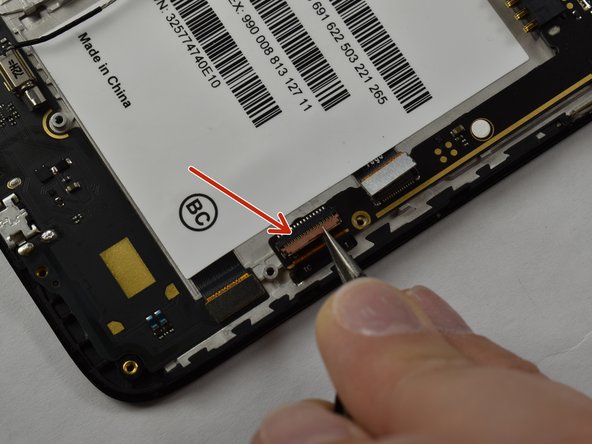
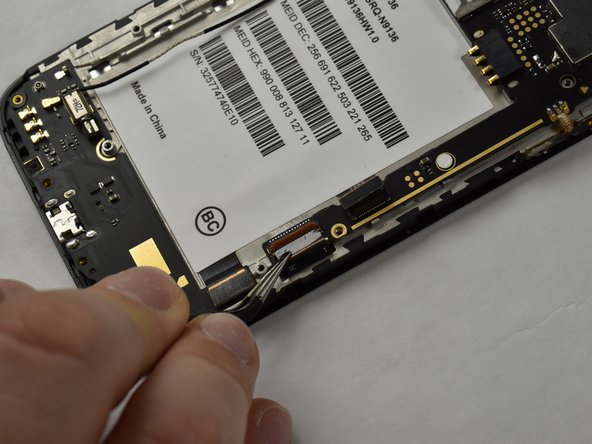
Use the curved tweezers to then unlock each of the ZIF connectors and pull the cables out.
-
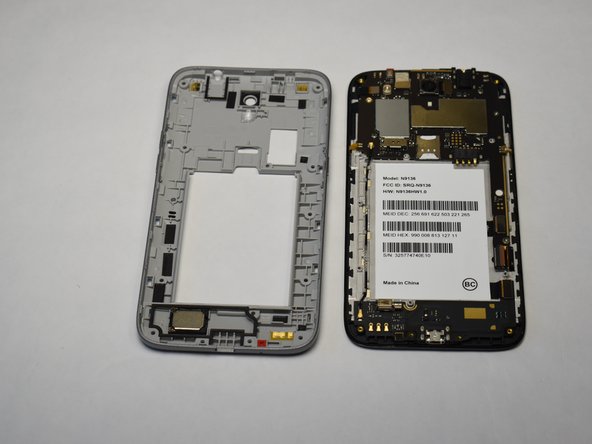
The motherboard should now be able to fully disconnect from the rest of the device.
-


To reassemble your device, follow these instructions in reverse order.
To reassemble your device, follow these instructions in reverse order.
Отменить: Я не выполнил это руководство.
Еще один человек закончил это руководство.

Команда

UW Stout, Team S1-G4, Schneider-Bateman Spring 2020 Участник UW Stout, Team S1-G4, Schneider-Bateman Spring 2020
UWSTOUT-SCHNEIDER-BATEMAN-S20S1G4
3 членов
Автор 14 руководств