Перейти к основному содержанию

Zoom H6 Handy Recorder Battery Terminal Replacement

Выберете то, что вам нужно

  1. Zoom H6 Handy Recorder Battery Terminal Replacement, Battery Terminal: шаг 1, изображение 1 из 1
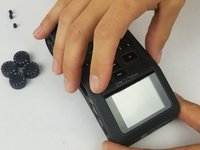
    • Place device on table facing down.

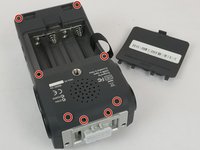
    • Remove the battery cover, with index finger press protruding tab towards "OPEN".

  2. Zoom H6 Handy Recorder Battery Terminal Replacement: шаг 2, изображение 1 из 1
    • If batteries are present, remove them in order to reveal the terminals at the bottom of the device.

  3. Zoom H6 Handy Recorder Battery Terminal Replacement: шаг 3, изображение 1 из 3 Zoom H6 Handy Recorder Battery Terminal Replacement: шаг 3, изображение 2 из 3 Zoom H6 Handy Recorder Battery Terminal Replacement: шаг 3, изображение 3 из 3
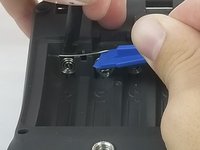
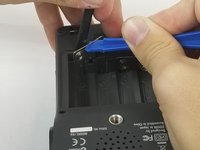
    • With the flat end of the black plastic spudger, pry the terminal away from the case.

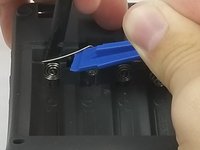
    • Use the small blue plastic opening tool to lift the terminal out of the device. Repeat for the adjacent terminal.

    • When lifting the terminal out, the metal wire of the terminal must move past the plastic protrusion that keeps the battery terminal in place.

  4. Zoom H6 Handy Recorder Battery Terminal Replacement: шаг 4, изображение 1 из 1
    • Remove four rubber feet using fingernails to access the four screws underneath.

  5. Zoom H6 Handy Recorder Battery Terminal Replacement: шаг 5, изображение 1 из 2 Zoom H6 Handy Recorder Battery Terminal Replacement: шаг 5, изображение 2 из 2
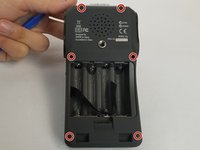
    • For the terminals directly connected to the motherboard, unscrew eight (PH #1), 9 mm screws (two located on the top back side, two in the center of back side of device right above the battery cover, and four under the rubber feet).

    • An electronics screwdriver narrow enough to fit in hole (3.5mm diameter), but long enough to reach the screws (at least 2cm) will be required to unscrew the two screws in the center of back side of the device.

  6. Zoom H6 Handy Recorder Battery Terminal Replacement: шаг 6, изображение 1 из 2 Zoom H6 Handy Recorder Battery Terminal Replacement: шаг 6, изображение 2 из 2
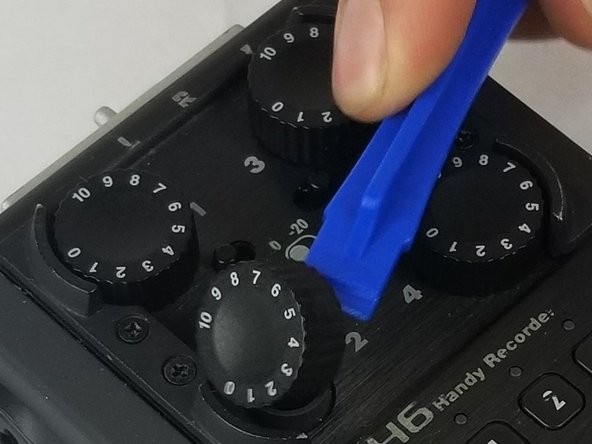
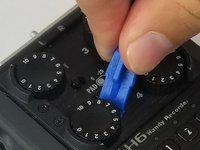
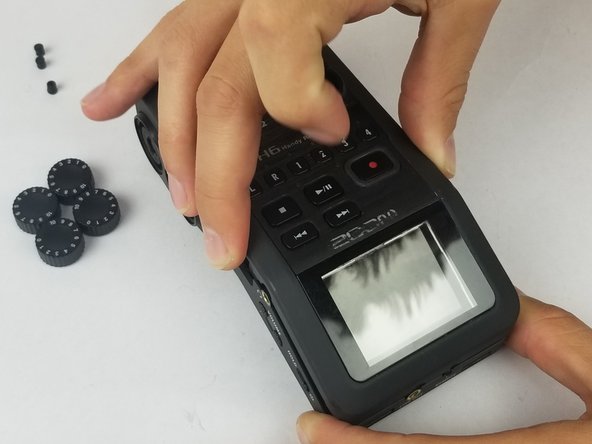
    • Place device face up and remove the four knobs using the flat end of the plastic opening tool.

  7. Zoom H6 Handy Recorder Battery Terminal Replacement: шаг 7, изображение 1 из 3 Zoom H6 Handy Recorder Battery Terminal Replacement: шаг 7, изображение 2 из 3 Zoom H6 Handy Recorder Battery Terminal Replacement: шаг 7, изображение 3 из 3
    • Carefully lift up the top of the device and gently set aside.

  8. Zoom H6 Handy Recorder Battery Terminal Replacement: шаг 8, изображение 1 из 3 Zoom H6 Handy Recorder Battery Terminal Replacement: шаг 8, изображение 2 из 3 Zoom H6 Handy Recorder Battery Terminal Replacement: шаг 8, изображение 3 из 3
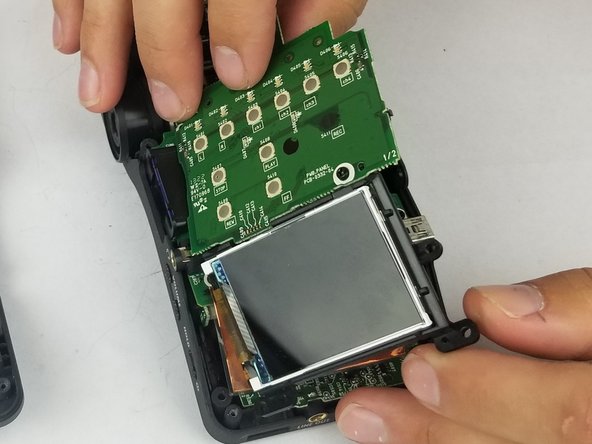
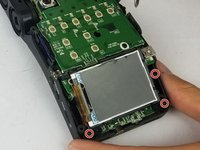
    • Unscrew three (PH #1), 7mm screws from the button board near the display and gently flip over.

  9. Zoom H6 Handy Recorder Battery Terminal Replacement: шаг 9, изображение 1 из 3 Zoom H6 Handy Recorder Battery Terminal Replacement: шаг 9, изображение 2 из 3 Zoom H6 Handy Recorder Battery Terminal Replacement: шаг 9, изображение 3 из 3
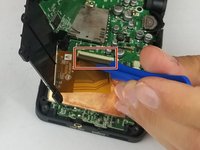
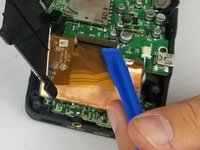
    • Using a plastic opening tool, unlatch the clip and carefully unplug the ribbon connector from the device.

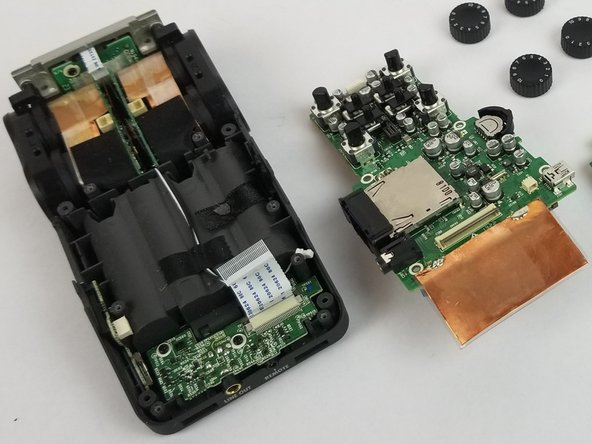
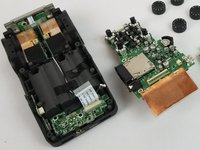
    • Set the button board aside.

  10. Zoom H6 Handy Recorder Battery Terminal Replacement: шаг 10, изображение 1 из 1
    • Unscrew four (PH #1), 8mm screws from the motherboard.

  11. Zoom H6 Handy Recorder Battery Terminal Replacement: шаг 11, изображение 1 из 1
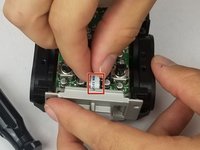
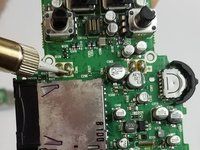
    • Disconnect wire from motherboard using tweezers.

    • Do not touch the motherboard with metal tweezers. Only touch the plastic part of the plugged-in wire.

  12. Zoom H6 Handy Recorder Battery Terminal Replacement: шаг 12, изображение 1 из 1
    • Turn device 180 degrees to unscrew two (PH #1), 8mm screws from the mic connector.

  13. Zoom H6 Handy Recorder Battery Terminal Replacement: шаг 13, изображение 1 из 3 Zoom H6 Handy Recorder Battery Terminal Replacement: шаг 13, изображение 2 из 3 Zoom H6 Handy Recorder Battery Terminal Replacement: шаг 13, изображение 3 из 3
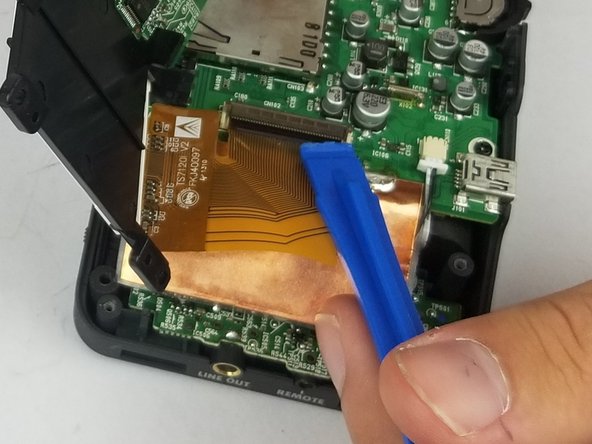
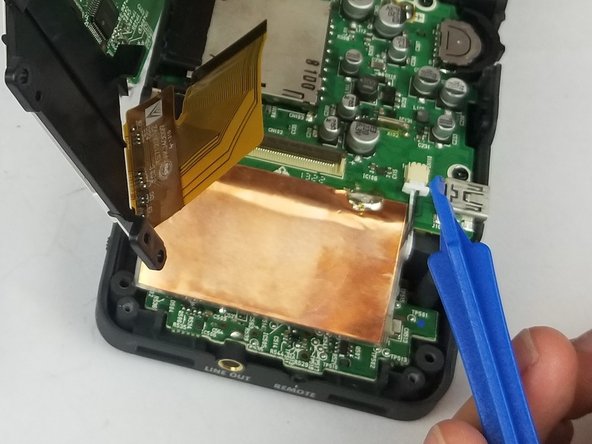
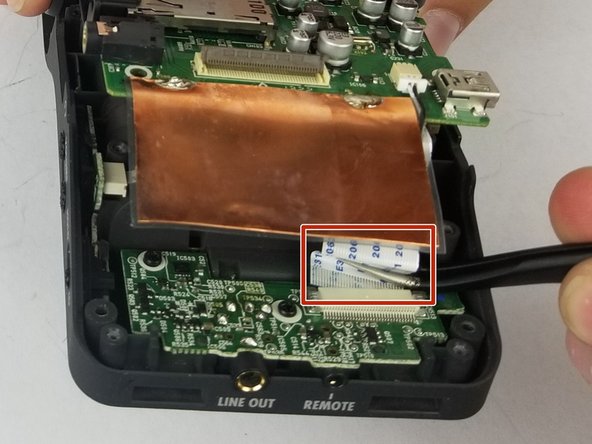
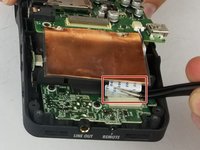
    • Gently remove three ribbon connectors from the base of the device. One is connected to the mic connector, the other two are on the top of the device next to the "LINE OUT" plug-in (directly behind the device display screen).

    • Use tweezers to remove the two ribbon connectors behind the display screen because it is difficult to remove them only using hands.

    • Avoid touching anything but the ribbon connectors with the metal tweezers.

  14. Zoom H6 Handy Recorder Battery Terminal Replacement: шаг 14, изображение 1 из 2 Zoom H6 Handy Recorder Battery Terminal Replacement: шаг 14, изображение 2 из 2
    • Gently lift off motherboard from the base of the device.

  15. Zoom H6 Handy Recorder Battery Terminal Replacement: шаг 15, изображение 1 из 2 Zoom H6 Handy Recorder Battery Terminal Replacement: шаг 15, изображение 2 из 2
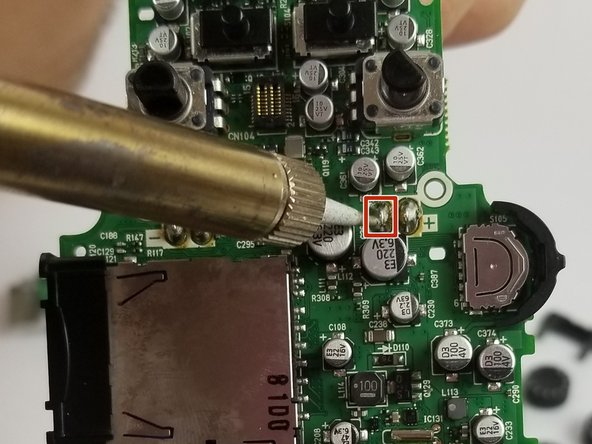
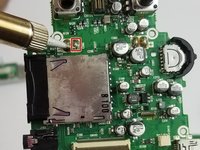
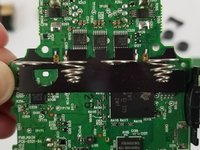
    • Taking care not to damage other components on the motherboard, use a soldering iron to undo the soldering that holds the terminals to the motherboard.

  16. Zoom H6 Handy Recorder Battery Terminal Replacement: шаг 16, изображение 1 из 3 Zoom H6 Handy Recorder Battery Terminal Replacement: шаг 16, изображение 2 из 3 Zoom H6 Handy Recorder Battery Terminal Replacement: шаг 16, изображение 3 из 3
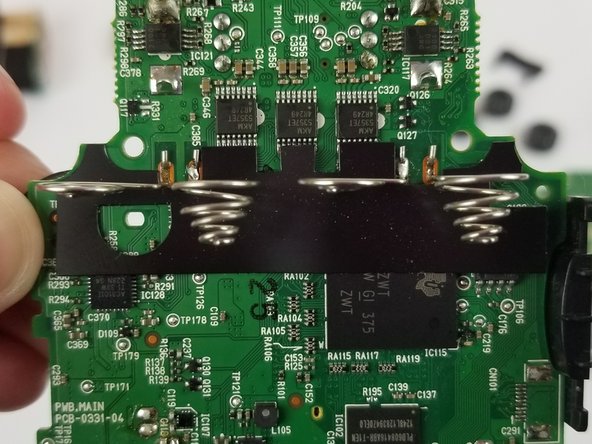
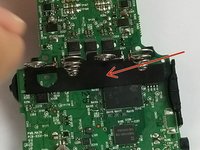
    • Flip motherboard over and remove the black tape covering the battery terminal.

    • Replace with new terminal.

    • Resolder the terminals to the motherboard.

Заключение

To reassemble your device, follow these instructions in reverse order.

2 участников успешно повторили данное руководство.

Rachel Calder

Участник с: 02/14/18

1 189 Репутация

Автор 5 руководств

Команда

USF Tampa, Team S5-G2, Eyestone Spring 2018 Участник USF Tampa, Team S5-G2, Eyestone Spring 2018

USFT-EYESTONE-S18S5G2

4 членов

Автор 10 руководств

Один комментарий

Where can I buy the battery compartment please?

Lee - Ответить

Добавить комментарий

Просмотр статистики:

За последние 24часов: 4

За последние 7 дней: 18

За последние 30 дней: 75

За всё время: 5,076