Выберете то, что вам нужно
-
-
To remove the lens, three T15 x 12.5mm screws must be removed by a T15 head screwdriver.
-
The location of the other two screws are marked in red.
-
-
-
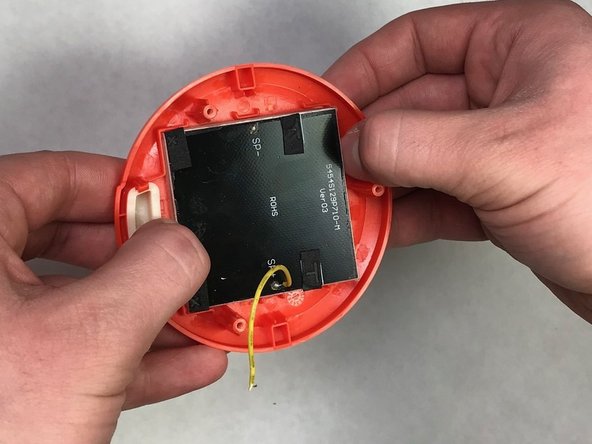
After the lens has been removed the back cover needs to be removed. There are no snaps or screws holding it in place.
-
-
-
-
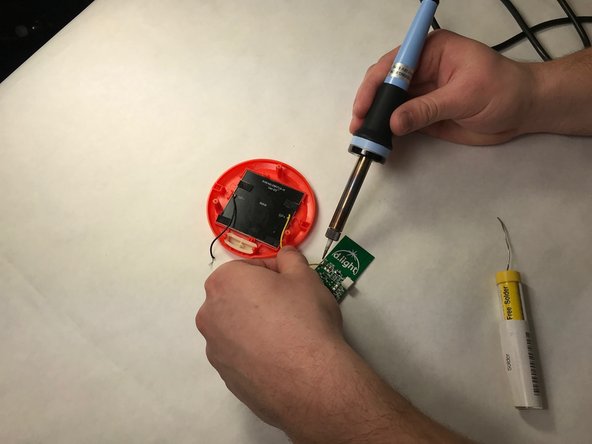
Desolder the yellow and black wires that connect the solar panel to the circuit board.
-
Remove the solar panel by pressing on the mounting clips (underneath fingers) using the spudger.
-
-
-
Solder the wires to the solar panel (positive to positive, negative to negative).
-


To reassemble your device, follow these instructions in reverse order.
To reassemble your device, follow these instructions in reverse order.
Отменить: Я не выполнил это руководство.
Еще один человек закончил это руководство.
Команда

IUPUI, Team S2-G3, Harley Fall 2017 Участник IUPUI, Team S2-G3, Harley Fall 2017
IUPUI-HARLEY-F17S2G3
3 членов
Автор 3 руководств