Введение
In cases where the screen is cracked and/or not responding, this guide will help you replace the screen.
Выберете то, что вам нужно
-
-
Place the tablet on a flat surface, facing upwards.
-
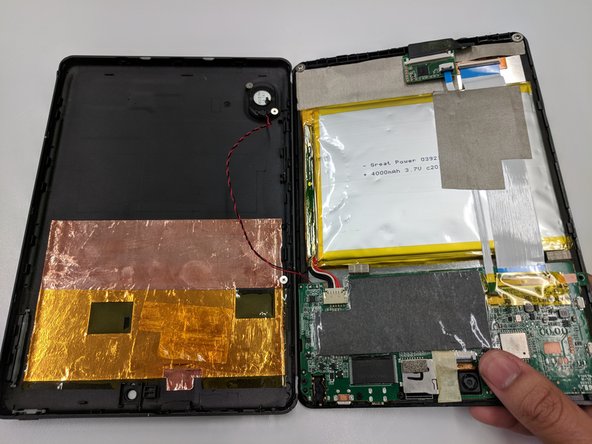
Starting from the portholes, use the plastic opening tools to remove the back cover of the tablet from the top half.
-
Being cautious of the wire connecting the speaker and the motherboard, place the front and back portion of the tablet close in proximity.
-
-
-
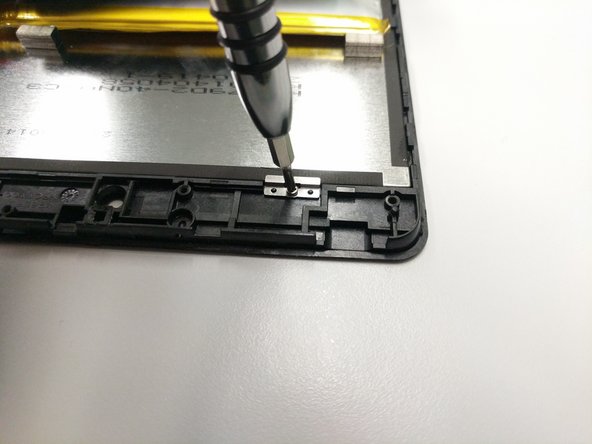
With the screen facing down, locate the two 4 mm screws at the top of the tablet.
-
Use the #00 Phillips screwdriver to remove the screws and place them in a safe location.
-
-
-
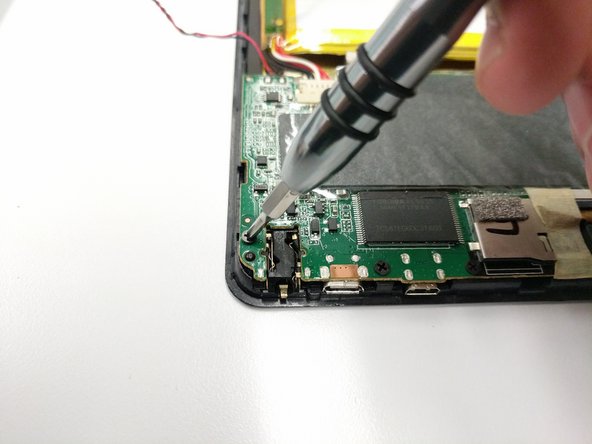
Locate the five 3.5 mm black screws on the motherboard.
-
Use the #00 Phillips screwdriver to remove the screws, place them in an appropriate location.
-
-
-
-
After removing the 5 screws from the motherboard, carefully lift it up.
-
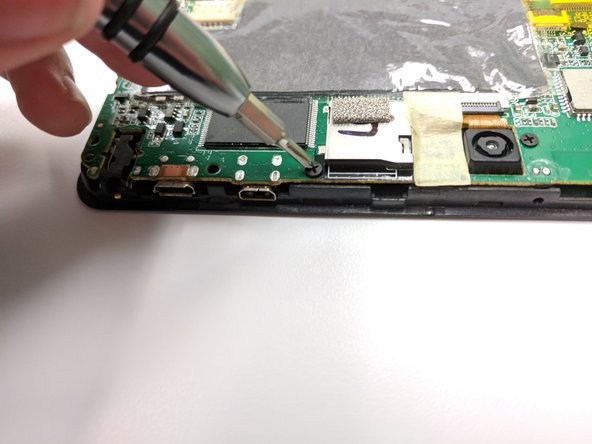
Upon lifting the motherboard, two metal plates that hold the touch sensor and the screen together can now be seen.
-
Once again, use the #00 Phillips screwdriver to remove the two 3 mm screws and plates.
-
-
-
Gently pull the thin blue ribbon connecting the screen's chip and the motherboard.
-
-
-
Safely separate the screen from the rest of the tablet's component by using the plastic opening tool.
-
-
-
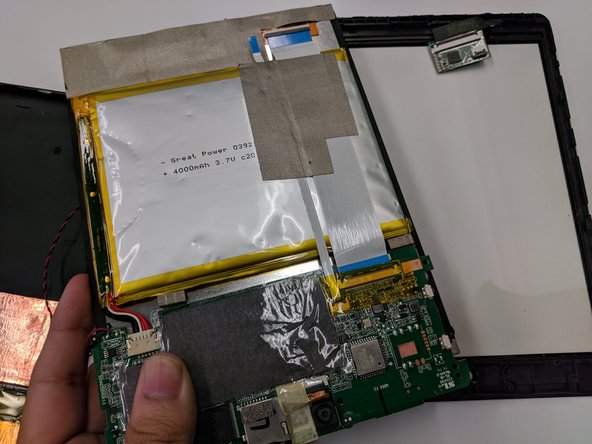
Upon separating the tablet's components from the screen's frame, the screen should now be isolated.
-
To reassemble your device, follow these instructions in reverse order.
-


To reassemble your device, follow these instructions in reverse order.
To reassemble your device, follow these instructions in reverse order.
Отменить: Я не выполнил это руководство.
2 участников успешно повторили данное руководство.
Команда

University of North Texas, Team S7-G5, Thomas Fall 2017 Участник University of North Texas, Team S7-G5, Thomas Fall 2017
UNT-THOMAS-F17S7G5
3 членов
Автор 8 руководств