Перейти к основному содержанию

iHome iH3L Dock Replacement

Выберете то, что вам нужно

  1. iHome iH3L Dock Replacement, Speakers: шаг 1, изображение 1 из 3 iHome iH3L Dock Replacement, Speakers: шаг 1, изображение 2 из 3 iHome iH3L Dock Replacement, Speakers: шаг 1, изображение 3 из 3
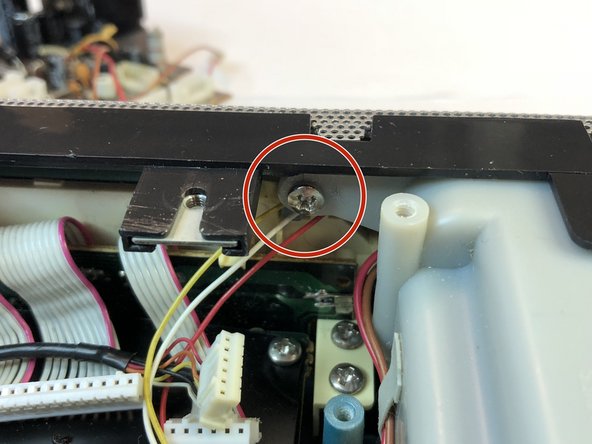
    • Locate all screws on the back of the iHome. Each screw can be located by the arrows on the iHome.

    • Two Countersunk 9.7 mm Phillips #2 screws in the middle.

    • Two 15.9 mm Phillips #2 screws.

    • Six 13.9 mm Phillips #2 screws.

    • Some screws are located under the black sticky pads. Gently remove the black sticky pads and it will expose the screws.

    • Two 11.8 mm Phillips #2 screws.

  2. iHome iH3L Dock Replacement: шаг 2, изображение 1 из 2 iHome iH3L Dock Replacement: шаг 2, изображение 2 из 2
    • Remove all screws indicated in the previous step.

  3. iHome iH3L Dock Replacement: шаг 3, изображение 1 из 3 iHome iH3L Dock Replacement: шаг 3, изображение 2 из 3 iHome iH3L Dock Replacement: шаг 3, изображение 3 из 3
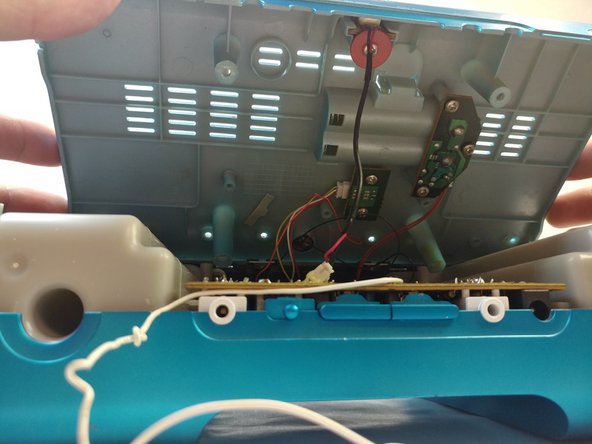
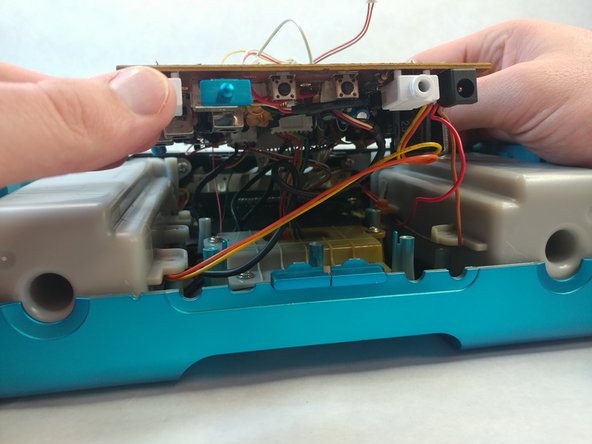
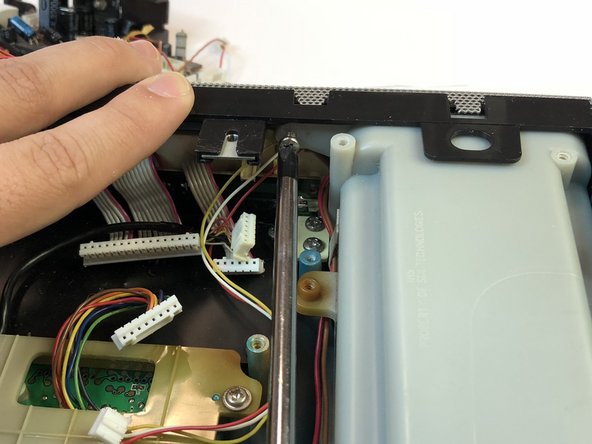
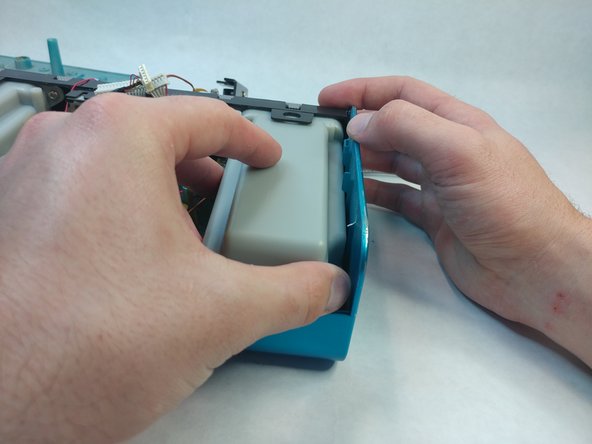
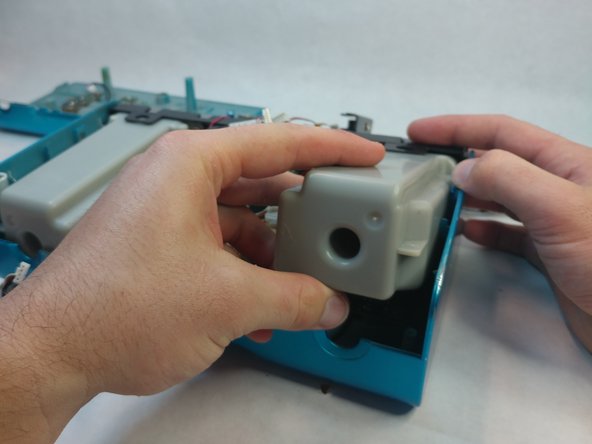
    • Slowly tilt the bottom cover of the iHome up.

    • Do not yank the cover off, there is a wire connecting the cover to the circuit board.

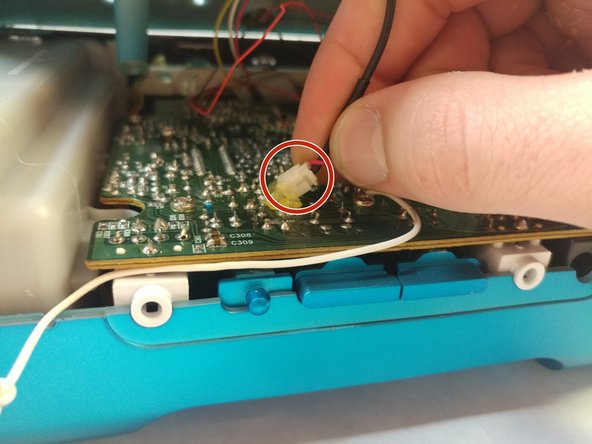
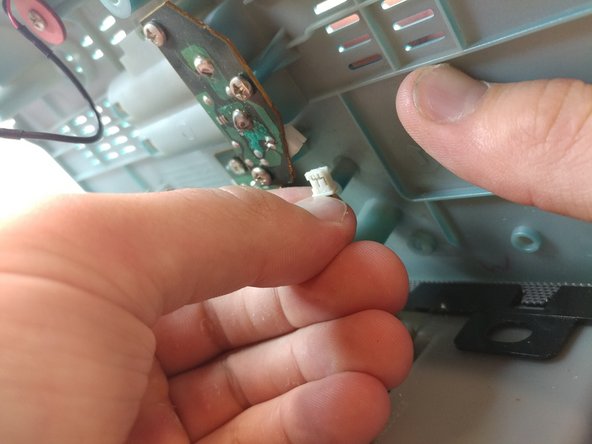
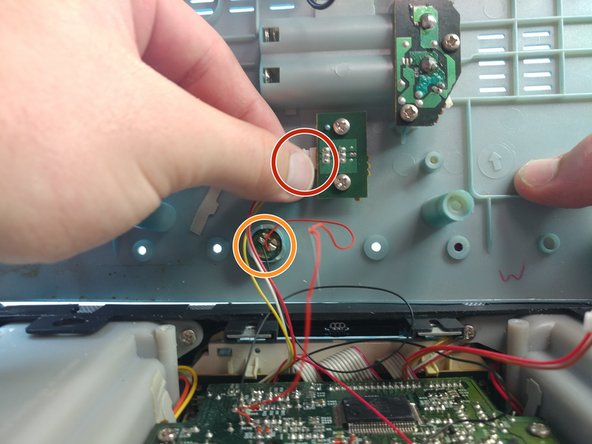
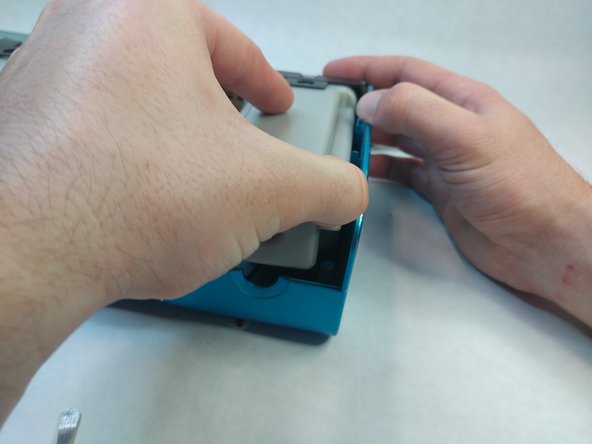
    • Disconnect the wire just by pulling on the connector gently.

  4. iHome iH3L Dock Replacement: шаг 4, изображение 1 из 2 iHome iH3L Dock Replacement: шаг 4, изображение 2 из 2
    • Disconnect the next connector pin after slowly opening the lid more.

  5. iHome iH3L Dock Replacement: шаг 5, изображение 1 из 3 iHome iH3L Dock Replacement: шаг 5, изображение 2 из 3 iHome iH3L Dock Replacement: шаг 5, изображение 3 из 3
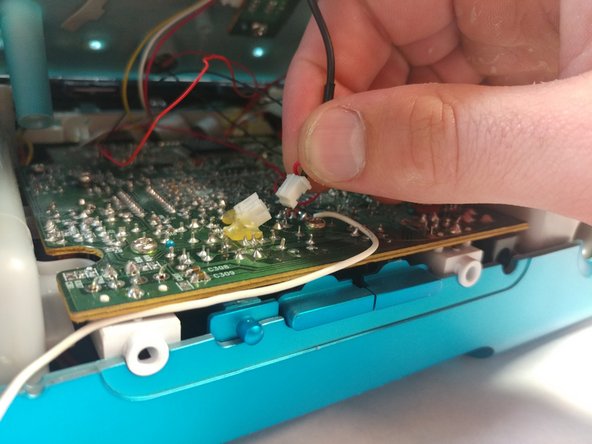
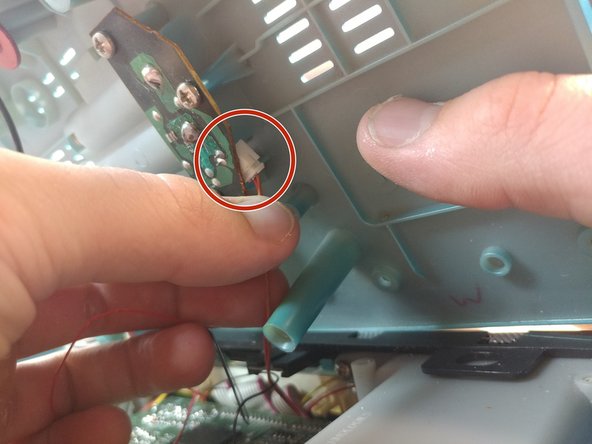
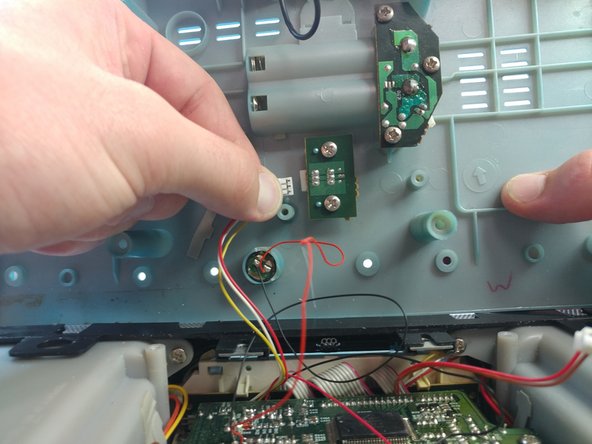
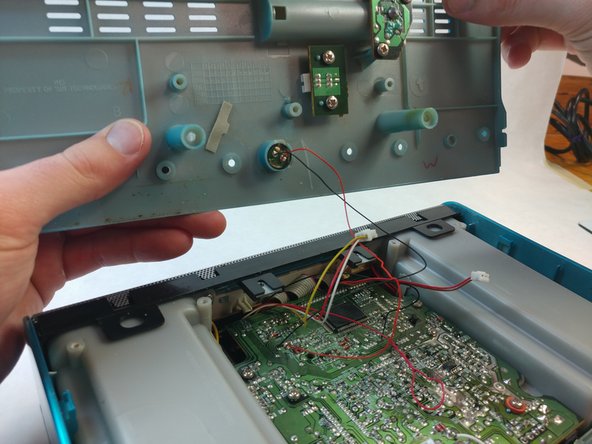
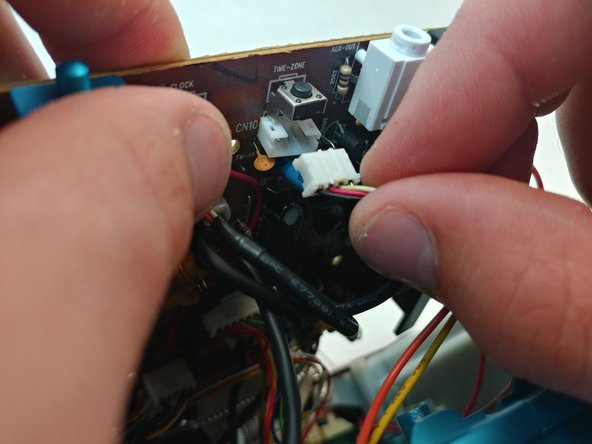
    • Disconnect the final connector pin series and carefully set your lid behind the body of the iHome.

    • The tiny speaker will not be disconnected for this repair, but you can easily remove it from the lid by means of a paperclip from the outside. While not necessary, this can help prevent damage to your device.

  6. iHome iH3L Dock Replacement: шаг 6, изображение 1 из 2 iHome iH3L Dock Replacement: шаг 6, изображение 2 из 2
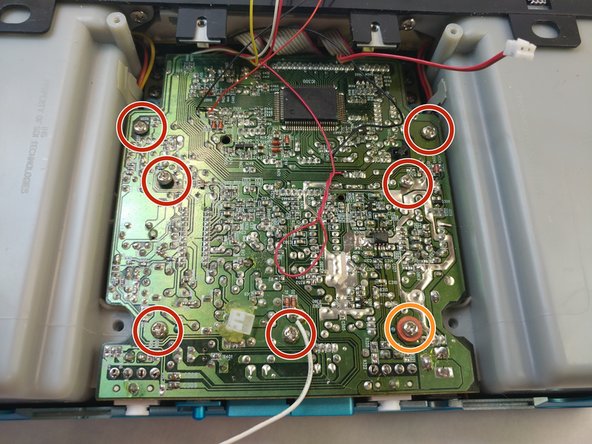
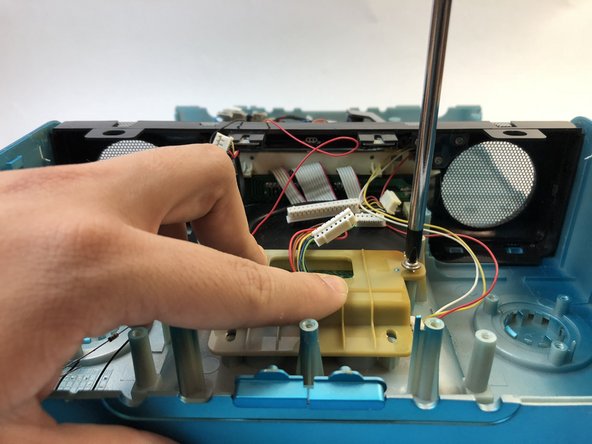
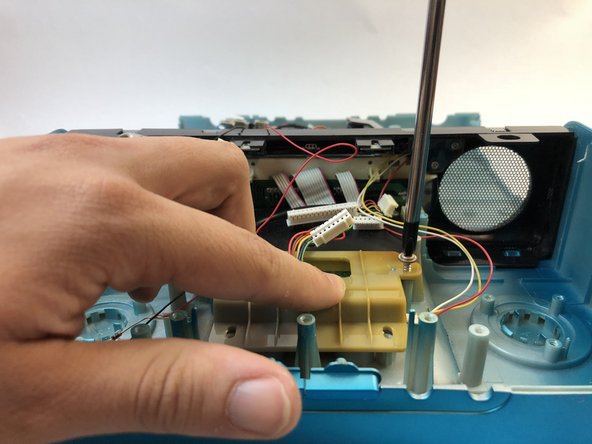
    • Remove the seven screws that are holding the motherboard in place:

    • Six 14 mm Phillips #2 screws.

    • One 14 mm Phillips #2 screw with two rubber washers on it.

  7. iHome iH3L Dock Replacement: шаг 7, изображение 1 из 3 iHome iH3L Dock Replacement: шаг 7, изображение 2 из 3 iHome iH3L Dock Replacement: шаг 7, изображение 3 из 3
    • To remove the motherboard, gently lift up from opposite sides.

    • Be careful when lifting the motherboard. There are wires still connected to it on the backside.

  8. iHome iH3L Dock Replacement: шаг 8, изображение 1 из 3 iHome iH3L Dock Replacement: шаг 8, изображение 2 из 3 iHome iH3L Dock Replacement: шаг 8, изображение 3 из 3
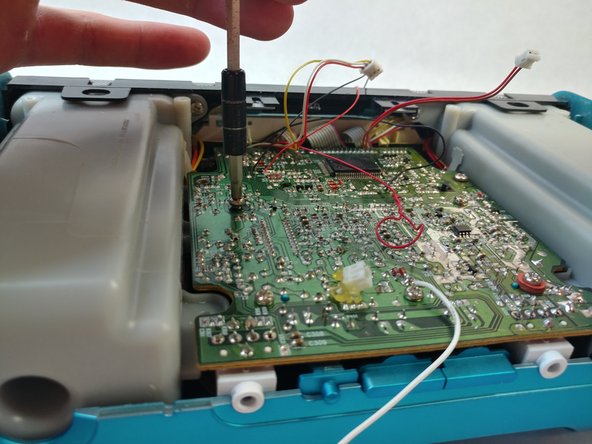
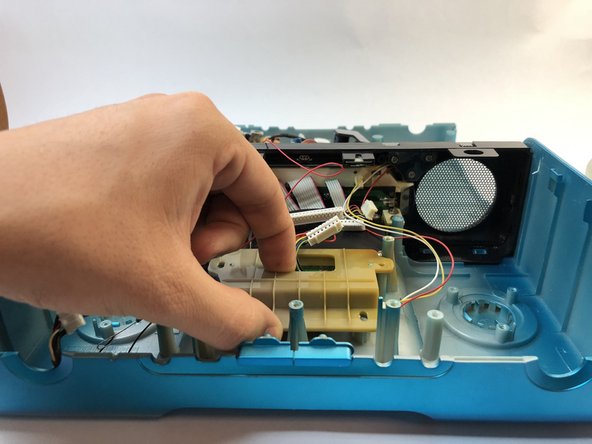
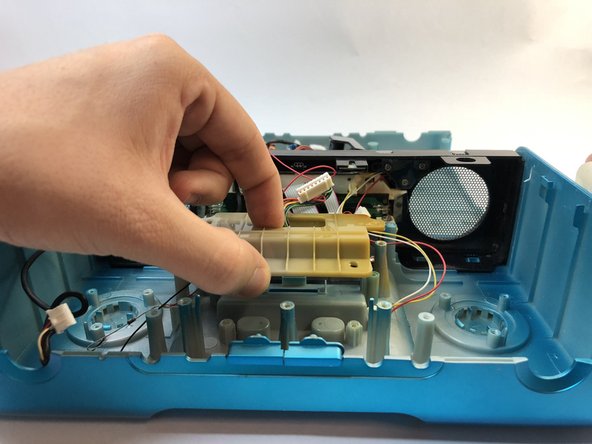
    • Carefully tilt the motherboard up from the front.

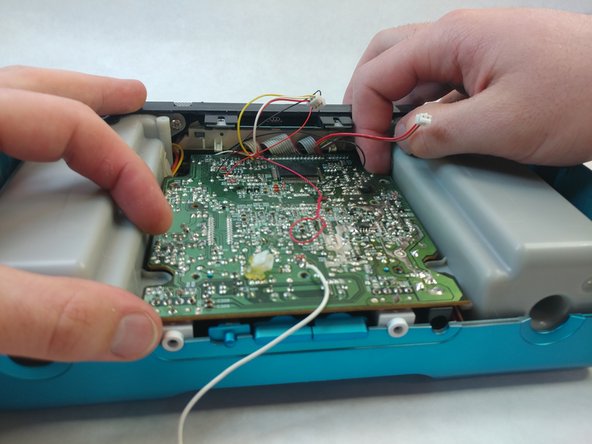
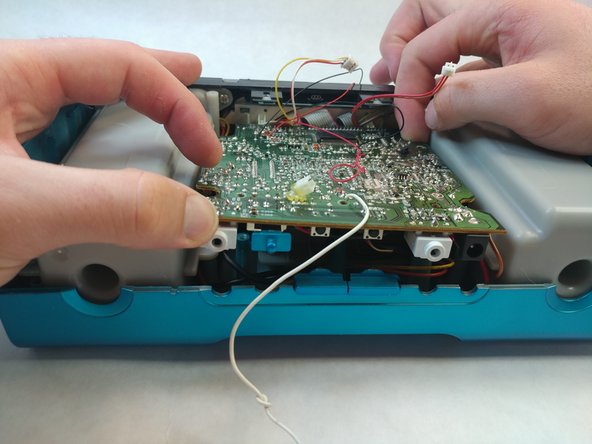
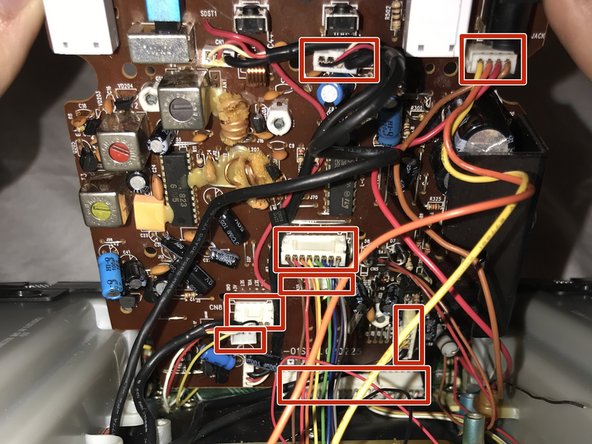
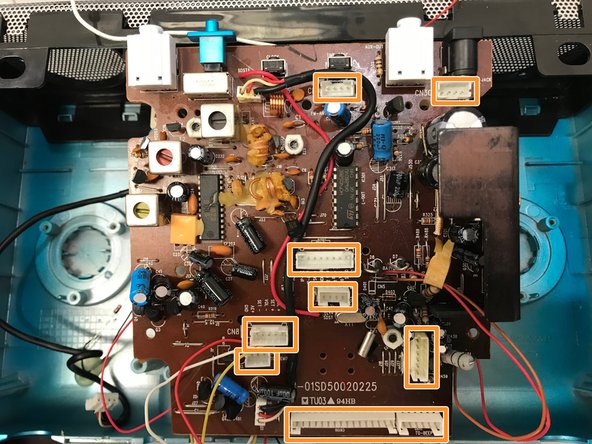
    • Disconnect the 8 connections by gently pulling on them. Starting from the front and work your way backwards.

    • All 8 connectors disconnected.

  9. iHome iH3L Dock Replacement: шаг 9, изображение 1 из 2 iHome iH3L Dock Replacement: шаг 9, изображение 2 из 2
    • Unscrew the screws holding the speakers onto the body. One on each side:

    • Two 14.3 mm Phillips #2 screws.

  10. iHome iH3L Dock Replacement: шаг 10, изображение 1 из 3 iHome iH3L Dock Replacement: шаг 10, изображение 2 из 3 iHome iH3L Dock Replacement: шаг 10, изображение 3 из 3
    • To remove the speakers from the iHome, gently lift up the back of the speaker and pull towards you. These are very secure so minor shaking may help release the speaker.

    • Repeat for the other side.

    • Be careful yanking on them, the speakers are connected together.

  11. iHome iH3L Dock Replacement, Dock: шаг 11, изображение 1 из 3 iHome iH3L Dock Replacement, Dock: шаг 11, изображение 2 из 3 iHome iH3L Dock Replacement, Dock: шаг 11, изображение 3 из 3
    • Remove the four screws from the mounting bracket.

    • Two 11.7 mm Phillips #2 screws.

    • Two 12 mm Phillips #2 screws with metal washers attached to them.

  12. iHome iH3L Dock Replacement: шаг 12, изображение 1 из 2 iHome iH3L Dock Replacement: шаг 12, изображение 2 из 2
    • Lift out the bracket and rotate it towards you.

  13. iHome iH3L Dock Replacement: шаг 13, изображение 1 из 3 iHome iH3L Dock Replacement: шаг 13, изображение 2 из 3 iHome iH3L Dock Replacement: шаг 13, изображение 3 из 3
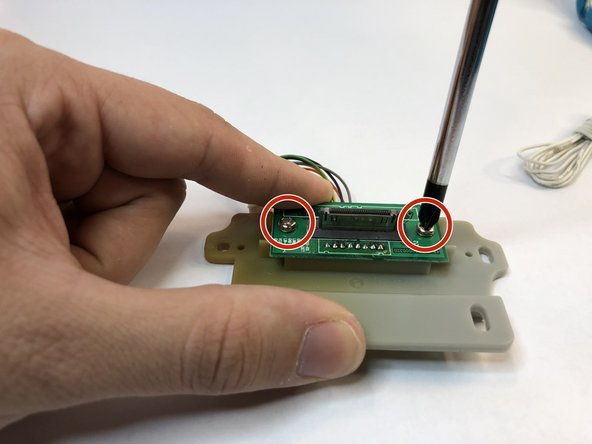
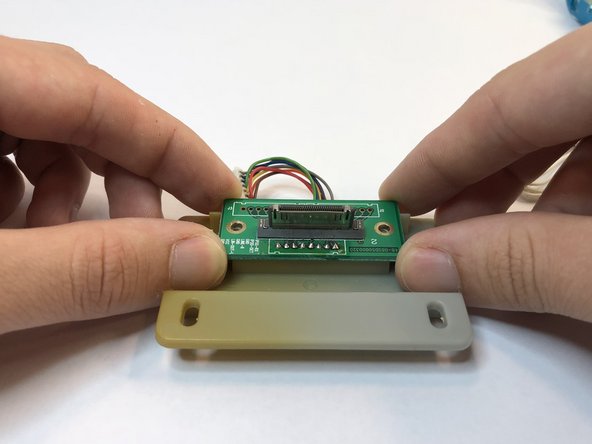
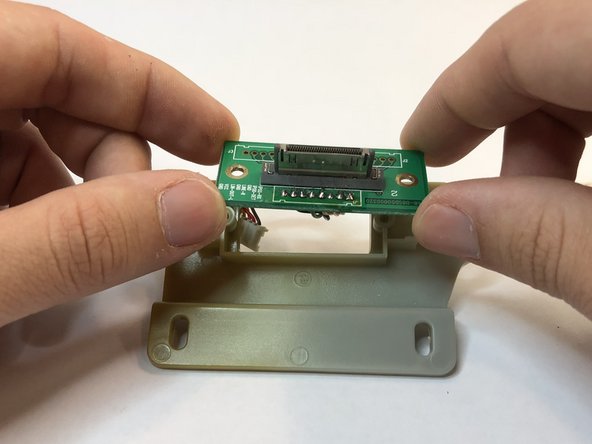
    • Unscrew the two 10 mm Phillips #2 screws and remove the dock and chip.

    • The wiring harness is loaded through the bracket, so be careful when removing the chip.

Заключение

To reassemble your device, follow these instructions in reverse order.

Еще один человек закончил это руководство.

Brittany Holloway

Участник с: 08/31/18

654 Репутация

Автор 5 руководств

Команда

Western Carolina University, Team S1-G2, Virtue Fall 2018 Участник Western Carolina University, Team S1-G2, Virtue Fall 2018

WCU-VIRTUE-F18S1G2

4 членов

Автор 5 руководств

0 Комментариев

Добавить комментарий

Просмотр статистики:

За последние 24часов: 0

За последние 7 дней: 2

За последние 30 дней: 4

За всё время: 223