Введение
This guide shows how to remove and replace both the cover and camera lens on the iON SnapCam 1046 Lite. Replacement is quick and simple.
Выберете то, что вам нужно
-
-
Remove any external skins placed on the device. To do so, simply lift up and peel to remove.
-
-
-
-
Use a Phillips head screwdriver to remove the four 4mm PH00 screws located on the sides of the device. All screws are located under each of the grey covers for the microSD card and the microUSB insert.
-
-
-
Grab a metal or plastic opening tool and insert it into the middle slot on the bottom of the camera and lightly pry open.
-
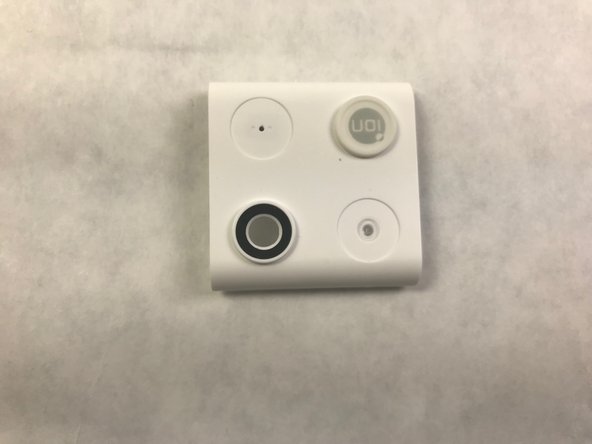
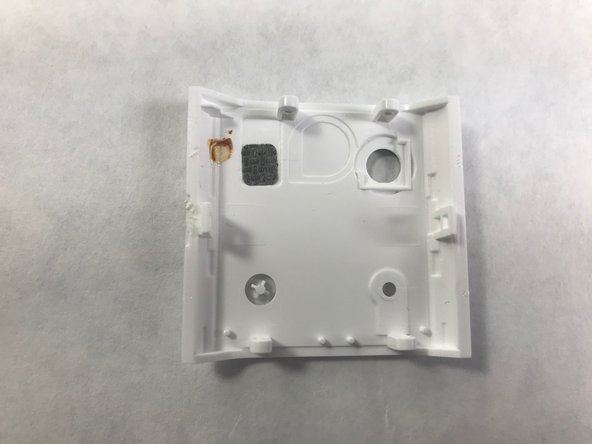
Locate the camera lens in the bottom left-hand corner of the picture which can be replaced by replacing the entire cover. The back of the cover is also shown. The camera is now located in the top right-hand corner of the picture.
-


Once the camera lens and cover have been replaced, reassemble the iON SnapCam Lite by following these steps in reverse order.
Once the camera lens and cover have been replaced, reassemble the iON SnapCam Lite by following these steps in reverse order.
Команда

IUPUI, Team S22-G4, Bayer Fall 2017 Участник IUPUI, Team S22-G4, Bayer Fall 2017
IUPUI-BAYER-F17S22G4
5 членов
Автор 4 руководств