Перейти к основному содержанию

iPhone 16 Microphone Installation

Абсолютно необходимое руководство
Это руководство предназначено только для использования в качестве обязательного условия для других руководств. Оно не полностью само по себе.

Выберете то, что вам нужно

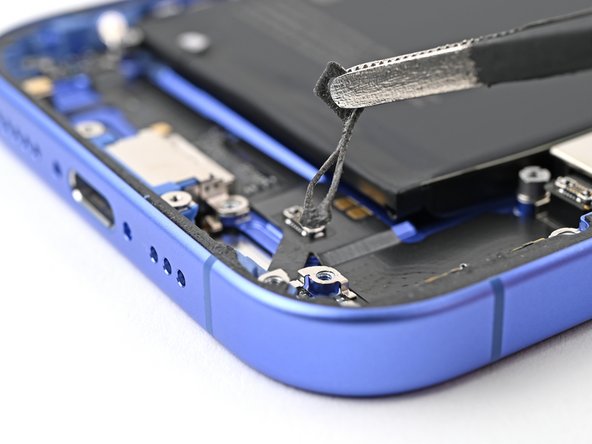
  1. iPhone 16 Microphone Installation, Remove the old adhesive: шаг 1, изображение 1 из 2 iPhone 16 Microphone Installation, Remove the old adhesive: шаг 1, изображение 2 из 2
    • Use tweezers or your fingers to remove the old adhesive from the bottom of the frame.

  2. iPhone 16 Microphone Installation, Clean the microphone opening: шаг 2, изображение 1 из 1
    • Use high concentration isopropyl alcohol (greater than 90%) and a microfiber or lint-free cloth to clean the adhesive residue off the microphone opening in the frame.

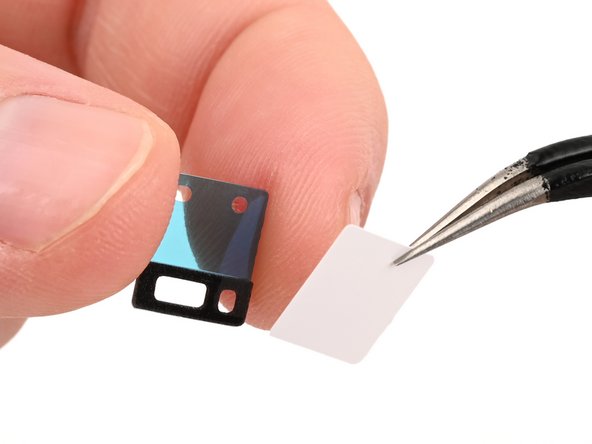
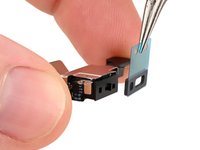
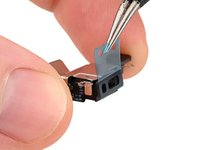
  3. iPhone 16 Microphone Installation, Remove the white liner: шаг 3, изображение 1 из 2 iPhone 16 Microphone Installation, Remove the white liner: шаг 3, изображение 2 из 2
    • If your microphone comes with adhesive installed, skip this step.

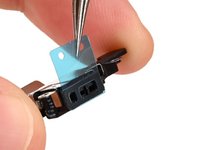
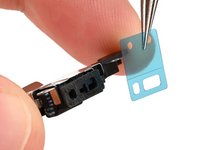
    • While holding the microphone adhesive with one hand, use your fingers or a pair of tweezers to remove the white liner from the adhesive.

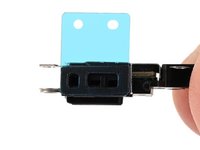
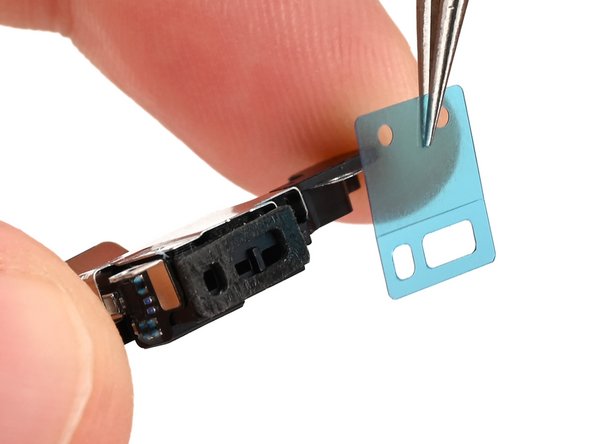
  4. iPhone 16 Microphone Installation, Apply the adhesive to the microphone: шаг 4, изображение 1 из 3 iPhone 16 Microphone Installation, Apply the adhesive to the microphone: шаг 4, изображение 2 из 3 iPhone 16 Microphone Installation, Apply the adhesive to the microphone: шаг 4, изображение 3 из 3
    • Hold the microphone so the metal side is facing up.

    • Apply the adhesive to the microphone with the pull tab pointing up.

  5. iPhone 16 Microphone Installation: шаг 5, изображение 1 из 2 iPhone 16 Microphone Installation: шаг 5, изображение 2 из 2
    • Remove the blue liner from the microphone adhesive.

  6. iPhone 16 Microphone Installation, Install the microphone: шаг 6, изображение 1 из 3 iPhone 16 Microphone Installation, Install the microphone: шаг 6, изображение 2 из 3 iPhone 16 Microphone Installation, Install the microphone: шаг 6, изображение 3 из 3
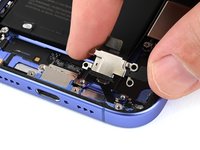
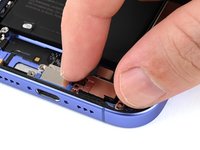
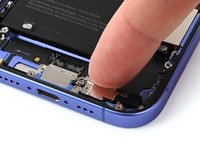
    • Insert the microphone at a downward angle so the adhesive adheres firmly to the frame around the opening.

    • Press the microphone firmly into place.

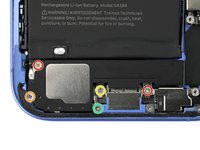
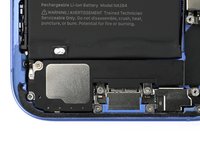
  7. iPhone 16 Microphone Installation, Install the microphone screws: шаг 7, изображение 1 из 2 iPhone 16 Microphone Installation, Install the microphone screws: шаг 7, изображение 2 из 2
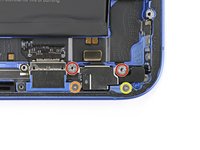
    • Install the four screws securing the microphone:

    • Two 3.3 mm‑long standoff screws

    • One 1.1 mm‑long tri‑point Y000 screw

    • One 1.5 mm‑long Phillips screw

  8. iPhone 16 Microphone Installation, Connect the microphone: шаг 8, изображение 1 из 2 iPhone 16 Microphone Installation, Connect the microphone: шаг 8, изображение 2 из 2
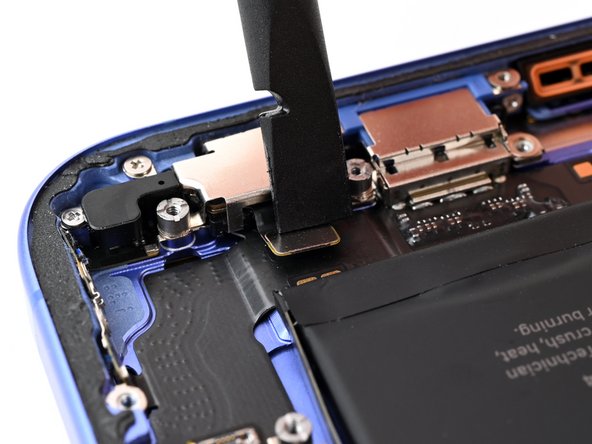
    • Use the flat end of a spudger to connect the microphone press connector.

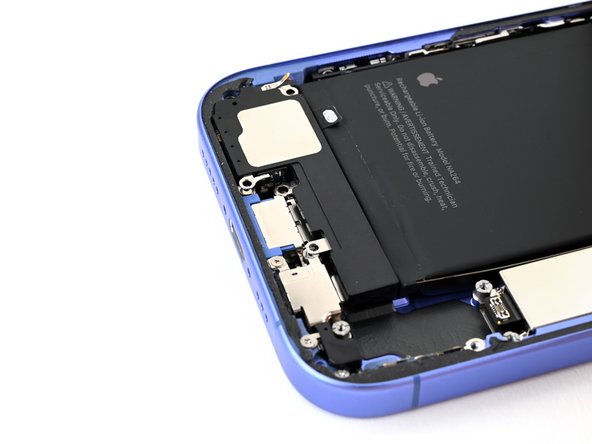
  9. iPhone 16 Microphone Installation, Install the loudspeaker: шаг 9, изображение 1 из 2 iPhone 16 Microphone Installation, Install the loudspeaker: шаг 9, изображение 2 из 2
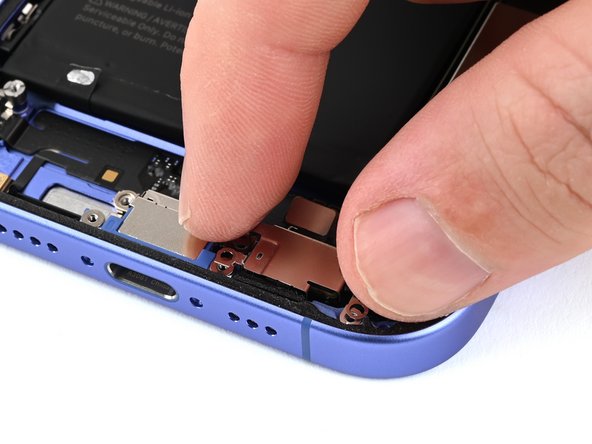
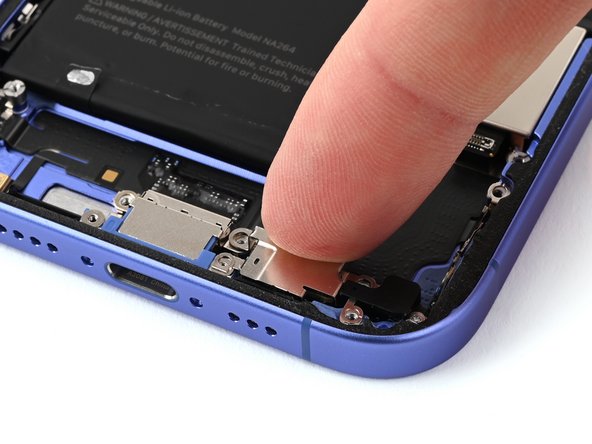
    • Place the loudspeaker into the frame.

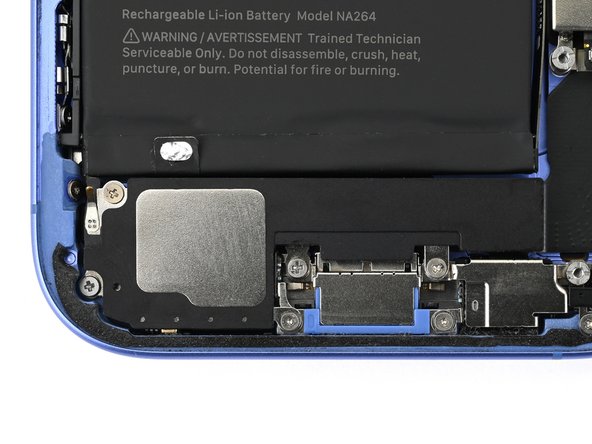
  10. iPhone 16 Microphone Installation, Install the loudspeaker screws: шаг 10, изображение 1 из 2 iPhone 16 Microphone Installation, Install the loudspeaker screws: шаг 10, изображение 2 из 2
    • Install the five screws securing the loudspeaker:

    • Two 1.5 mm‑long Phillips screws

    • One 2.0 mm‑long Phillips screw

    • One 2.9 mm‑long Phillips screw

    • One 1.2 mm‑long tri‑point Y000 screw

Финишная черта

Spencer Pennington

Участник с: 09/09/23

17 527 Репутация

Автор 114 руководств

Команду

iFixit Участник iFixit

Staff

118 членов

Автор 19 631 руководств

0Комментарии к руководству

Добавить комментарий

Статистика просмотров:

За последние 24 час(ов): 0

За последние 7 дней: 0

За последние 30 дней: 2

За всё время: 27