Эта версия возможно содержит некорректные исправления. Переключить на последнюю проверенную версию.
Выберете то, что вам нужно
-
Этот шаг не переведен. Помогите перевести
-
Before installing new adhesive strips, temporarily connect your new battery and check its alignment in the iPhone.
-
If everything looks good, disconnect the battery and remove it.
-
-
Этот шаг не переведен. Помогите перевести
-
Peel off the large blue film liner and remove it from the adhesive strips completely.
-
If this happens to you and you got your strips from iFixit, contact us here and we'll send you a replacement on the double.
-
In the meantime, you can temporarily reassemble your iPhone with a bit of double-sided tape to hold the battery.
-
-
Этот шаг не переведен. Помогите перевести
-
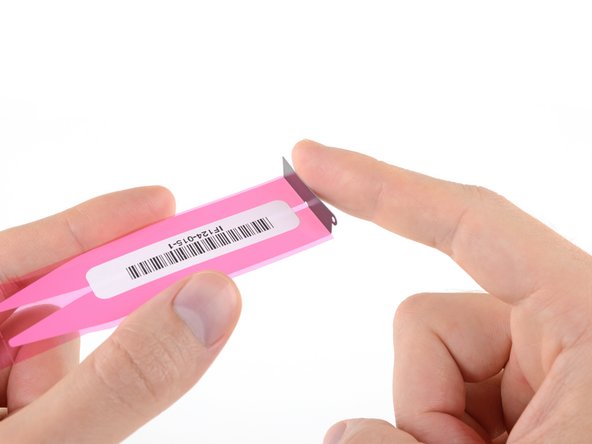
With the exposed adhesive facing down, fold the black tab up at a 90° angle.
-
-
Этот шаг не переведен. Помогите перевести
-
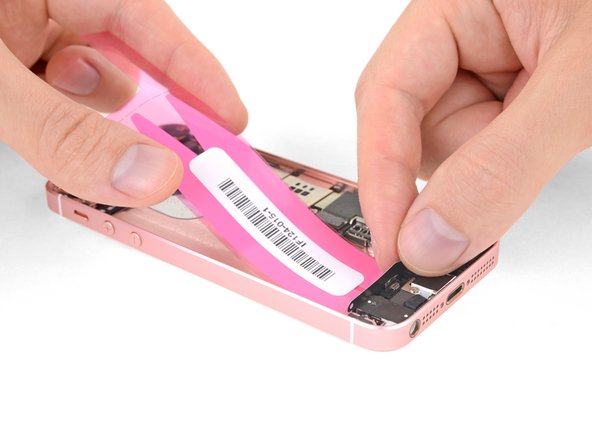
With the exposed adhesive facing down, carefully align the strips into your iPhone's rear case.
-
Set the adhesive strips into the rear case and allow them to stick.
-
-
-
Этот шаг не переведен. Помогите перевести
-
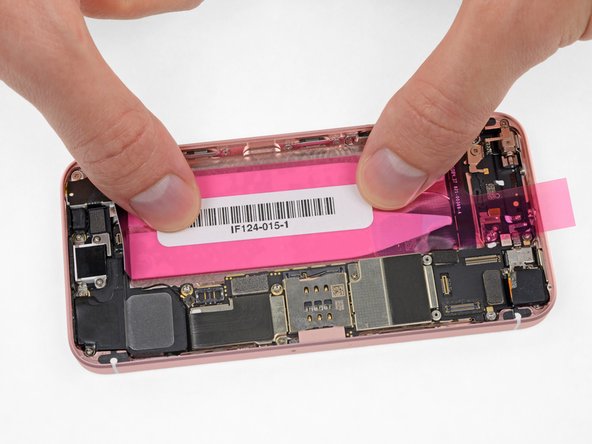
Press down on each strip to fully adhere it to the rear case, starting from the middle and working outward towards each end.
-
-
Этот шаг не переведен. Помогите перевести
-
Peel away the large pink film liner and remove it completely.
-
-
Этот шаг не переведен. Помогите перевести
-
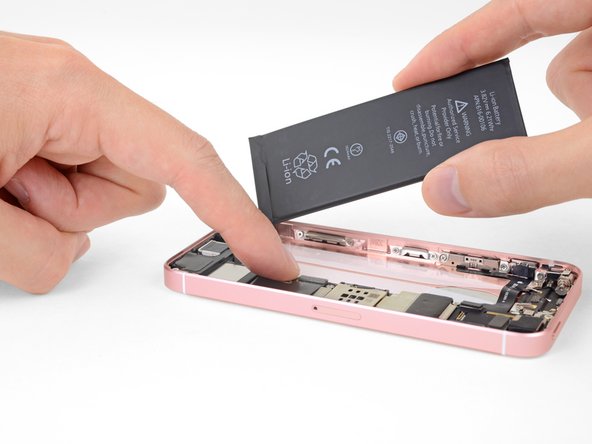
Without sticking the battery down, lower its connector into the iPhone and align it to its socket on the logic board.
-
Connect the battery.
-
-
Этот шаг не переведен. Помогите перевести
-
Carefully position the battery and set it into the iPhone.
-
-
Этот шаг не переведен. Помогите перевести
-
Use the flat end of your spudger or blunt tweezers to fold the black tab downward, tucking it between the lower edge of the battery and the components lining the bottom edge of the iPhone.
-
-
Этот шаг не переведен. Помогите перевести
-
Be sure to disconnect the battery again before reassembling your iPhone.
-


Отменить: Я не выполнил это руководство.
238 участников успешно повторили данное руководство.


4 Комментариев
Maybe, but the adhesive strips are designed to be very strong and very thin, and reasonably heat-resistant. This keeps the battery secure even if you shake the phone (or take it jogging), and it won’t come loose if the phone gets hot. The thin profile also means the battery has room to expand slightly without contacting or putting pressure on the display. Considering how cheap the strips are vs. the cost of the expensive phone you are repairing, I tend to err in favor of putting it back together the way it’s designed. But, your phone, your choice!
All worked well except removing one of the adhesive strips. I used a “Bed Buddy” microwavable heat pack to warm the phone as directed and it worked fine. So far I’m pleased. Now comes the re-assembly challenge.
Use this iFixit video guide for applying the adhesive instead IMO—many people will tell you to apply it to the battery itself instead of the bottom of the case:
https://www.youtube.com/watch?v=Xthi6DOx...
At least you have options now. :)