Введение
The deck plate assembly is an essential component to the Braava, allowing the device to detect obstacles while moving. With a damaged deck plate assembly, your Braava may encounter mobility issues and may not be able to detect possible obstacles in your home or office. Replacing the deck plate assembly may solve these issues.
Выберете то, что вам нужно
-
-
Using a Flathead #4 screwdriver, gently turn the 12mm screw that holds the battery cover in.
-
-
-
Gently remove the battery from the tray and disconnect the battery cable.
-
To remove the battery, pull it straight up. To disconnect the cable, gently pull it straight out of the connector.
-
-
-
-
With the battery removed, rotate your device so the front of it is facing you.
-
Remove the four 10mm Phillips #2 screws that attach the shell.
-
-
-
Using both hands, hold the device together while you flip it over.
-
Starting from the front, gently lift up the shell and slowly tilt back until it is fully removed.
-
-
-
With the shell off, flip the iRobot over and remove the four 10mm Phillips #0 screws holding the deck plate assembly on.
-
-
-
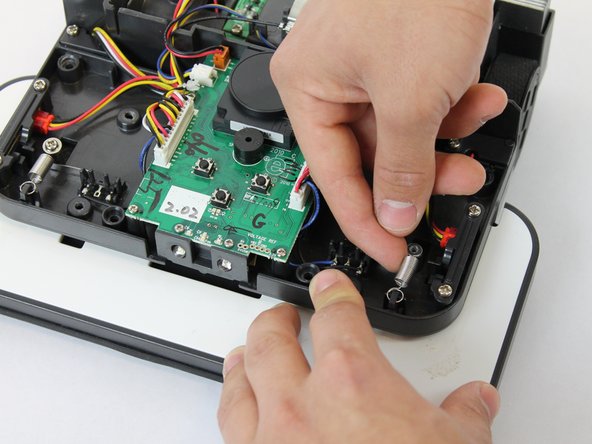
Remove the two 12mm Phillips #0 screws that hold the two springs onto the deck plate assembly.
-
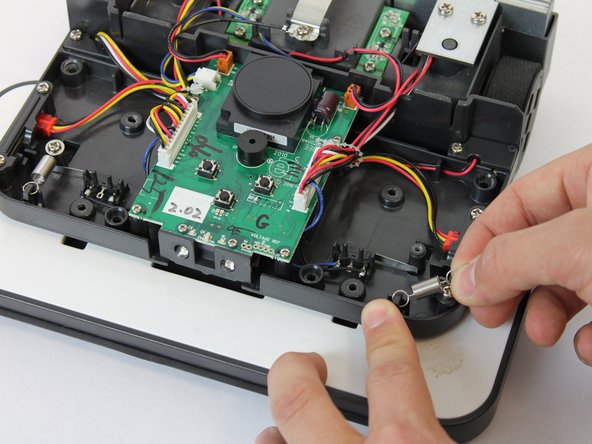
Remove the two springs by gently lifting them up.
-
-
-
Pull the arms together by lifting them up and to the center.
-
With the arms together. slide the deck plate up and over the arms until it is fully removed.
-


To reassemble your device, follow these instructions in reverse order.
To reassemble your device, follow these instructions in reverse order.
Команда

USF Tampa, Team S1-G3, Nance Spring 2017 Участник USF Tampa, Team S1-G3, Nance Spring 2017
USFT-NANCE-S17S1G3
4 членов
Автор 10 руководств