Перейти к основному содержанию

iRobot Roomba 655 Pet Series Drive Wheels Replacement

Выберете то, что вам нужно

  1. iRobot Roomba 655 Pet Series Drive Wheels Replacement, Removing the Side Brush: шаг 1, изображение 1 из 2 iRobot Roomba 655 Pet Series Drive Wheels Replacement, Removing the Side Brush: шаг 1, изображение 2 из 2
    • Flip the device over onto its back.

    • Find the side brush, and unscrew the single screw that connects to brush motor by using the Phillips head #2 screwdriver.

    • This screw doesn't completely come out of the yellow side brush.

  2. iRobot Roomba 655 Pet Series Drive Wheels Replacement, Removing the Back Panel: шаг 2, изображение 1 из 2 iRobot Roomba 655 Pet Series Drive Wheels Replacement, Removing the Back Panel: шаг 2, изображение 2 из 2
    • Using a Phillips #1 screwdriver, remove the four screws on the back panel.

    • Once the screws are loose gently pry the back plate away from the body by using the spudger tool.

    • The screws don't completely come out of the panel, but it will still come apart once unscrewed.

  3. iRobot Roomba 655 Pet Series Drive Wheels Replacement, Removing the Battery: шаг 3, изображение 1 из 3 iRobot Roomba 655 Pet Series Drive Wheels Replacement, Removing the Battery: шаг 3, изображение 2 из 3 iRobot Roomba 655 Pet Series Drive Wheels Replacement, Removing the Battery: шаг 3, изображение 3 из 3
    • Grab the two pieces of green tape with your thumb and index finger

    • Pull up on the battery in an upwards direction to remove it

  4. iRobot Roomba 655 Pet Series Drive Wheels Replacement, Battery Contact Points: шаг 4, изображение 1 из 2 iRobot Roomba 655 Pet Series Drive Wheels Replacement, Battery Contact Points: шаг 4, изображение 2 из 2
    • These are the contact points on the Roomba for the battery

    • These are the contact points on the battery

    • If these contact points are dirty, they can be cleaned with a moist microfiber cloth (distilled water recommended)

  5. iRobot Roomba 655 Pet Series Drive Wheels Replacement, Drive Wheels: шаг 5, изображение 1 из 3 iRobot Roomba 655 Pet Series Drive Wheels Replacement, Drive Wheels: шаг 5, изображение 2 из 3 iRobot Roomba 655 Pet Series Drive Wheels Replacement, Drive Wheels: шаг 5, изображение 3 из 3
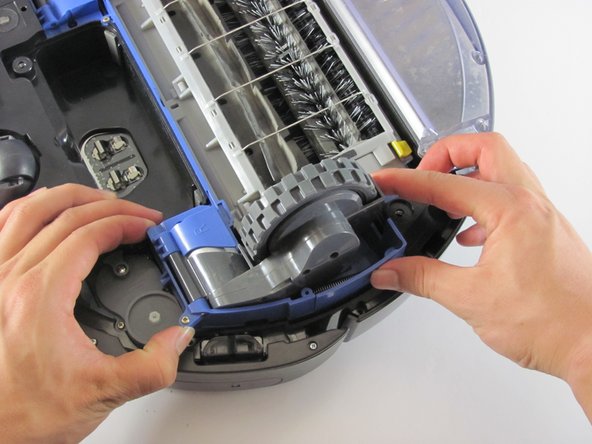
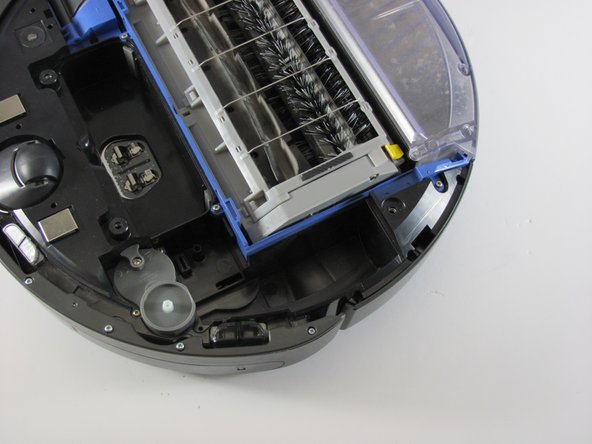
    • Remove the three screws with your Phillips head #1, holding the drive wheels in place

    • These three screws will stay in place and won't come out of the plastic

  6. iRobot Roomba 655 Pet Series Drive Wheels Replacement: шаг 6, изображение 1 из 3 iRobot Roomba 655 Pet Series Drive Wheels Replacement: шаг 6, изображение 2 из 3 iRobot Roomba 655 Pet Series Drive Wheels Replacement: шаг 6, изображение 3 из 3
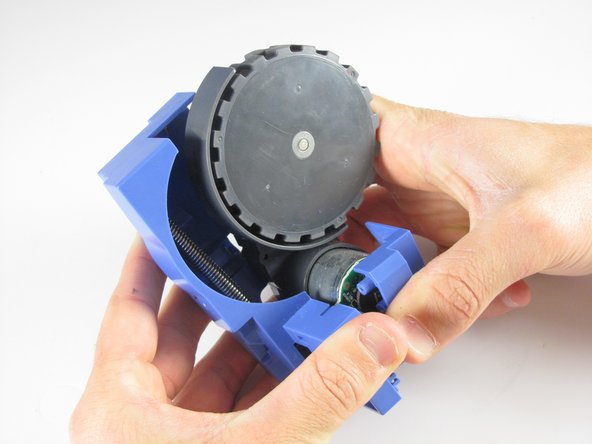
    • Unscrew the actual wheel from the blue plastic holder

    • Pull apart the blue holder to completely remove the wheel

  7. iRobot Roomba 655 Pet Series Drive Wheels Replacement: шаг 7, изображение 1 из 2 iRobot Roomba 655 Pet Series Drive Wheels Replacement: шаг 7, изображение 2 из 2
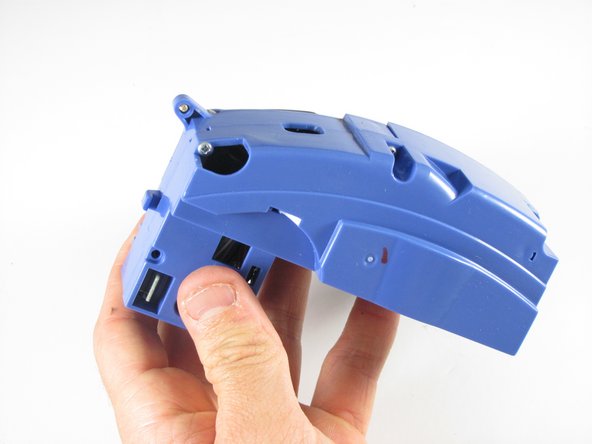
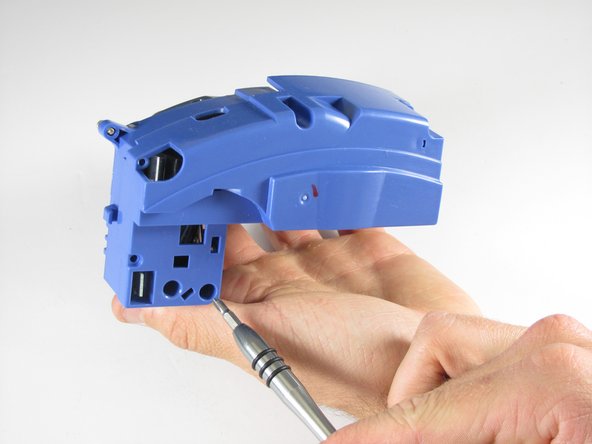
    • To go further into the holder to access the programming chips you can unscrew these compartments

Заключение

To reassemble your device, follow these instructions in reverse order.

Еще один человек закончил это руководство.

Rhett

Участник с: 01/22/15

1 329 Репутация

Автор 7 руководств

Команда

Cal Poly, Team 21-20, Maness Winter 2015 Участник Cal Poly, Team 21-20, Maness Winter 2015

CPSU-MANESS-W15S21G20

4 членов

Автор 14 руководств

0 Комментариев

Добавить комментарий

Просмотр статистики:

За последние 24часов: 0

За последние 7 дней: 1

За последние 30 дней: 8

За всё время: 2,249