Введение
This guide is meant to help identify the many pieces and their orientations in both the top shell and the bottom shell.
Выберете то, что вам нужно
-
-
Flip your ionvac right-side up, turning it so that the front filter vents are facing forward and the power button is furthest from you.
-
-
-
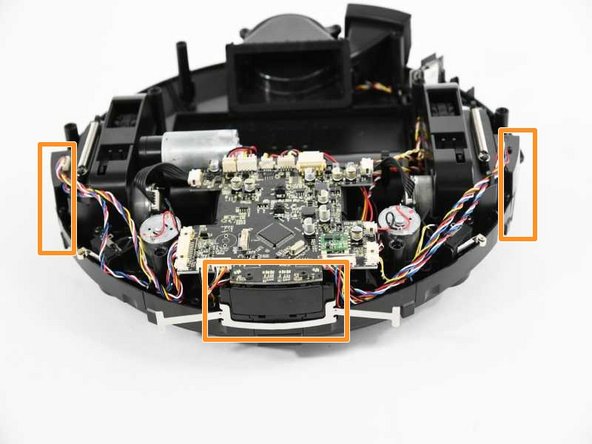
Use a Phillips screwdriver to remove the 8 screws indicated in red holding the base together.
-
Use the same screwdriver to remove the 8 screws indicated in orange which hold the rims (bumper arms).
-
Remove the rims from your ionvac and set them aside.
-
-
-
Flip your ionvac right-side up and tilt it upwards at a 45 degree angle.
-
Use a Jimmy or prying tool to wedge the sharp end through the bottom crevice (below the sensors).
-
Continue prying the outside rim of your ionvac open. You will feel the top shell (frame or cover) loosen.
-
-
-
-
The top shell includes the power button and the space for the filter.
-
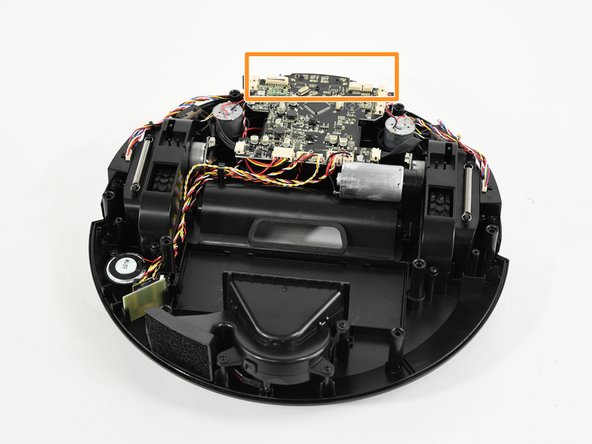
The bottom shell includes motors for the wheels, the logic board, and the main vacuum.
-
There are three sensor slits on the top shell that allow protect the interior from damage without covering the sensors.
-
-
-
Upon removing the top and bottom shell, loose pieces should be noted such as these bottom rim pieces. These rim pieces are oriented in a way where the piece circled in green is placed underneath the other rim.
-
-
-
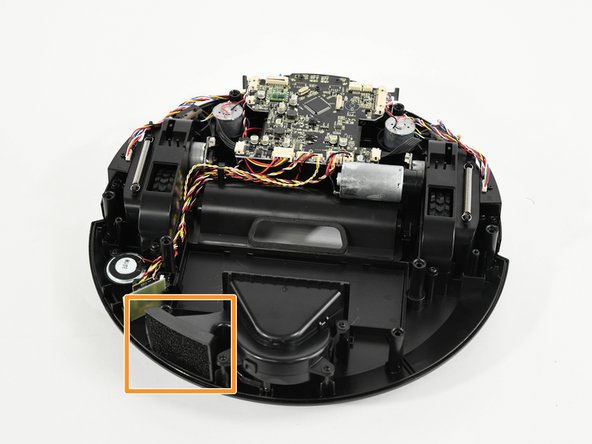
Ensure that this wedge piece for the filter is still oriented in its appropriate place.
-
It is located near the motor beside the filter.
-
-
-
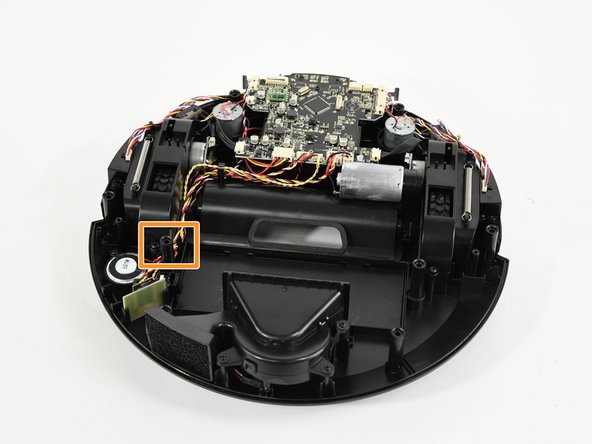
Ensure that the vacuum filter is still oriented upright in the filter casing.
-
It is located on the end of the bottom shelf, opposite the logic board.
-
-
-
The metal bumper, located at the front of the vacuum, should be oriented upright on the sensors.
-
It is located on the outside of the bottom shell, at the head of the logic board.
-


To reassemble your device, follow these instructions in reverse order.
To reassemble your device, follow these instructions in reverse order.

Команда

University of Colorado Denver, Team 1-1, Campeau Fall 2023 Участник University of Colorado Denver, Team 1-1, Campeau Fall 2023
UCDENVER-CAMPEAU-F23S1G1
7 членов
Автор 11 руководств