Перейти к основному содержанию

iPhone 8 Plus Lightning Connector Einheit austauschen

Английский
Немецкий
Шаг 16
iPhone 8 Plus Lightning Connector Assembly Replacement: шаг 0, изображение 1 из 3 iPhone 8 Plus Lightning Connector Assembly Replacement: шаг 0, изображение 2 из 3 iPhone 8 Plus Lightning Connector Assembly Replacement: шаг 0, изображение 3 из 3
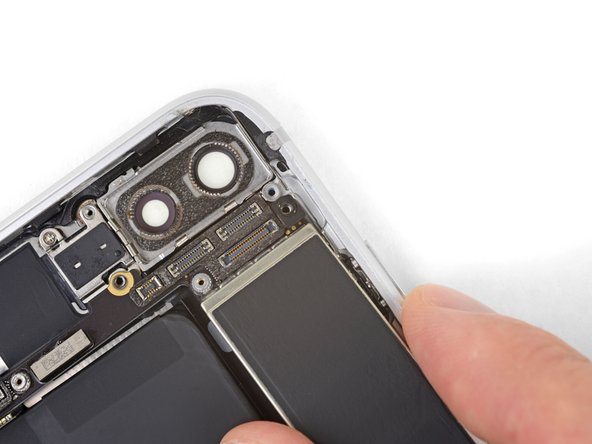
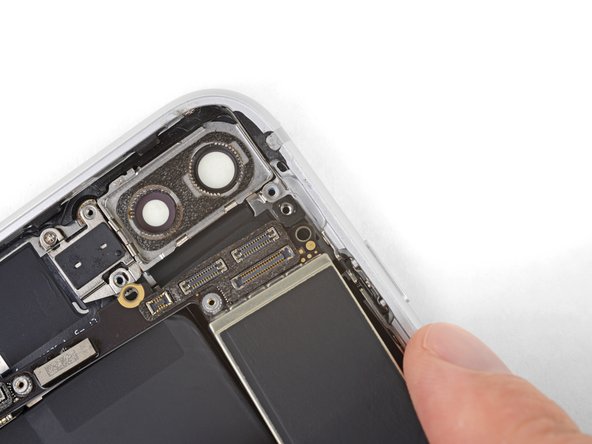
  • Lift the logic board from the bottom edges and slide it toward the bottom of the iPhone to remove it.

  • Be careful not to snag the logic board on any cables.

  • During reassembly, note the position of the black grounding clip at the top right edge of the logic board, near the rear cameras. The logic board should slide underneath the clip.

Hebe das Logic Board an der Unterkante hoch und schiebe es am iPhone nach unten, um es so zu entfernen.

Achte darauf, dass sich das Logic Board nicht an einem Kabel verfängt.

Beachte beim Zusammenbau die Position des schwarzen Erdungssclips an der oberen rechten Kante des Logic Boards nahe den Rückkameras. Das Logic Board muss unter diesen Clip hineinrutschen.

Ваш вклад лицензируется под свободной лицензией Creative Commons .