Перевод шага 3
Шаг 3


-
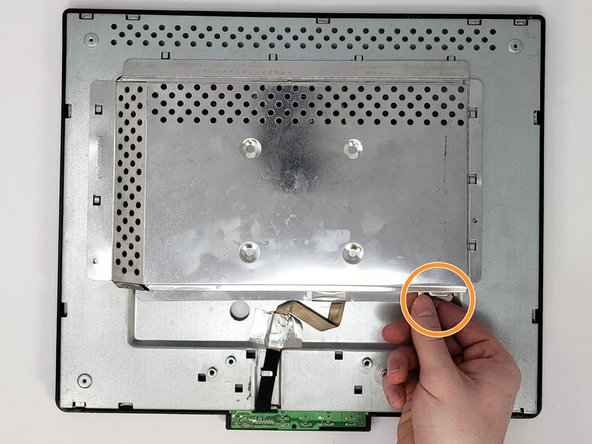
Remove the two 0.7 mm Phillips #0 screws on the sides of the centerpiece motherboard cover.
-
Remove by hand the two hexagonal screws securing the digital visual interface (DVI) input.
-
The DVI is typically a blue/black connector with two built-in screw connections on either side. It is secured by hand tightening the two side screws.
-
Push the centerpiece motherboard cover toward the body to remove.
Ваш вклад лицензируется под свободной лицензией Creative Commons .