Перевод шага 6
Шаг 6

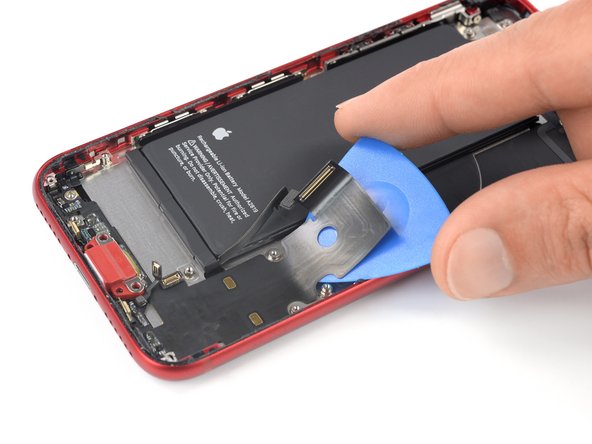


Separate the Lightning connector assembly cable
-
Slide an opening pick underneath the top portion of the Lightning connector assembly flex cable, and begin separating the cable from the rear case.
-
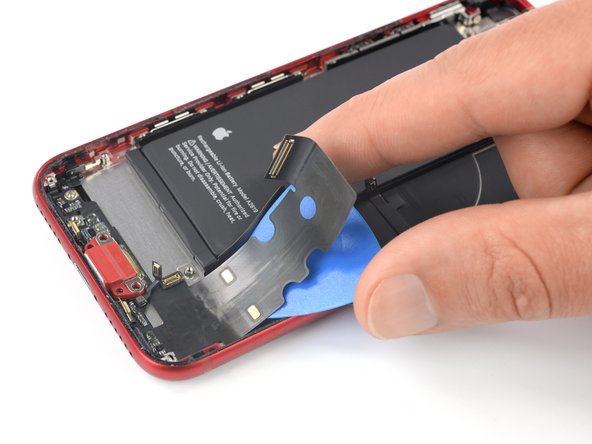
Continue separating the upper portion of the flex cable, being careful not to damage any other components along the way.
-
Stop sliding the pick once it passes the lower edge of the battery.
Ваш вклад лицензируется под свободной лицензией Creative Commons .