Примечание: Вы редактируете необходимое руководство. Любые внесённые вами изменения влияют на все 16 руководства, которые включают этот шаг.
Перевод шага 5
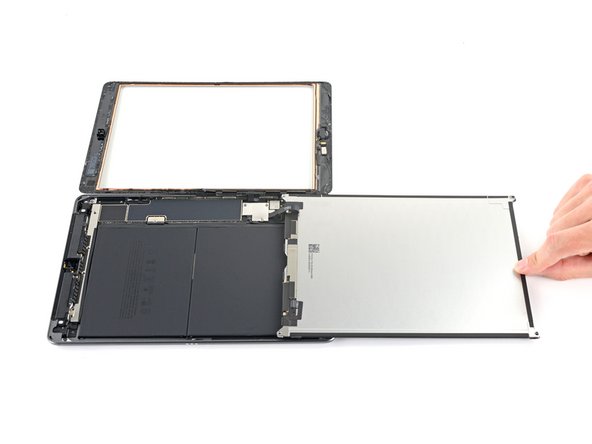
Шаг 5


Reposition the LCD screen
-
Use the flat end of a spudger to pry the LCD out of its recess just enough to grab it with your fingers.
-
Flip the LCD like a page in a book, lifting near the camera and turning it over the home button end of the frame.
-
Lay the LCD on a clean, soft, lint-free surface to allow access to the display cables.
Ваш вклад лицензируется под свободной лицензией Creative Commons .