Перейти к основному содержанию

iPhone 14 Ladespule austauschen

Английский
Немецкий

Перевод шага 11

Шаг 11
iPhone 14 charging coil assembly replacement, Finish: шаг 0, изображение 1 из 3 iPhone 14 charging coil assembly replacement, Finish: шаг 0, изображение 2 из 3 iPhone 14 charging coil assembly replacement, Finish: шаг 0, изображение 3 из 3
Finish
  • With everything nice and clean and glue or a gasket added you may reconnect the coil and battery in this order and close the backcover.

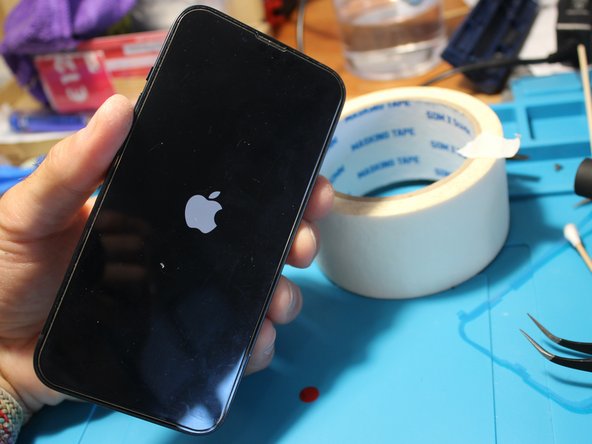
  • Start up your iPhone and test everything again to make sure the repair is successful.

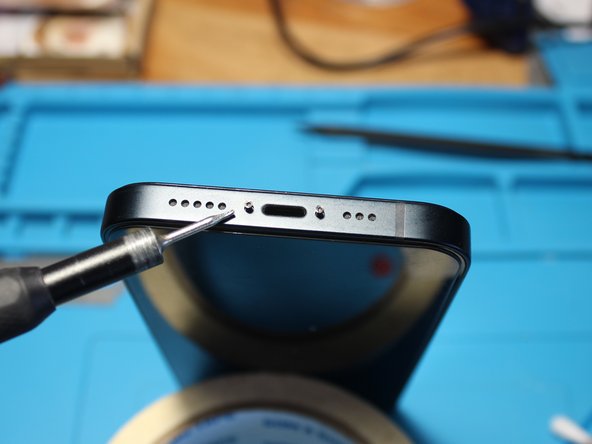
  • Screw the two P2 pentalobe screws back to the bottom of your iPhone. You're done!

Wenn alles ordentlich und sauber ist und du eine Dichtung oder Kleber auf den Rand angebracht hast, kannst du die Spule und den Akku in dieser Reihenfolge wieder anschließen und das Backcover zumachen.

Schalte dein iPhone an und teste noch einmal die Teile an denen wir gearbeitet haben.

Schraube die beiden Pentalobe P2 Schrauben in die Unterseite des iPhones. Du bist fertig!

Ваш вклад лицензируется под свободной лицензией Creative Commons .