Перейти к основному содержанию

iPhone 14 无线充电线圈模组更换

Английский
Китайский

Перевод шага 11

Шаг 11
iPhone 14 charging coil assembly replacement, Finish: шаг 0, изображение 1 из 3 iPhone 14 charging coil assembly replacement, Finish: шаг 0, изображение 2 из 3 iPhone 14 charging coil assembly replacement, Finish: шаг 0, изображение 3 из 3
Finish
  • With everything nice and clean and glue or a gasket added you may reconnect the coil and battery in this order and close the backcover.

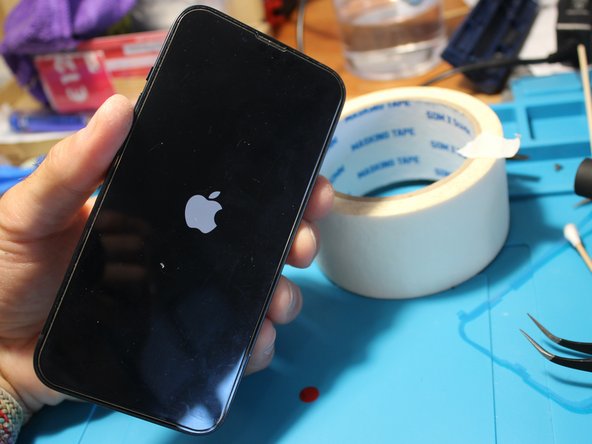
  • Start up your iPhone and test everything again to make sure the repair is successful.

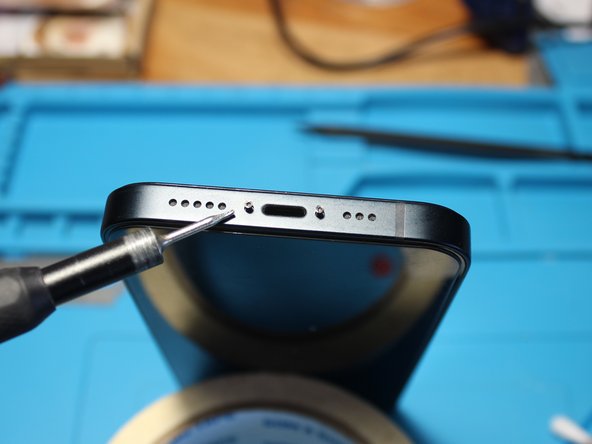
  • Screw the two P2 pentalobe screws back to the bottom of your iPhone. You're done!

确保所有部件清洁到位且粘合胶/密封胶圈安装完毕后,请按顺序重新连接无线充电线圈与电池排线,随后闭合后盖。

开机启动iPhone并全面测试各项功能,以确认维修成功。

最后将两颗P2五角螺丝重新拧回手机底部。至此维修完成!

Ваш вклад лицензируется под свободной лицензией Creative Commons .