Перевод шага 3
Шаг 3


-
It's time to seek some hidden screws.
-
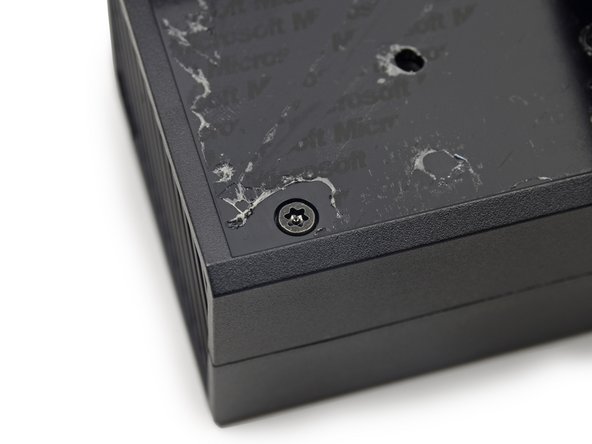
Beneath the goops of adhesive, we root out and dispatch two long T10 Security Torx screws and two short T10 Torx screws.
-
This adhesive has Microsoft written all over it, literally.
-
Our Pro Tech Screwdriver Set makes screw removal kinetically pleasing.
-
With a few twirls of the driver—and then a few twirls of ourselves around the room, just in case the hokey pokey really is what it's all about—we bypass the outer case and start rummaging around inside.
Ваш вклад лицензируется под свободной лицензией Creative Commons .