Примечание: Вы редактируете необходимое руководство. Любые внесенные вами изменения повлияют на руководство, которое включает эту стадию.
Перевод шага 2
Шаг 2


-
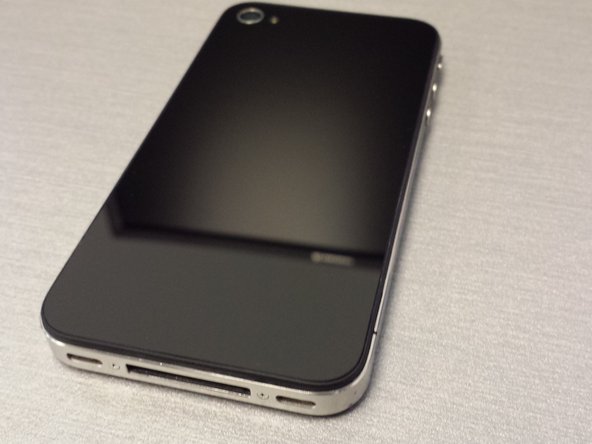
Carefully place the replacement panel on to the iPhone back lining it up as close to the bottom as possible.
-
Now again gently apply pressure as you slide the panel towards the bottom of the iPhone to lock it into place.
-
Replace the screws that you set aside earlier and be sure no to over tighten otherwise you will strip them.
Ваш вклад лицензируется под свободной лицензией Creative Commons .