Перейти к основному содержанию

Remplacement de la caméra frontale de l'iPad Air 2 Wi-Fi

Английский
Французский

Перевод шага 3

Шаг 3
iPad Air 2 Wi-Fi Front-Facing Camera Replacement: шаг 0, изображение 1 из 2 iPad Air 2 Wi-Fi Front-Facing Camera Replacement: шаг 0, изображение 2 из 2
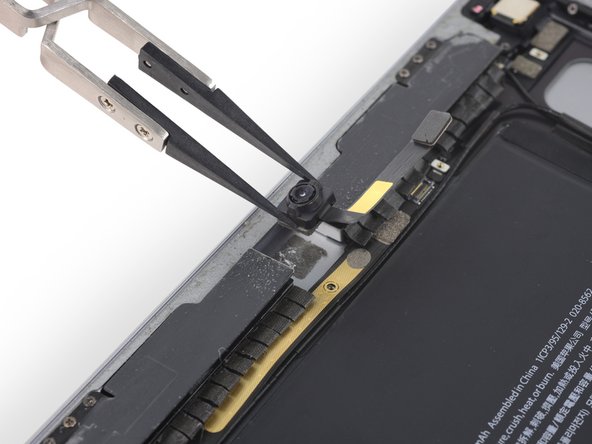
  • Firmly grasp the FaceTime camera with your hands or tweezers and pull up to remove it from the rear case.

  • The camera is attached to the rear case with single-use foam adhesive. When replacing the camera, use new adhesive or double-sided tape to install it.

Saisaissez fermement la caméra FaceTime de vos mains ou avec une pincette et tirez dessus pour l'enlever de la coque arrière.

La caméra est fixée à la coque arrière avec un adhésif en mousse non réutilisable. Lorsque vous remplacez la caméra, utilisez un nouveau ruban adhésif ou double face pour la fixer.

-[* black] Firmly grasp the FaceTime camera with your hands or tweezers and pull up to remove it from the rear case.
+[* black] Firmly grasp the FaceTime camera with your hands or [product|IF145-020|tweezers] and pull up to remove it from the rear case.
[* icon_reminder] The camera is attached to the rear case with single-use foam adhesive. When replacing the camera, use new adhesive or double-sided tape to install it.

Ваш вклад лицензируется под свободной лицензией Creative Commons .