Перевод шага 3
Шаг 3


-
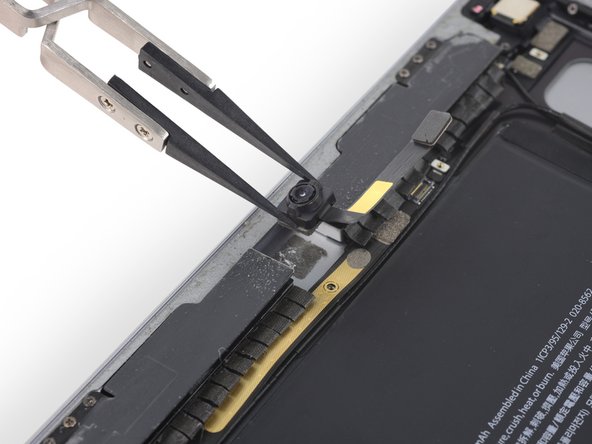
Firmly grasp the FaceTime camera with your hands or tweezers and pull up to remove it from the rear case.
| - | [* black] Firmly grasp the FaceTime camera with your hands or tweezers and pull up to remove it from the rear case. |
|---|---|
| + | [* black] Firmly grasp the FaceTime camera with your hands or [product|IF145-020|tweezers] and pull up to remove it from the rear case. |
| [* icon_reminder] The camera is attached to the rear case with single-use foam adhesive. When replacing the camera, use new adhesive or double-sided tape to install it. |
Ваш вклад лицензируется под свободной лицензией Creative Commons .