Перейти к основному содержанию

Remplacement de la batterie de l'iPad Air 2

Английский
Французский
Шаг 10
iPad Air 2 Wi-Fi Battery Replacement: шаг 0, изображение 1 из 2 iPad Air 2 Wi-Fi Battery Replacement: шаг 0, изображение 2 из 2
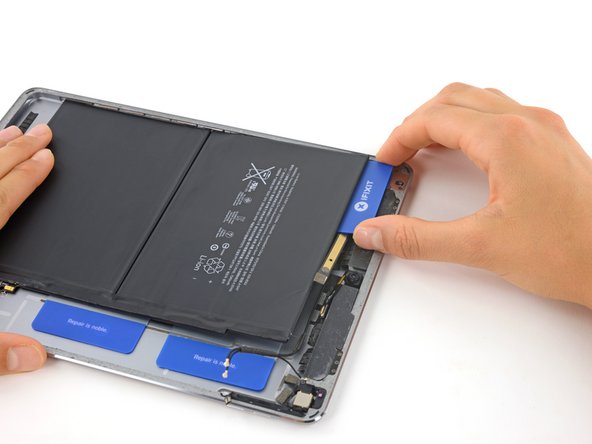
  • Remove the card and slide it under the top edge of the battery again, on the left side near the edge of the iPad.

  • Be extremely careful to slide the card over the front-facing camera and headphone jack cables to avoid cutting them.

  • Push the card in as far as it will go, breaking through as much of the adhesive underneath the battery as you can.

Retirez la carte et faites-la à nouveau glisser sous le bord supérieur de la batterie, sur le côté gauche près du bord de l'iPad.

Soyez extrêmement prudent et veillez à faire glisser la carte au-dessus des nappes de la caméra avant et de la prise casque pour éviter de les couper.

Poussez la carte aussi loin que possible, pour faire céder autant d'adhésif que possible sous la batterie.

Ваш вклад лицензируется под свободной лицензией Creative Commons .