Примечание: Вы редактируете необходимое руководство. Любые внесённые вами изменения влияют на все 15 руководства, которые включают этот шаг.
Перевод шага 3
Шаг 3


-
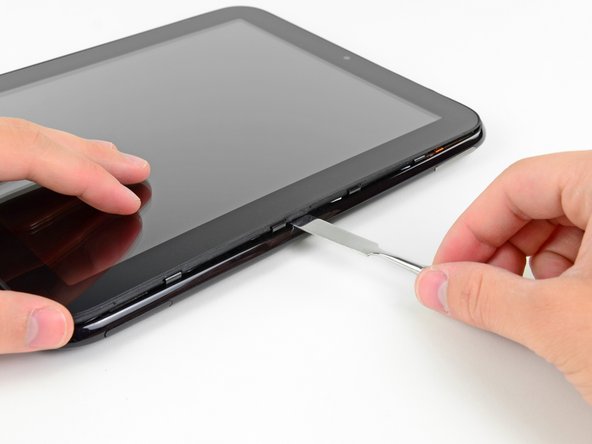
As in the previous step, use a spudger to pry the front panel up from the rear case along its long edge on the volume button side of the TouchPad.
-
Continue to pry the front panel assembly up along the volume button side of the TouchPad until there is a gap between it and the rear case.
Ваш вклад лицензируется под свободной лицензией Creative Commons .