Введение
Hey guys, instead of asking questions, im gonna solve a question with this guide.
The Telstra t-box was released in 2010 and was discontinued in 2018.
This is the first ever guide made for this item on iFixit, i might make more if i want to.
Anyways, here’ s a complete teardown on the Telstra T-box:
Выберете то, что вам нужно
-
-
Place your system on a flat surface and make sure all cables are disconnected from the system before dissasembly
-
-
-
Flip the device over and remove the hard drive cover (I dont have a hard drive cover on my t-box)
-
Peel off the warranty sticker and remove the 4 screws
-
-
-
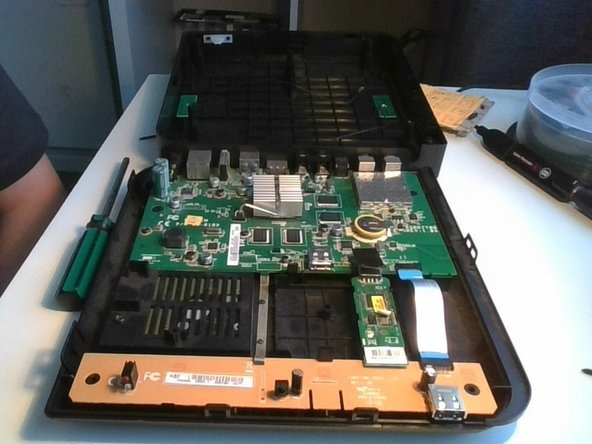
Pull the casing off being careful of the cables connected to the case.
-
carefully disconnect those cables and proceed
-
-
-
-
After disconnecting the cables, you can remove the top half of the outer case.
-
-
-
remove the black tape holding the USB wifi adapter in place, then remove it the same way you would remove a USB stick
-
-
-
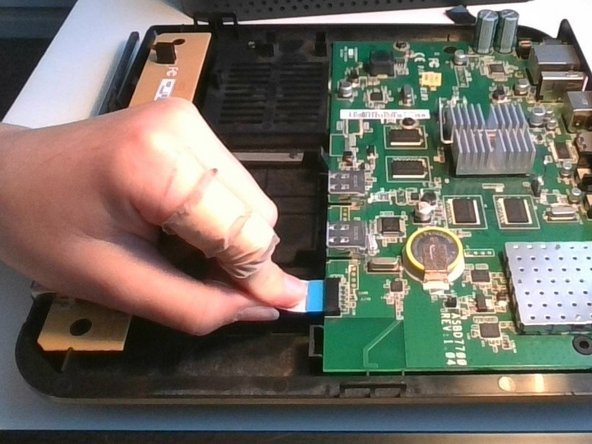
remove the ribbon cable on both ends and then carefully remove the IR sensor's board from the device
-
Please note that there is a metal tab thing holding the board in place, pull it a little bit and remove the board
-
-
-
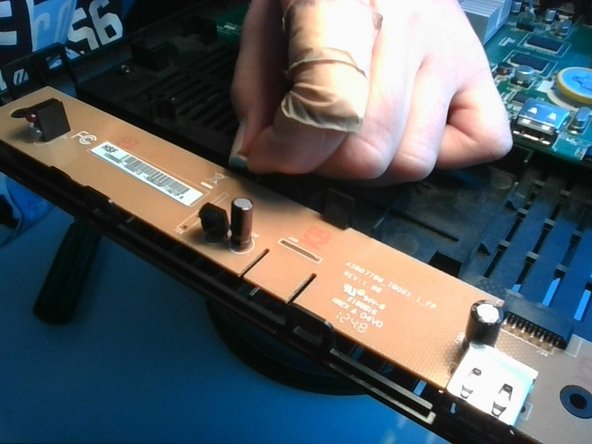
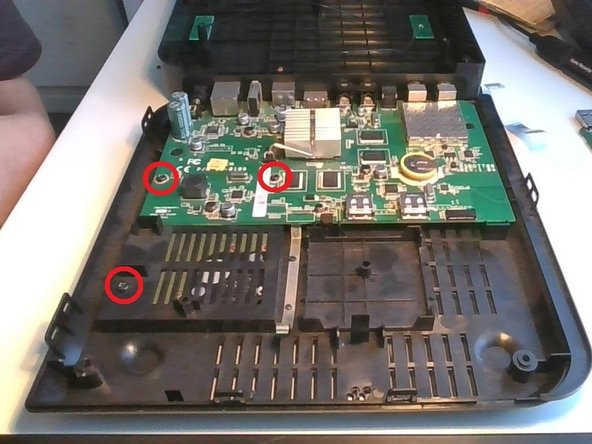
Remove the screws holding the circut board in place
-
There is a screw on the hard drive cover next to the board, remove it
-
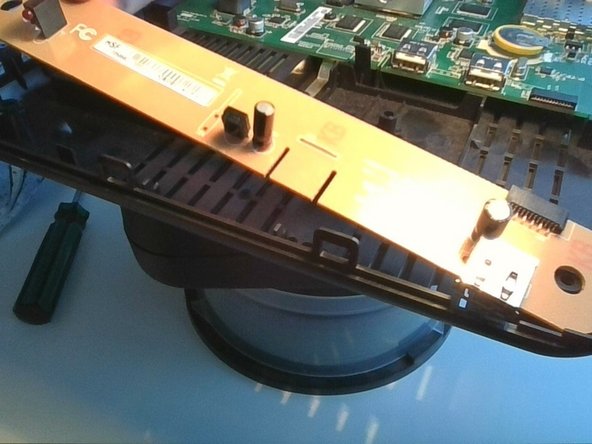
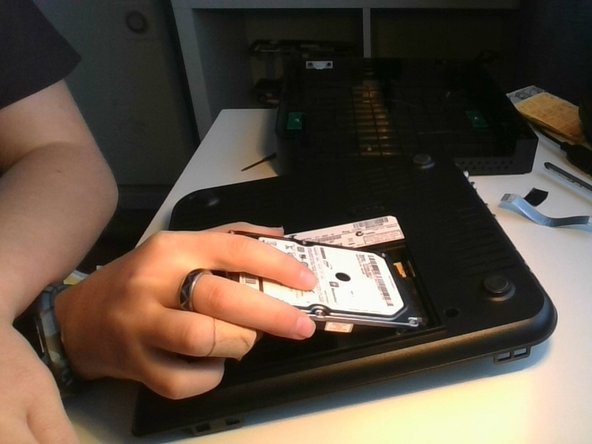
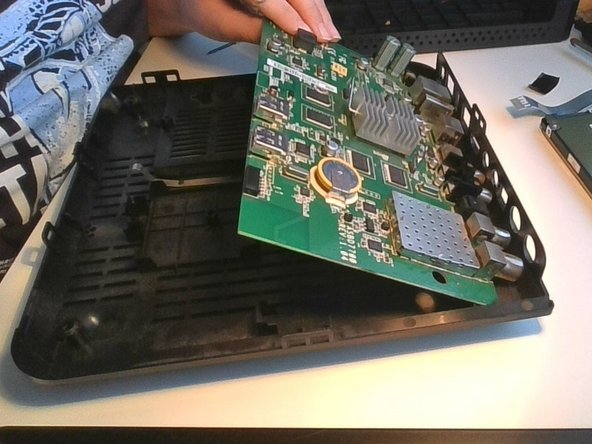
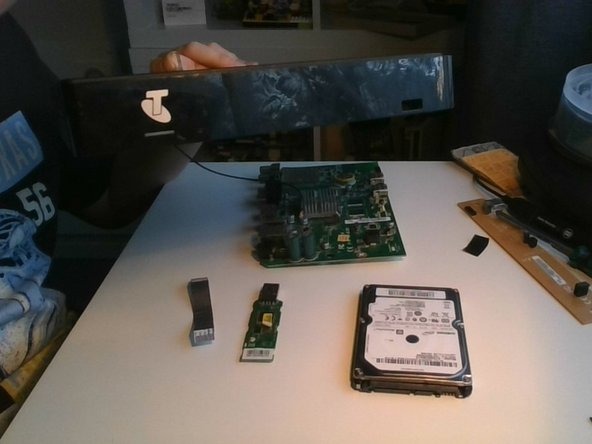
remove the hard drive and you should be able to get the main board
-
-
-
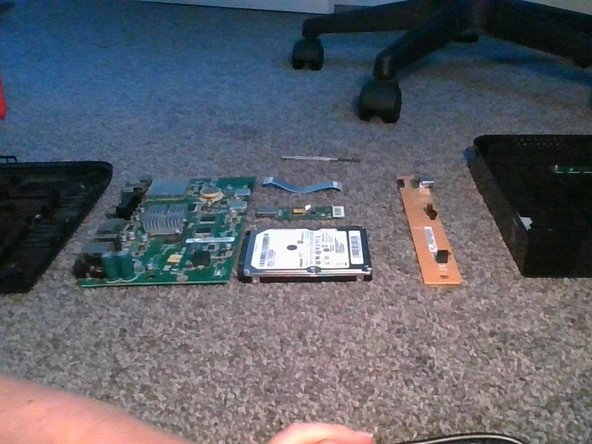
Take some nice pics of the t-box
-
To put it back together, do all these steps in reverse
-


5 Комментариев
I am no longer using this device with telstra-
Is there anything in there that could be used for anything else other than the t-box??
Or do I throw it in the bin!
@steve75385 Don't throw it it the bin! Send it to me. I would like to use the mechanical spinning thing that's encased in a silver aluminium box
ww w -
Is there a way to get recorded things off the hard drive? I have several movies on mine and the tbox won't power on any more.