Перейти к основному содержанию

Выберете то, что вам нужно

Это демонтаж а неруководство по ремонту. Чтобы отремонтировать D-link DI-524, воспользуйтесь нашим сервисным руководством.

  1. D-link DI-524 Teardown, Overview: шаг 1, изображение 1 из 3 D-link DI-524 Teardown, Overview: шаг 1, изображение 2 из 3 D-link DI-524 Teardown, Overview: шаг 1, изображение 3 из 3
    • This is the router, in all of its 12 year old glory.

  2. D-link DI-524 Teardown, Opening it up: шаг 2, изображение 1 из 3 D-link DI-524 Teardown, Opening it up: шаг 2, изображение 2 из 3 D-link DI-524 Teardown, Opening it up: шаг 2, изображение 3 из 3
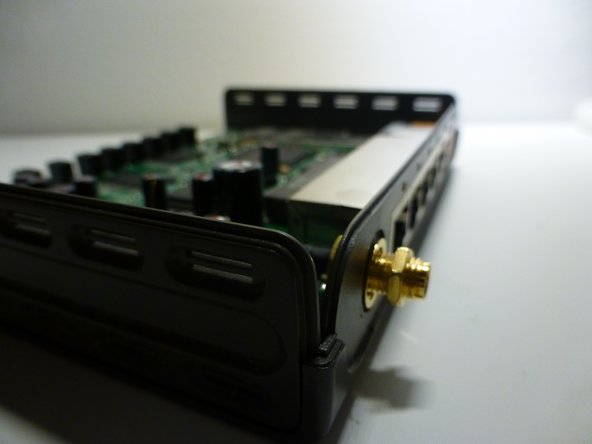
    • First of, remove the antenna by simply unscrewing it.

    • With that done, flip the router over and remove the 2 screws marked out in orange (pic 2).

    • Then simply flip the router back over and lift up the top plastic.

  3. D-link DI-524 Teardown, Removing the board: шаг 3, изображение 1 из 3 D-link DI-524 Teardown, Removing the board: шаг 3, изображение 2 из 3 D-link DI-524 Teardown, Removing the board: шаг 3, изображение 3 из 3
    • With the plastic removed, we get a look at the board itself. Now remove the two other screws at the back (also marked out in orange).

    • Before being able to lift the whole board out, you will also have to unscrew a nut where the antenna was attached to. This can easily be done with a pair of pliers.

    • With that done, simply pull the connector out and lift the border 'up and out'.

  4. D-link DI-524 Teardown, The chips: шаг 4, изображение 1 из 3 D-link DI-524 Teardown, The chips: шаг 4, изображение 2 из 3 D-link DI-524 Teardown, The chips: шаг 4, изображение 3 из 3
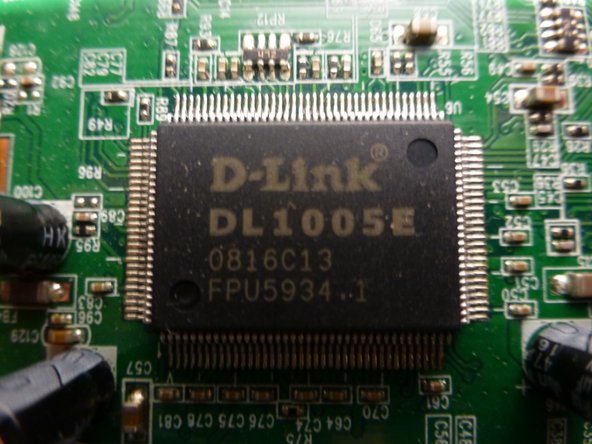
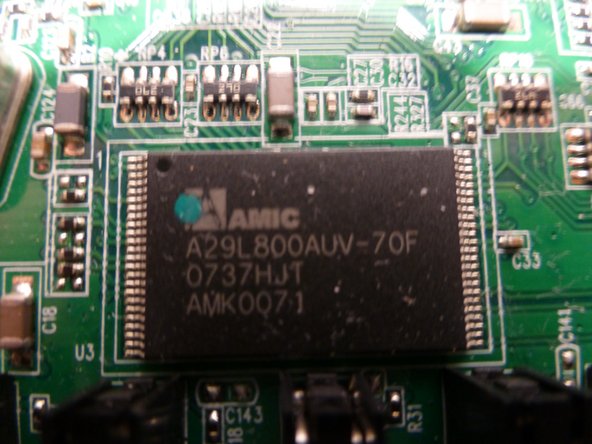
    • This is simply a better look at the board chips. If anone reading this knows specifically what they are, feel free to comment and I will add the information.

    • (There is also one more chip but Ifiixit allows only 3 pictures)

  5. D-link DI-524 Teardown, The lone metal clip: шаг 5, изображение 1 из 2 D-link DI-524 Teardown, The lone metal clip: шаг 5, изображение 2 из 2
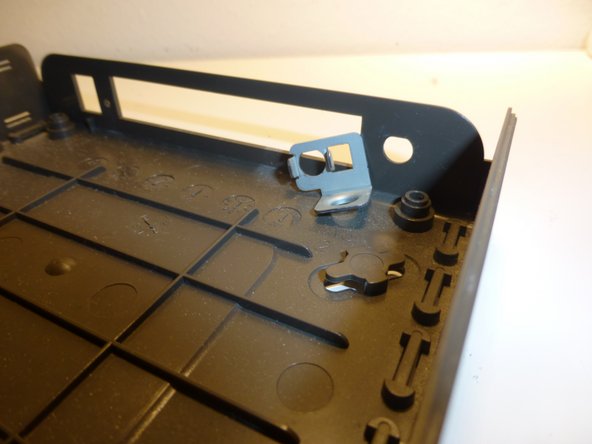
    • The last piece of the router is this small metal clip here. Simply pull it up.

  6. D-link DI-524 Teardown, Thats it!: шаг 6, изображение 1 из 1
    • You have successfully taken apart a D-link DI-524.

    • I was unable to remove anything more from the mother board as it is all soldered on.

Imad Knight

Участник с: 07/11/16

1 429 Репутация

Автор 2 руководств

0 Комментариев

Добавить комментарий

Просмотр статистики:

За последние 24часов: 1

За последние 7 дней: 4

За последние 30 дней: 6

За всё время: 2,551