Перейти к основному содержанию

Выберете то, что вам нужно

Это демонтаж а неруководство по ремонту. Чтобы отремонтировать Dell Optiplex GX620, воспользуйтесь нашим сервисным руководством.

  1. Dell Optiplex GX620 Teardown, Removing the side panel: шаг 1, изображение 1 из 1
    • Start by removing the side panel by rotating the blue knob in the direction of the arrow

  2. Dell Optiplex GX620 Teardown, Removing the floppy drive: шаг 2, изображение 1 из 2 Dell Optiplex GX620 Teardown, Removing the floppy drive: шаг 2, изображение 2 из 2
    • Remove the floppy drive by pressing the marked knob.

    • There might be a screw on the underside of it.

    • Then pull on the tab that came out of the floppy drive to remove it.

  3. Dell Optiplex GX620 Teardown, Removing the hard drive: шаг 3, изображение 1 из 3 Dell Optiplex GX620 Teardown, Removing the hard drive: шаг 3, изображение 2 из 3 Dell Optiplex GX620 Teardown, Removing the hard drive: шаг 3, изображение 3 из 3
    • Remove the hard drive by squeezing the two blue tabs on the side.

    • Then pull the hard drive towards the front of the computer.

    • Pull out the two cables on the hard drive.

    • Then lift the hard drive up and out.

  4. Dell Optiplex GX620 Teardown, Removing blue cover: шаг 4, изображение 1 из 2 Dell Optiplex GX620 Teardown, Removing blue cover: шаг 4, изображение 2 из 2
    • Remove the blue cover with 'DELL' on it. by simply pulling it up and out.

  5. Dell Optiplex GX620 Teardown, Removing the hard drive bracket: шаг 5, изображение 1 из 3 Dell Optiplex GX620 Teardown, Removing the hard drive bracket: шаг 5, изображение 2 из 3 Dell Optiplex GX620 Teardown, Removing the hard drive bracket: шаг 5, изображение 3 из 3
    • Remove the hard drive bracket by unscrewing the two screws.

    • Slide the hard drive bracket to the left and then towards the front of the computer.

    • Unplug the connector for the switch. by pressing the little tab on the connector and pulling it up.

    • And lift the entire bracket out

  6. Dell Optiplex GX620 Teardown, Removing the back screws: шаг 6, изображение 1 из 2 Dell Optiplex GX620 Teardown, Removing the back screws: шаг 6, изображение 2 из 2
    • Unscrew the four screws on the back.

  7. Dell Optiplex GX620 Teardown, Removing the motherboard tray: шаг 7, изображение 1 из 2 Dell Optiplex GX620 Teardown, Removing the motherboard tray: шаг 7, изображение 2 из 2
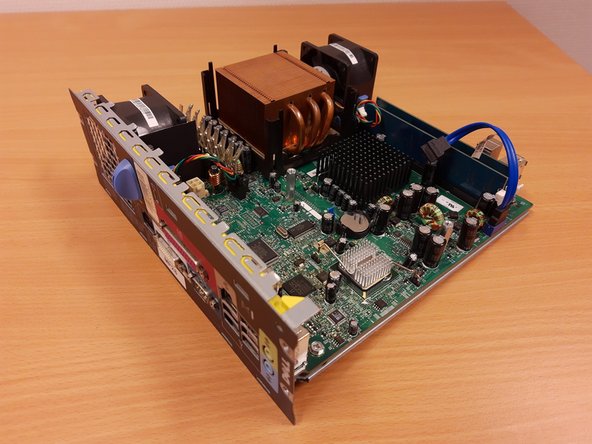
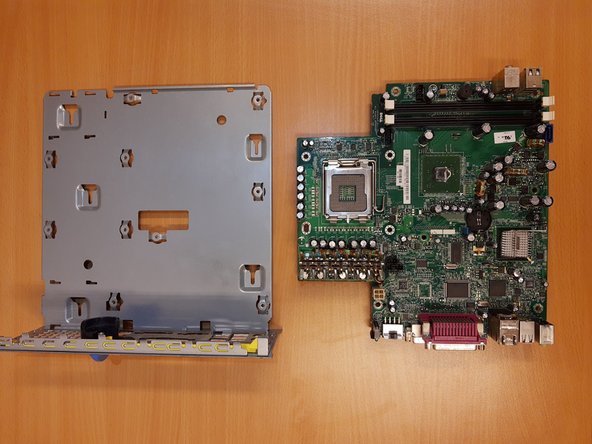
    • Slide the back plate back, as shown in the picture.

    • And lift the motherboard tray up and out

  8. Dell Optiplex GX620 Teardown, Removing the fans: шаг 8, изображение 1 из 2 Dell Optiplex GX620 Teardown, Removing the fans: шаг 8, изображение 2 из 2
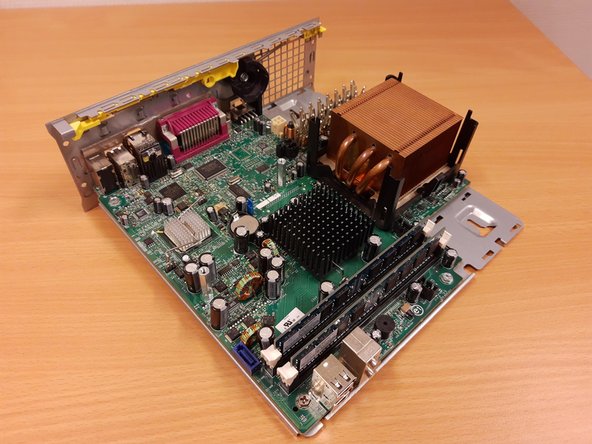
    • Remove both fans by pressing the tab shown in the picture and sliding the fan in the direction shown.

    • Unplug the connector from the fan by pressing on the little tab on the connector and pulling it up. preferably by the housing of the connector, not the wires.

  9. Dell Optiplex GX620 Teardown, Removing the heatsink: шаг 9, изображение 1 из 2 Dell Optiplex GX620 Teardown, Removing the heatsink: шаг 9, изображение 2 из 2
    • Pull back the black tab.

    • Quite a bit of force required

    • Pull the heatsink upwards.

  10. Dell Optiplex GX620 Teardown, Removing the CPU: шаг 10, изображение 1 из 3 Dell Optiplex GX620 Teardown, Removing the CPU: шаг 10, изображение 2 из 3 Dell Optiplex GX620 Teardown, Removing the CPU: шаг 10, изображение 3 из 3
    • Push down on the lever on the left hand side, and push it to the left.

    • Lift the lever up

    • And then lift the bracket up

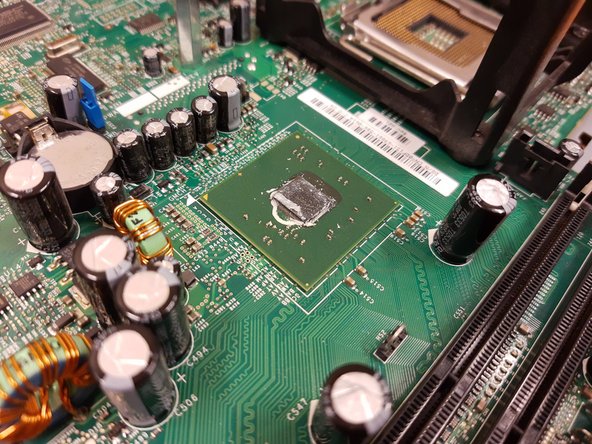
    • Remove the CPU by lifting it straight up by the edges of the green PCB.

    • Be careful not to bed any of the pins of the CPU socket.

  11. Dell Optiplex GX620 Teardown, Removing RAM sticks: шаг 11, изображение 1 из 3 Dell Optiplex GX620 Teardown, Removing RAM sticks: шаг 11, изображение 2 из 3 Dell Optiplex GX620 Teardown, Removing RAM sticks: шаг 11, изображение 3 из 3
    • Remove the RAM sticks by pulling the white tabs away from the RAM sticks.

    • Pull up and the RAM stick, it should be loose now, if not redo step 1.

    • Do the same for the second RAM stick.

  12. Dell Optiplex GX620 Teardown, Removing the graphics heat sink.: шаг 12, изображение 1 из 2 Dell Optiplex GX620 Teardown, Removing the graphics heat sink.: шаг 12, изображение 2 из 2
    • Remove the heat sink for the graphics chip by pressing the metal tab down and out of the hole.

    • Be VERY careful to keep the heat sink flat whilst removing it, otherwise you might crack the die.

  13. Dell Optiplex GX620 Teardown, Removing the heatsink bracket: шаг 13, изображение 1 из 2 Dell Optiplex GX620 Teardown, Removing the heatsink bracket: шаг 13, изображение 2 из 2
    • Unscrew the four screws holding the bracket that holds the heatsink.

    • Be careful not to drop any screws in the CPU socket.

    • Remove the plastic bracket

  14. Dell Optiplex GX620 Teardown, Removing the CMOS battery: шаг 14, изображение 1 из 2 Dell Optiplex GX620 Teardown, Removing the CMOS battery: шаг 14, изображение 2 из 2
    • Remove the CMOS battery by pushing the tab marked in the picture to the left. And the battery will pop out.

    • using a screwdriver might help.

  15. Dell Optiplex GX620 Teardown, Removing the motherboard from the motherboard tray: шаг 15, изображение 1 из 3 Dell Optiplex GX620 Teardown, Removing the motherboard from the motherboard tray: шаг 15, изображение 2 из 3 Dell Optiplex GX620 Teardown, Removing the motherboard from the motherboard tray: шаг 15, изображение 3 из 3
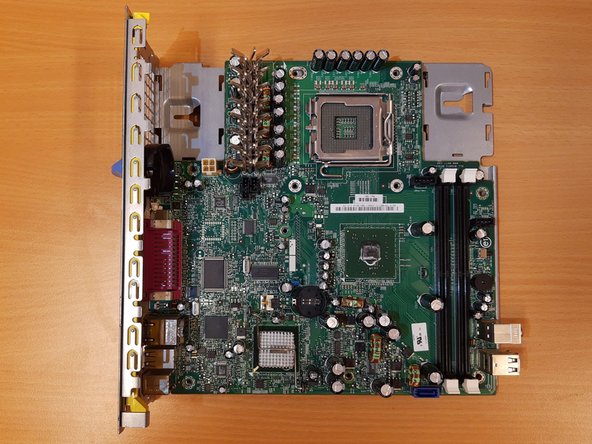
    • Remove the three screws and two standoffs from the motherboard.

    • Lift the motherboard from the motherboard bracket.

    • Again be careful not to drop any screws in the CPU socket.

  16. Dell Optiplex GX620 Teardown, All the components: шаг 16, изображение 1 из 1
    • And there you have it, all the components of the Dell Optiplex GX620.

G. van Marle

Участник с: 11/17/20

253 Репутация

1 руководство автора

0 Комментариев

Добавить комментарий

Просмотр статистики:

За последние 24часов: 0

За последние 7 дней: 2

За последние 30 дней: 10

За всё время: 1,611