Перейти к основному содержанию

Выберете то, что вам нужно

Это демонтаж а неруководство по ремонту. Чтобы отремонтировать Digital Caliper, воспользуйтесь нашим сервисным руководством.

  1. Digital Caliper Teardown, Remove Battery: шаг 1, изображение 1 из 2 Digital Caliper Teardown, Remove Battery: шаг 1, изображение 2 из 2
    • Slide the battery compartment open.

    • Pull out the battery.

  2. Digital Caliper Teardown, Screw out the housing: шаг 2, изображение 1 из 2 Digital Caliper Teardown, Screw out the housing: шаг 2, изображение 2 из 2
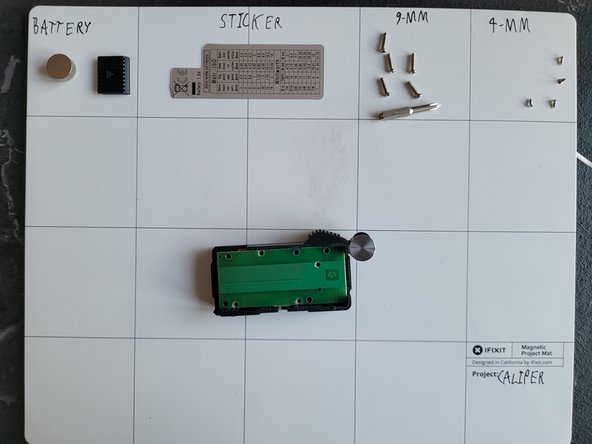
    • Remove the sticker and place it on a clean sticker-friendly surface.

    • Screw out the 9-mm screws using the J0 Bit.

  3. Digital Caliper Teardown, Housing dissasembly: шаг 3, изображение 1 из 3 Digital Caliper Teardown, Housing dissasembly: шаг 3, изображение 2 из 3 Digital Caliper Teardown, Housing dissasembly: шаг 3, изображение 3 из 3
    • Screw out the 4-mm screws holding the PCB in place. Use the J000 bit.

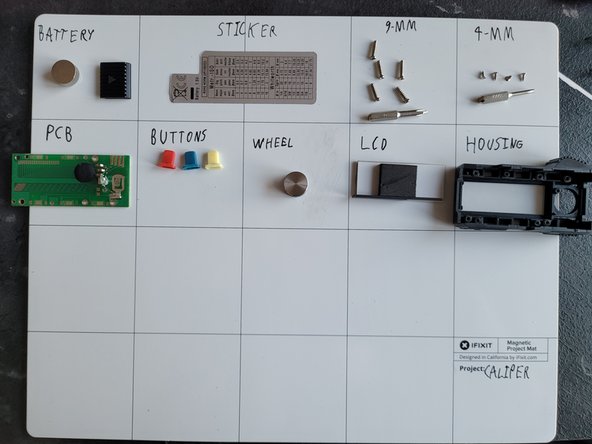
    • Now take out all the parts from the housing.

  4. Digital Caliper Teardown, Body: шаг 4, изображение 1 из 2 Digital Caliper Teardown, Body: шаг 4, изображение 2 из 2
    • Remove the right/bottom 6mm screws.

    • Then the last 2 and the tightener screws. So you can pull it apart.

Sebastian

Участник с: 12/02/21

532 Репутация

Автор 2 руководств

0 Комментариев

Добавить комментарий

Просмотр статистики:

За последние 24часов: 5

За последние 7 дней: 22

За последние 30 дней: 106

За всё время: 1,515