Введение
I will teach you how to dissect a Dualshock 2 controller, along with teach you a bit about how the device works
Выберете то, что вам нужно
-
-
There are 6 screws that you will want to remove on the back of the Dualshock 2 controller. All pictures show the same thing essentially, but because of Ifixit's odd picture cropping system, every screw appears at least once throughout the 3 photos.
-
-
-
The casing should come right off, followed by the circuit board, the the white-plastic part. Make sure to keep track of all your buttons, as when you are taking it apart, they can be lost easily.
-
-
-
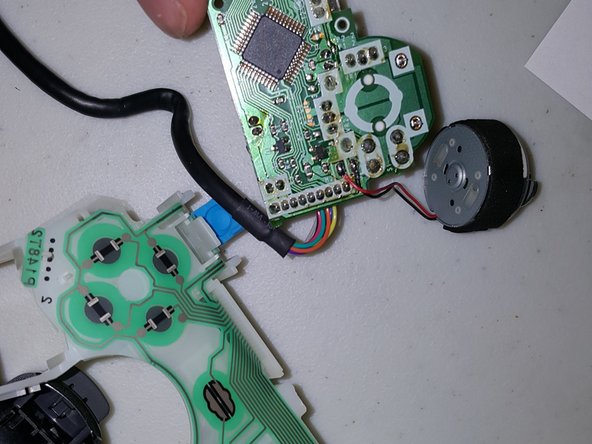
The first picture shows a fully deconstructed circuit board, while the second and third pictures shows the trigger board (the board which receives each individual input)
-
-
-
-
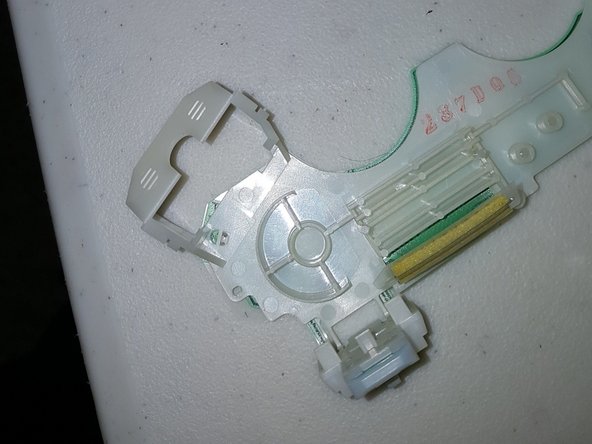
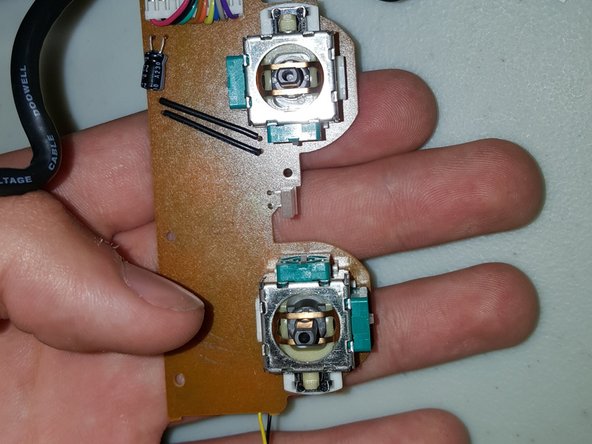
In the first picture, you can see the bottom of the top shell of the Dualshock 2 controller. In the second one, you can see the joysticks without the rubber part.
-
-
-
How it works''' This little plastic bulge is actually just a piece of magnetized ferrite. What it does is allow for reduce electrical interference and thereby enable more efficient flow of electrons or electrical current to and from the device.
-
-
-
Each of these buttons has a tiny curved disk attached to its bottom. This disk is very conductive. When the button is pressed, the disk is pushed against a thin conductive strip mounted on the controller's circuit board.
-
If the button is pressed lightly, the bottom part of the curved disk is all that touches the strip, increasing the level of conductivity slightly. As the button is pressed harder, more of the disk comes into contact with the strip, gradually increasing the level of conductivity.
-
This varying degree of conductivity makes the buttons pressure-sensitive (meaning pushing the button harder does have some merit to it)!
-
-
-
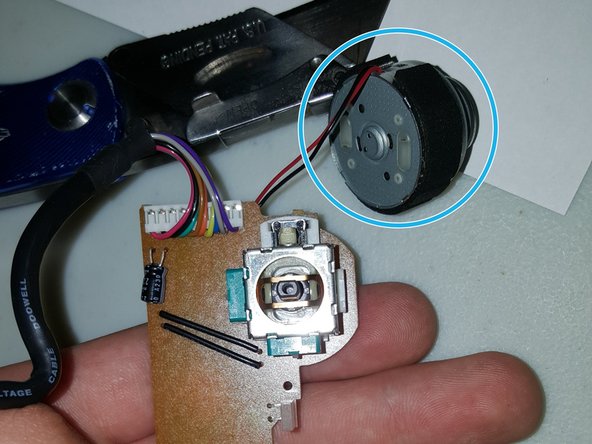
The final great feature about the dualshock 2 controller is it’s vibration feature. In a racing game, when you slam into a wall, you can feel the impact in your hands! The specific name for this is Force Feedback.This provides a tactile feature to the controller, allowing you to feel a sensation, even when you may not see it.
-
Force feedback is accomplished through the use of a very common device, a simple electric motor. In the Dualshock 2 controller, two motors are used, one in each handgrip. The shaft of each motor holds an unbalanced weight. When power is supplied to the motor, it the weight spins.
-
Because the weight is unbalanced, the motor tries to wobble. But since the motor is securely mounted inside the controller, the wobble translates into a shuddering vibration of the controller itself.
-
-
-
And, of course, all the power and inputs travel through this wire through what I believe is a series circuit.
-


Один комментарий
Super je me suis toujours demandéé à quoi servait le “tube” sur le cordon !