Введение
Elephone P6000 was one of the first Chinese smartphones those have 64 bit chipset at begining of 2015. And the model received good feedbacks from customers because of the good build quality and third party ROM support like CM12.1, VIBE 2.5, ColorOS and Flyme etc. Good news is that Elephone upgraded P6000 with Octa core World Mode MT6753 SoC and 3GB RAM. Let’s dive in and tear down the smartphone and take a look at what’s inside this beauty.
Выберете то, что вам нужно
-
-
The 2700mAh battery takes up more than half of the space inside, the dimensions are 76*60*5.0mm.
-
This battery definitely guarantees one day battery life. The battery would last for two days for light users.
-
-
-
The GPS, wifi, Bluetooth integrated antenna is located at top left. On the right side, there is one of the two network antenna, the other network antenna is located at the bottom of the phone. SIM cards slots and TF card slot are under the camera.
-
-
-
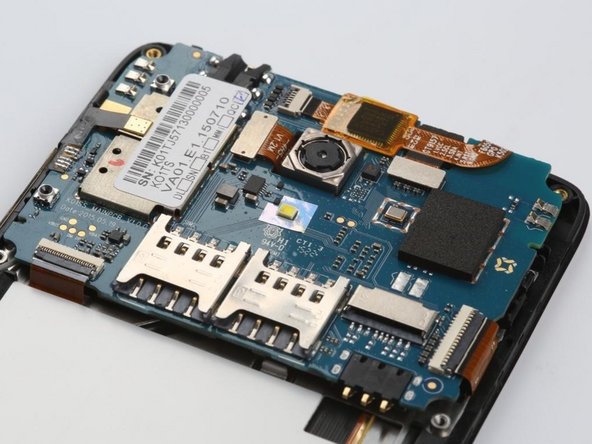
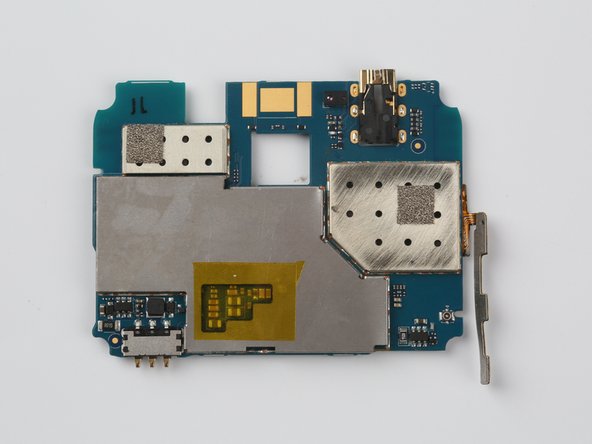
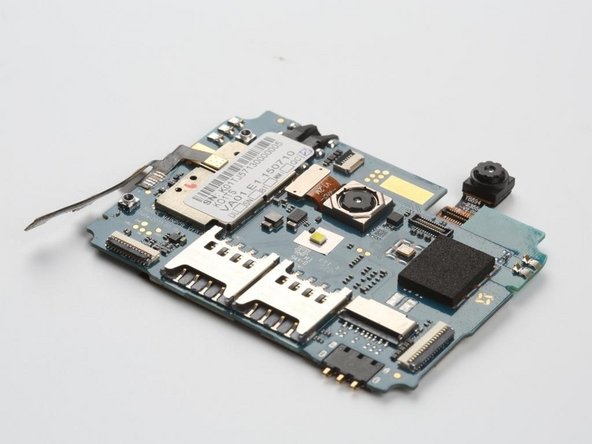
After removing all the screws, we see the mother board which integrates all the chips and cameras. The parts are beautifully organized and we see the a bar code sticker glued on the welded metal cover.
-
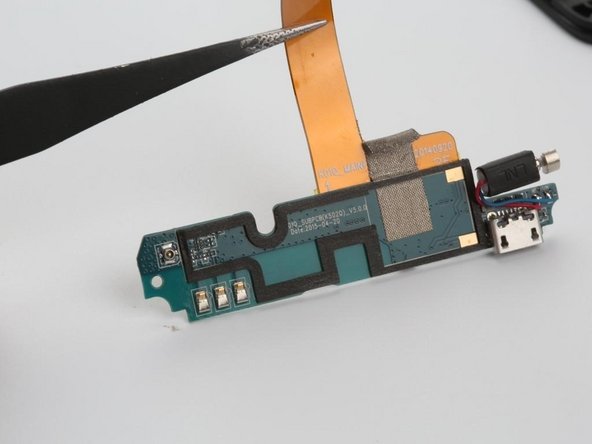
The secondary board integrates a USB port, a microphone and a vibration motor which is soldered on the board. It’s fastened by screws.
-
-
-
-
On top you can see the Dual Micro SIM card (dual standby) and the the camera module.
-
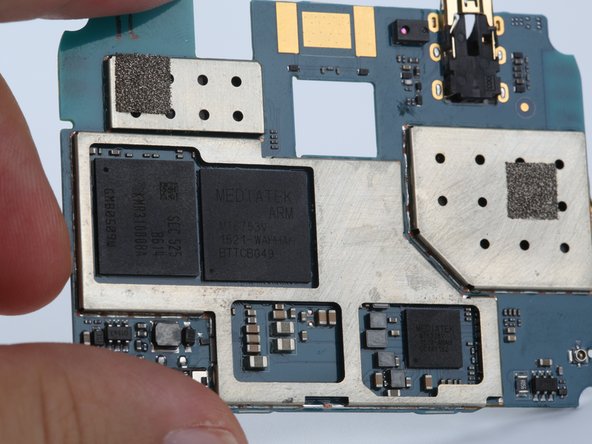
On the bottom of the mainboard you can see the Octa Core MT6753 chip and the Mali T720 GPU.
-
-
-
Carefully remove the FPC (Flexible printed circuit) connection on the mother board, and peel off the protective sticker. There is a piece of FPC connects the secondary board.
-
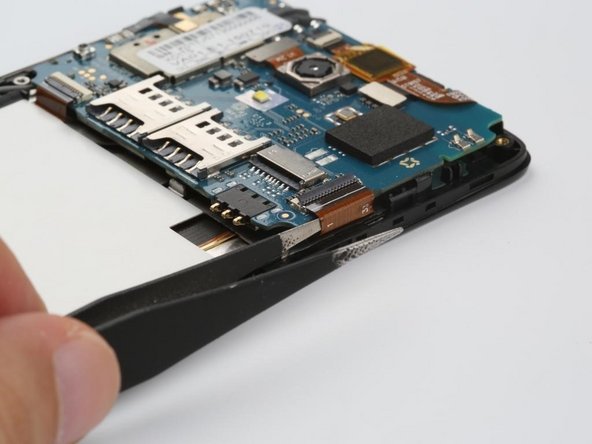
To take the mother board off, remove the FPC connection with the display. It’s located on the right of the board.
-
-
-
Then gently prize up the joint of TP (Touch panel)
-
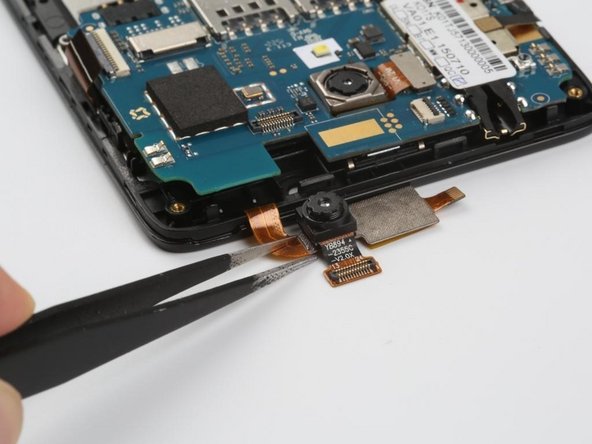
Disconnect the 2MP front camera.
-
The button volume and power button is glued tightly on the frame, so prize that up with great caution. Then we can take the mother board out.
-
-
-
The picture shows the OmniVision 13MP primary camera and 2MP front camera.
-
-
-
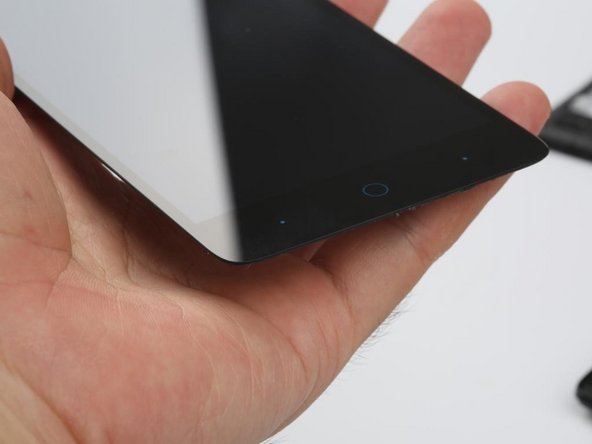
The LG 5.0” display adopts OGS and IPS technology, which makes the touch panel as thin as 0.79mm and have outstanding viewing angle.
-
The phone uses metal plate behind the screen to enhence the strength and toughness.
-