Перейти к основному содержанию

Выберете то, что вам нужно

Это демонтаж а неруководство по ремонту. Чтобы отремонтировать Space Heater, воспользуйтесь нашим сервисным руководством.

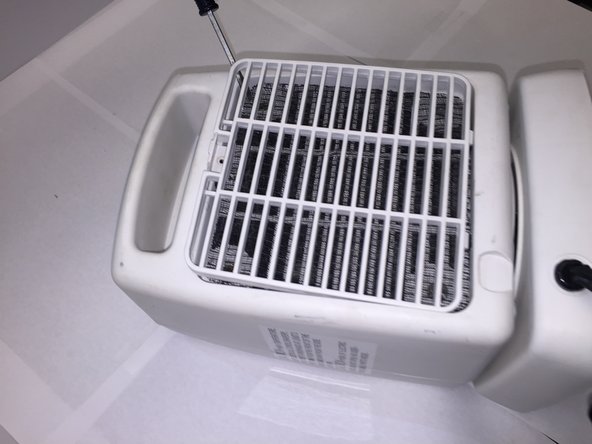
  1. Essential Home HC-409 Teardown, Removed protective grill: шаг 1, изображение 1 из 3 Essential Home HC-409 Teardown, Removed protective grill: шаг 1, изображение 2 из 3 Essential Home HC-409 Teardown, Removed protective grill: шаг 1, изображение 3 из 3
    • Remove the grill from corner to corner.

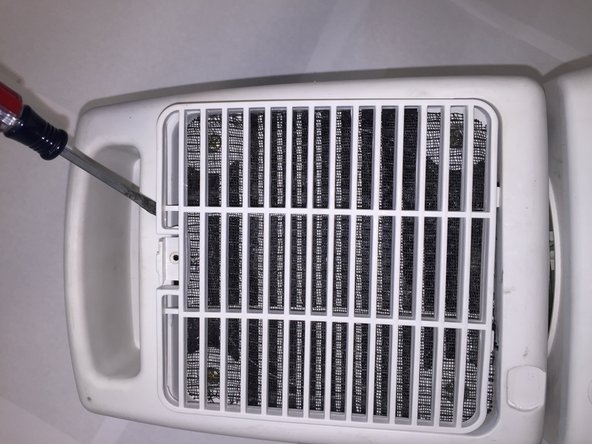
  2. Essential Home HC-409 Teardown, Unscrewed the four screws in the front of the heater: шаг 2, изображение 1 из 2 Essential Home HC-409 Teardown, Unscrewed the four screws in the front of the heater: шаг 2, изображение 2 из 2
    • Carefully remove the screws and place them aside.

  3. Essential Home HC-409 Teardown, Removed filter cover on the back of the heater: шаг 3, изображение 1 из 3 Essential Home HC-409 Teardown, Removed filter cover on the back of the heater: шаг 3, изображение 2 из 3 Essential Home HC-409 Teardown, Removed filter cover on the back of the heater: шаг 3, изображение 3 из 3
    • As seen in the pictures, set the screwdriver on the edge of the cover and pry it out.

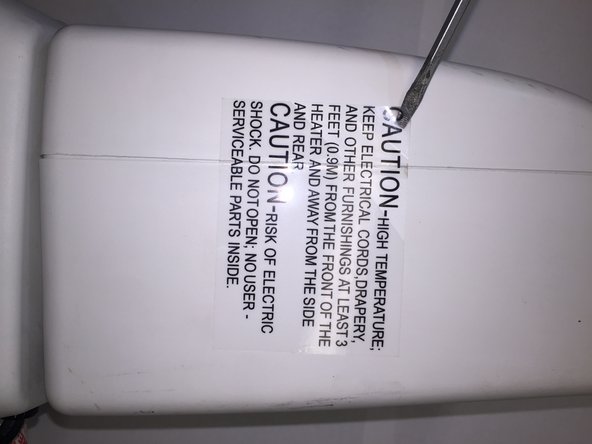
  4. Essential Home HC-409 Teardown, Remove safety sticker: шаг 4, изображение 1 из 2 Essential Home HC-409 Teardown, Remove safety sticker: шаг 4, изображение 2 из 2
    • Remove sticker in order to open the plastic casing of the heater.

  5. Essential Home HC-409 Teardown, Pry the product in half: шаг 5, изображение 1 из 2 Essential Home HC-409 Teardown, Pry the product in half: шаг 5, изображение 2 из 2
    • Slowly and carefully pry the plastic casing.

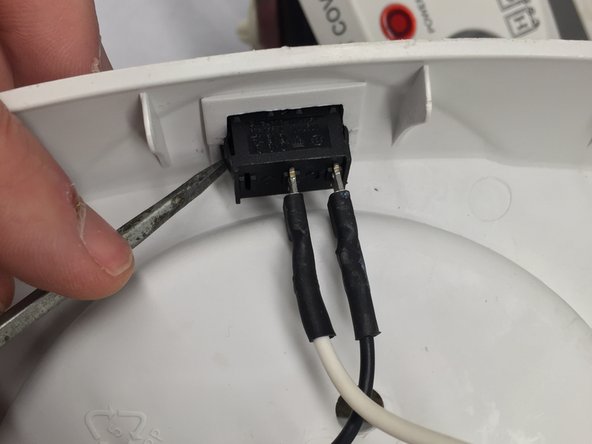
  6. Essential Home HC-409 Teardown, Remove the switch: шаг 6, изображение 1 из 2 Essential Home HC-409 Teardown, Remove the switch: шаг 6, изображение 2 из 2
    • Apply pressure onto the sides of the switch while pushing it outwards.

  7. Essential Home HC-409 Teardown, Remove fan: шаг 7, изображение 1 из 3 Essential Home HC-409 Teardown, Remove fan: шаг 7, изображение 2 из 3 Essential Home HC-409 Teardown, Remove fan: шаг 7, изображение 3 из 3
    • Unscrew the four screws located in the rear of the device. Remove the fan.

Garland Poon

Участник с: 04/03/12

126 Репутация

1 руководство автора

Команда

Cal Poly, Team 14-8, Forte Spring 2012 Участник Cal Poly, Team 14-8, Forte Spring 2012

CPSU-FORTE-S12S14G8

5 членов

Автор 17 руководств

Один комментарий

I keep having problems with that little part that looks like a pen cap - white plastic. Is it a connector ou a fuse?

Cristina S - Ответить

Добавить комментарий

Просмотр статистики:

За последние 24часов: 1

За последние 7 дней: 4

За последние 30 дней: 6

За всё время: 1,453