Перейти к основному содержанию

Выберете то, что вам нужно

Это демонтаж а неруководство по ремонту. Чтобы отремонтировать Etón Scorpion, воспользуйтесь нашим сервисным руководством.

  1. Etón Scorpion Teardown, Etón Scorpion Teardown: шаг 1, изображение 1 из 3 Etón Scorpion Teardown, Etón Scorpion Teardown: шаг 1, изображение 2 из 3 Etón Scorpion Teardown, Etón Scorpion Teardown: шаг 1, изображение 3 из 3
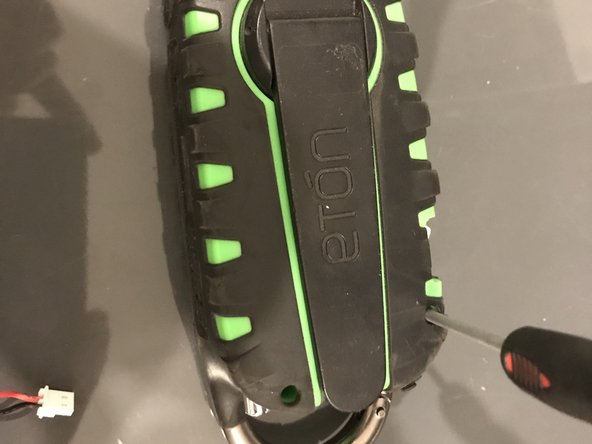
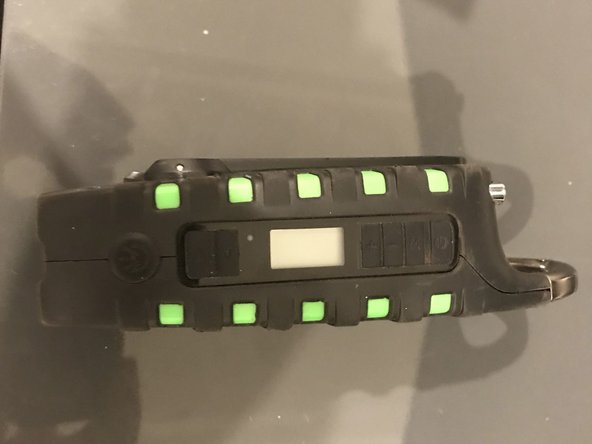
    • The front of the device has a solar panel and a speaker grill.

    • The only obvious screws are the battery cover and the back.

  2. Etón Scorpion Teardown: шаг 2, изображение 1 из 3 Etón Scorpion Teardown: шаг 2, изображение 2 из 3 Etón Scorpion Teardown: шаг 2, изображение 3 из 3
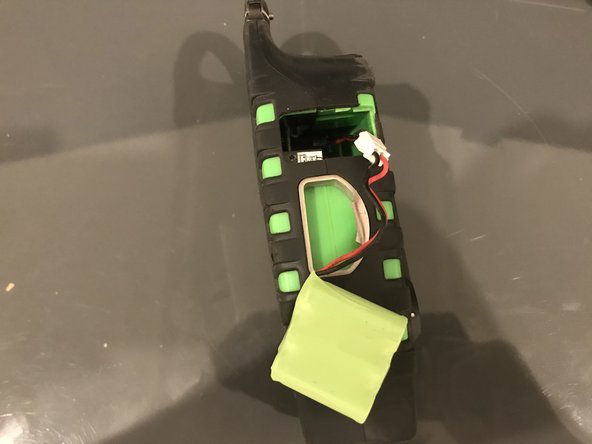
    • Removing the battery cover reveals an easily user-replaceable battery (hooray!)

    • It takes a single Phillips head screwdriver

  3. Etón Scorpion Teardown: шаг 3, изображение 1 из 3 Etón Scorpion Teardown: шаг 3, изображение 2 из 3 Etón Scorpion Teardown: шаг 3, изображение 3 из 3
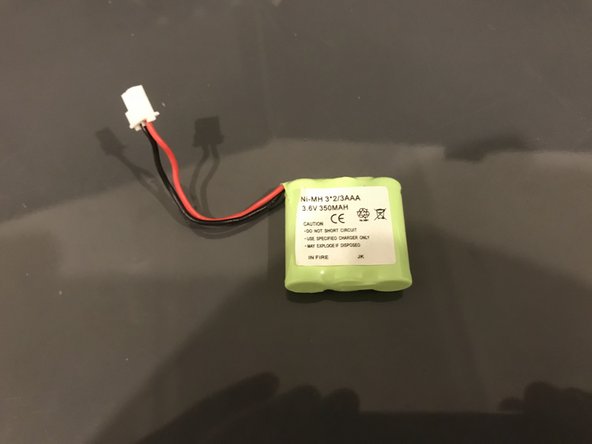
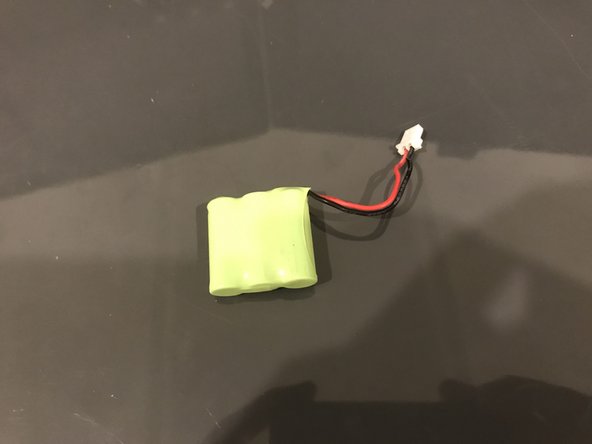
    • Removing the battery shows a standard form factor.

    • If you're looking for a replacement, I've got you.

  4. Etón Scorpion Teardown: шаг 4, изображение 1 из 1
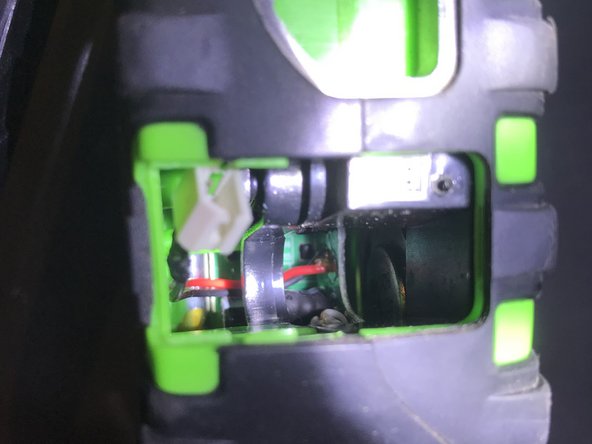
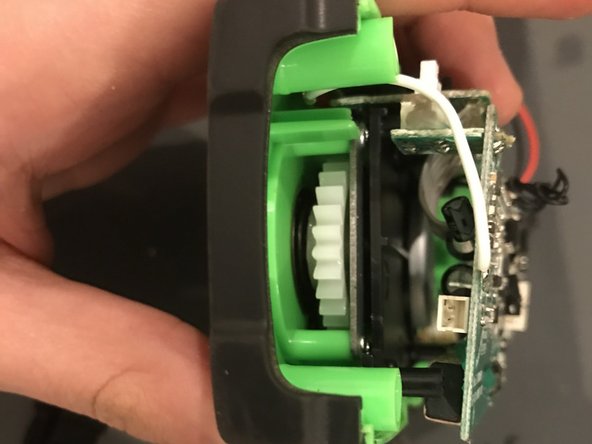
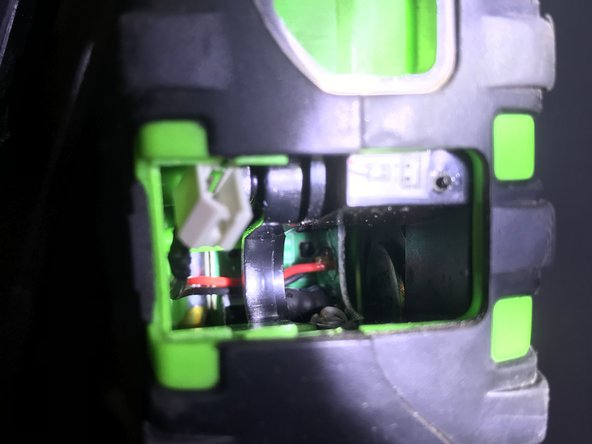
    • Peeking inside with a flashlight and camera, we can see some internals.
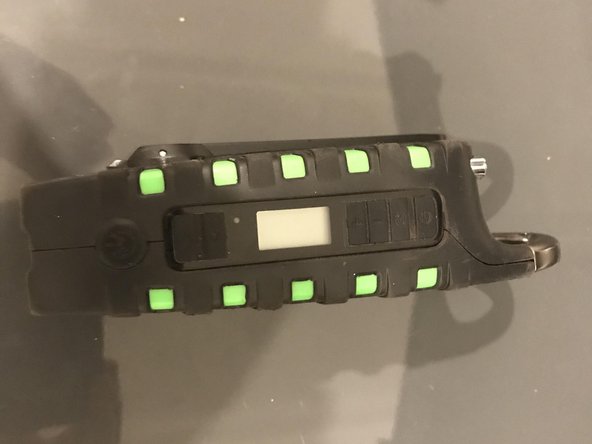
    • Let's get inside!

  5. Etón Scorpion Teardown: шаг 5, изображение 1 из 3 Etón Scorpion Teardown: шаг 5, изображение 2 из 3 Etón Scorpion Teardown: шаг 5, изображение 3 из 3
    • Removing the 4 screws and pulling apart the 2 halves worked

    • Let's look inside!

  6. Etón Scorpion Teardown: шаг 6, изображение 1 из 2 Etón Scorpion Teardown: шаг 6, изображение 2 из 2
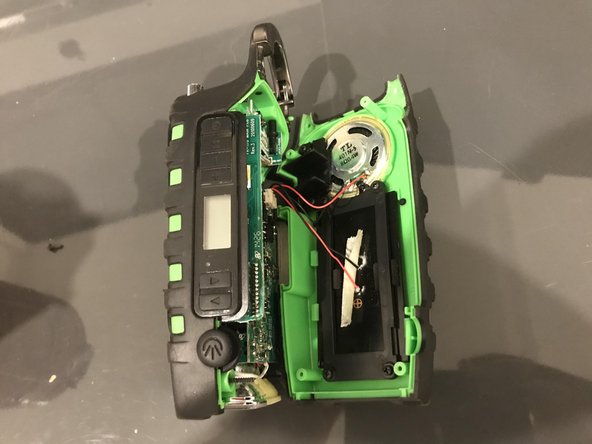
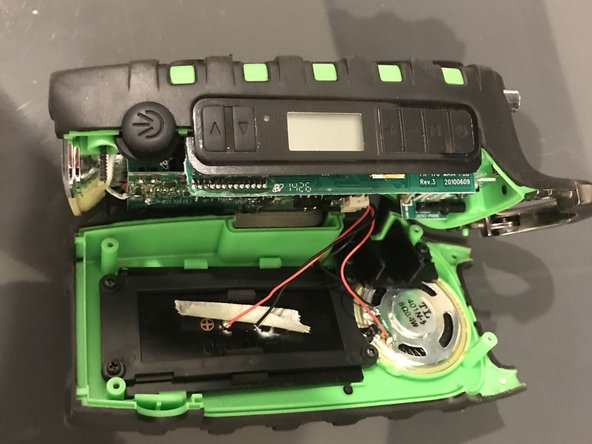
    • immediately, we can see the speaker and solar panel.

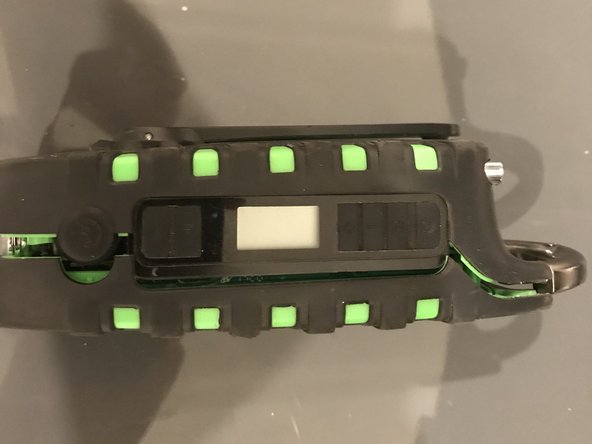
    • I spot user-removable plugs. Horray!

  7. Etón Scorpion Teardown: шаг 7, изображение 1 из 1
    • After pulling away the cables from the 2 plugs, we are free to keep tearing down!

  8. Etón Scorpion Teardown: шаг 8, изображение 1 из 2 Etón Scorpion Teardown: шаг 8, изображение 2 из 2
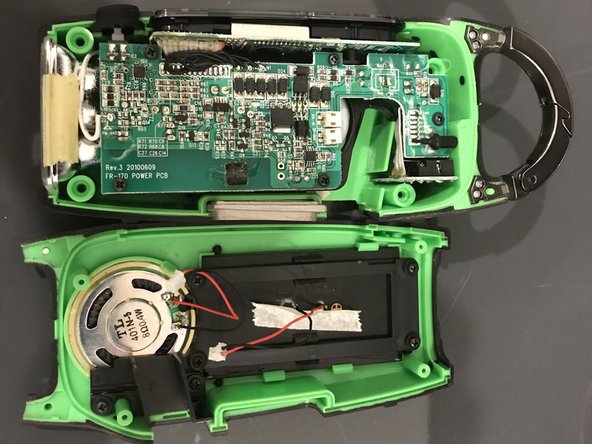
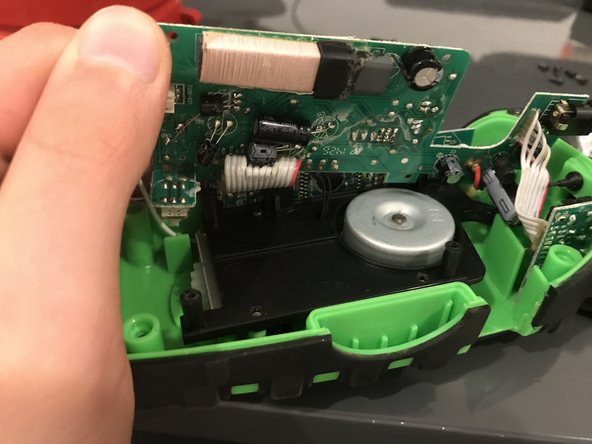
    • There are 5 Phillips head screws securing the power board in place. Removing them allows some give to peek inside.

  9. Etón Scorpion Teardown: шаг 9, изображение 1 из 2 Etón Scorpion Teardown: шаг 9, изображение 2 из 2
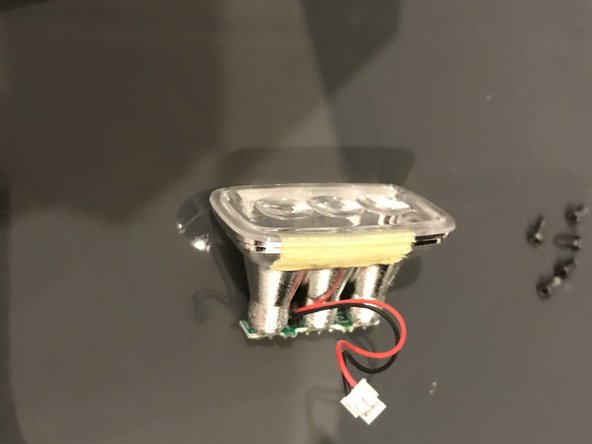
    • The flashlight module is also removable, with a single jack holding the cable in place.

    • Once again, a win for repairability.

  10. Etón Scorpion Teardown: шаг 10, изображение 1 из 3 Etón Scorpion Teardown: шаг 10, изображение 2 из 3 Etón Scorpion Teardown: шаг 10, изображение 3 из 3
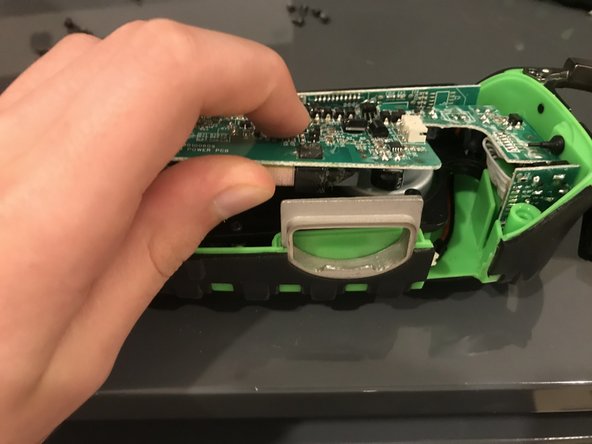
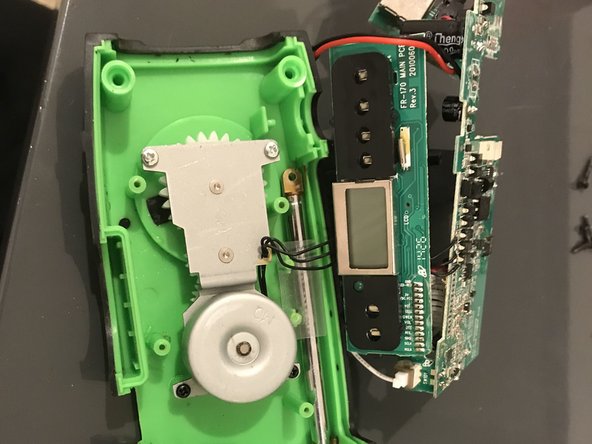
    • Pulling the power board away harder allows it to bend

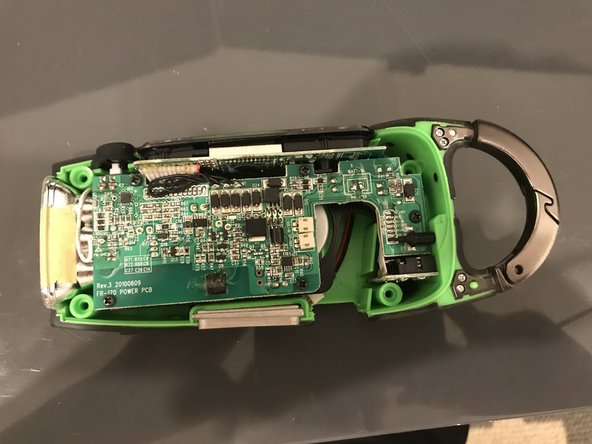
    • here, we can see the underside, and how it REALLY works.

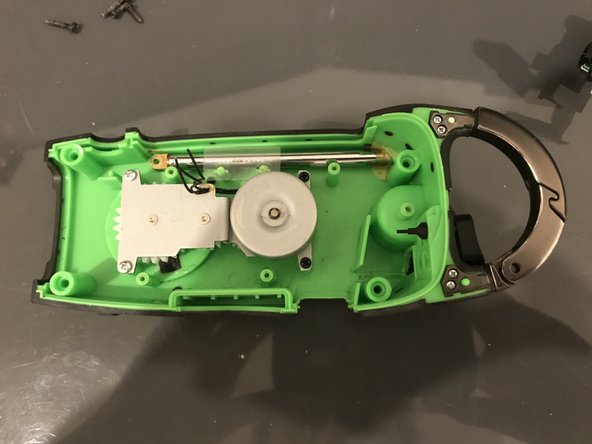
    • We can also see the hand crank generator on the bottom

    • to the right, is the USB and audio board. There is a ribbon cable connecting it, and it isn't user removable. :(

    • The power board and the main board are also user-inseparable :(

  11. Etón Scorpion Teardown, Conclusion: шаг 11, изображение 1 из 3 Etón Scorpion Teardown, Conclusion: шаг 11, изображение 2 из 3 Etón Scorpion Teardown, Conclusion: шаг 11, изображение 3 из 3
    • To wrap it up, we saw examples of both good and bad repairability, as all the circuit board are inseparable, but the battery and other components that may break more easily are connected by a standard port.

    • All the screws, no matter how big or small, were standard Phillips Head, and not some weird GameBit screw. (Looking at you, Nintendo!)

    • It's significantly better than most devices out there, but not perfect. It's great for most consumers, unless you want to replace a specific circuit board.

9021007

Участник с: 07/13/18

4 599 Репутация

Автор 25 руководств

Один комментарий

How do you get to the antenna?

Jeremie Spriggs - Ответить

Добавить комментарий

Просмотр статистики:

За последние 24часов: 0

За последние 7 дней: 6

За последние 30 дней: 14

За всё время: 768