Перейти к основному содержанию

Это демонтаж а неруководство по ремонту. Чтобы отремонтировать Flatron E2742 Monitor, воспользуйтесь нашим сервисным руководством.

  1. Flatron E2742 Monitor Teardown, Removing the back: шаг 1, изображение 1 из 3 Flatron E2742 Monitor Teardown, Removing the back: шаг 1, изображение 2 из 3 Flatron E2742 Monitor Teardown, Removing the back: шаг 1, изображение 3 из 3
    • 1 - Remove the three screws on the back

    • 2 - Slip iFixit Opening Pick between the back and front.

    • 3 - use an iFixit Opening Tool to pry the halves apart. Work your way slowly around moving the pick until it stops and then prying with the Opening Tool.

  2. Flatron E2742 Monitor Teardown: шаг 2, изображение 1 из 3 Flatron E2742 Monitor Teardown: шаг 2, изображение 2 из 3 Flatron E2742 Monitor Teardown: шаг 2, изображение 3 из 3
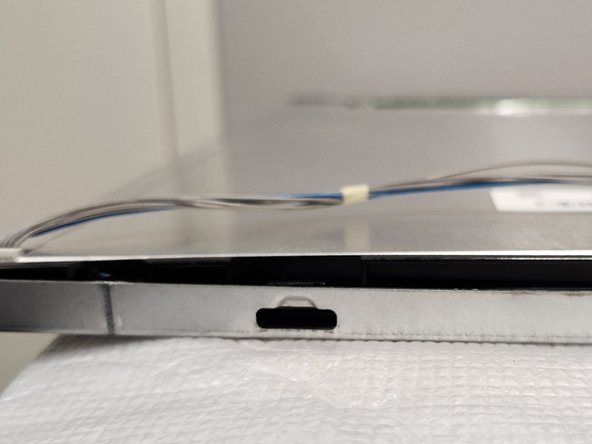
    • There are 3 connections and 6 screws that need to be removed.

    • The top connection needs to removed before you can pull off the white tape. Squeeze the tabs in and pull down.

    • Pry up the clip locks up before pulling out.

  3. Flatron E2742 Monitor Teardown: шаг 3, изображение 1 из 1
    • There are several clips holding the front shroud on.

  4. Flatron E2742 Monitor Teardown: шаг 4, изображение 1 из 2 Flatron E2742 Monitor Teardown: шаг 4, изображение 2 из 2
    • Remove the 2 screws and pry the sheet metal past the black tabs to separate the LDC module.

Michael M

Участник с: 12/01/23

109 Репутация

1 руководство автора

0 Комментариев

Добавить комментарий

Просмотр статистики:

За последние 24часов: 2

За последние 7 дней: 5

За последние 30 дней: 12

За всё время: 152