Введение
Before you take apart your Free Wheelchair Mission GEN 1 wheelchair familiarize yourself with tools you will be using with the Free Wheelchair Mission Tools Maintenance Guide.
Выберете то, что вам нужно
-
-
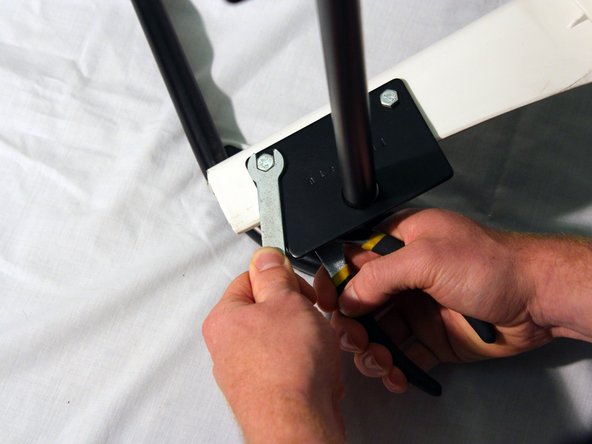
Start by finding the pump on the back of the wheelchair.
-
Remove the screw that holds the pump to the frame with a 10 mm wrench.
-
-
-
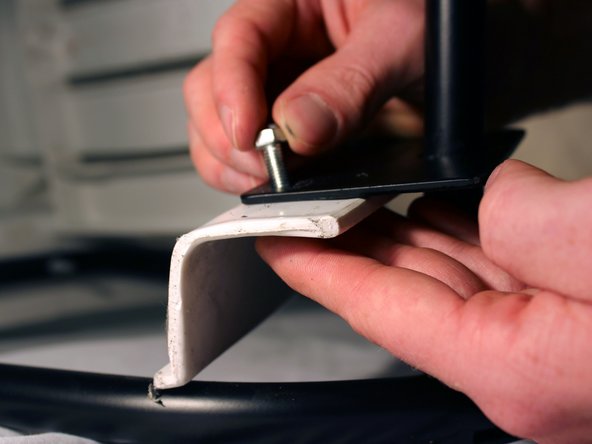
To remove the footrest, turn it upside-down and use the 10 mm box wrench to take out all four of the screws.
-
-
-
Untie the four ties around the corners and back of the chair by pulling the strings.
-
Remove the cushion from the chair.
-
-
-
-
Use the 10 mm box wrench to unscrew the two screws that hold the brake to the frame.
-
Remove the brake from the frame.
-
-
-
Use a 19 mm socket wrench to unscrew the axle bolt.
-
Use a 19 mm adjustable wrench (also known as a Crescent wrench) to prevent the nut from spinning.
-
Slide the wheel off the frame.
-
-
-
Turn the chair around to see the two base plates that hold the axle to the back of the chair. There are two screws on each of the plates that connect the chair to the axle.
-
Hold the nut with a 10 mm wrench in one hand. In the other hand, use a wrench to remove the screw.
-
-
-
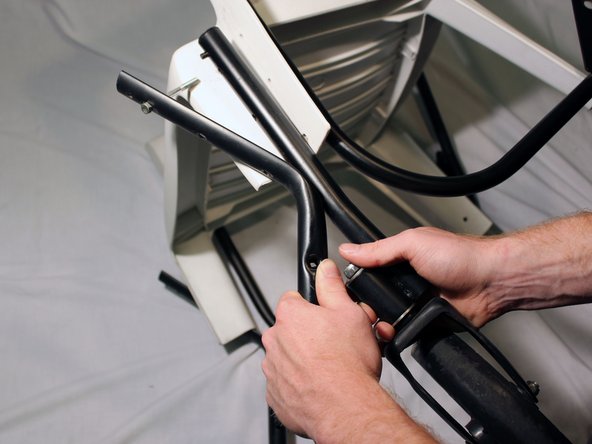
Next you'll remove the screws that hold the back frame, chair, castor wheel, and front frame together. There is one screw on each side of the chair immediately above where the brakes are located.
-
Remove both of these screws using a 10 mm wrench.
-
Separate the front frame and and the castor wheel from the chair.
-


Команда

Cal Poly, Team 14-7, Maness Spring 2013 Участник Cal Poly, Team 14-7, Maness Spring 2013
CPSU-MANESS-S13S14G7
5 членов
Автор 7 руководств