Выберете то, что вам нужно
-
-
The HP Creator 930 Mouse is a mouse aimed at Creative professionals. It offers upto 3 device connections at a time - 2 via bluetooth and 1 via 2.4G dongle.
-
The mouse supports sideways tilt scrolling, and has 4 additional buttons.
-
3 of the side buttons can be remapped to be used with macros and other functions, via the HP desktop application.
-
-
-
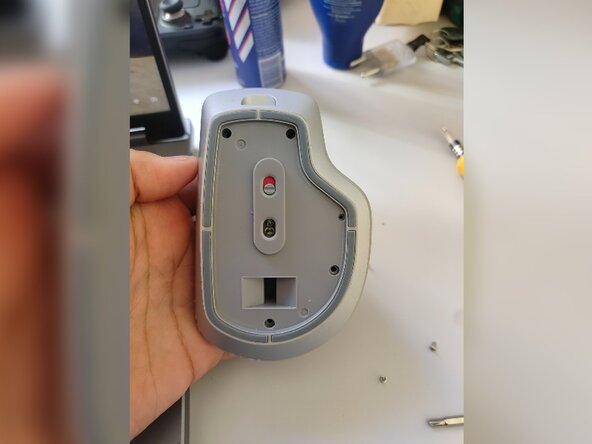
Flip over the mouse so that the bottom faces up. The sensor and switch should be visible.
-
-
-
-
The bottom lid of the mouse would be held fastened with a magnet.
-
To open it, you must press the indentation with your thumb and the lid will pop out.
-
-
-
Using a sharp knife or tweezers, try to pry off the sticker that is visible on the mouse. It hides the screws underneath the sticker.
-
Beware - the sticker may not be usable any longer, so you should click a picture for the details mentioned on it.
-
-
-
There are a total of 4 screws that are holding the mouse together.
-
2 screws are on the top, 1 on the right side, and 1 on the bottom.
-
The screws have a Y-type head, and you may require a suitable screwdriver.
-
-
-
Prying open the mouse should be fairly easy - just use pressure to pull the top off.
-