Выберете то, что вам нужно
-
-
Here's the Bop-It Toy! Compared to older versions of the game this one is more compact, thus allowing for more portability.
-
-
-
Next we'll remove the batteries. Fortunately when purchasing the toy these batteries were included.
-
-
-
Now we're ready to take apart the rest of the Bop-It toy.
-
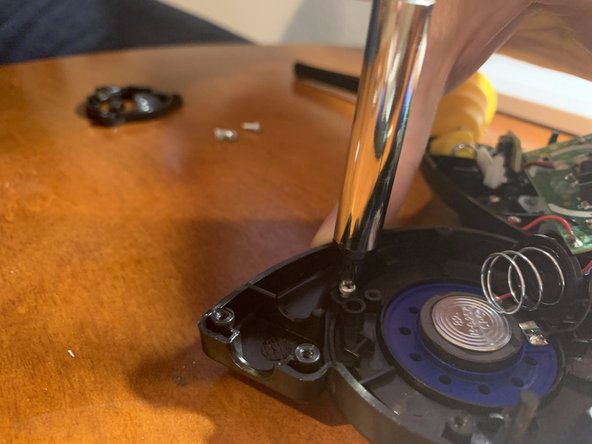
For the two additional screws in the middle we needed to use a thinner, longer Phillips screwdriver to reach the screws.
-
-
-
-
When pulling both parts of the game apart, we made sure that no loose parts such as the spring shown fell off.
-
-
-
With the Bop It opened up, we can see the different components that make the game work:
-
The button used to detect a twist. Looks like instead of using a dedicated sensor to detect a twist, the toy connects the twist to a lever to push a button. Maybe this was done to save money, but this may not make the toy as durable.
-
The button used to detect a pull. Like the twist part, this also uses a button instead of a dedicated sensor.
-
The button that detects a bop. Since a bop is just a button press, this one doesn't need any additional fancy mechanical parts.
-
The speaker. It looks like it has a spring over it that makes "bopping it" as fun as it is.
-
The microcontroller. It's covered up by a glob top, so we can't actually tell what type of microcontroller it is unfortunately.
-
-
-
Now let's see if there's anything else under the PCB.
-
Unfortunately, there wasn't really much to see beside the reset button and a few capacitors.
-
-
-
Alright, just a few more screws to go.
-
Along with the speakers itself, we could also see another spring connected to it. This spring might be there to protect the speaker from any damage after "bopping it".
-
-
-
Thanks for taking a look at this teardown! Special thanks to Travis Vo for helping out with the teardown.
-


