Введение
Having a look into the Moodo Smart Aroma Diffuser.
You can also use this as a guide to replace a fan.
Выберете то, что вам нужно
-
-
The device can be opened by removing the 4 Philips screws visible from the bottom
-
-
-
-
The fan and air guidance assembly is attached to the main PCB with 2 screws.
-
Each fan has one connector for power and one for the pod sensor - these need to be disconnected from the PCB before removing the fan assembly. If you want to replace a fan, you will need to unhook the sensor cables from the sides.
-
Fans used are: 1604KL-01W-B39-B00 NMB Technologies DC Fans DC Axial Fan, 40x10mm, 5VDC, 4.2CFM
-
-
-
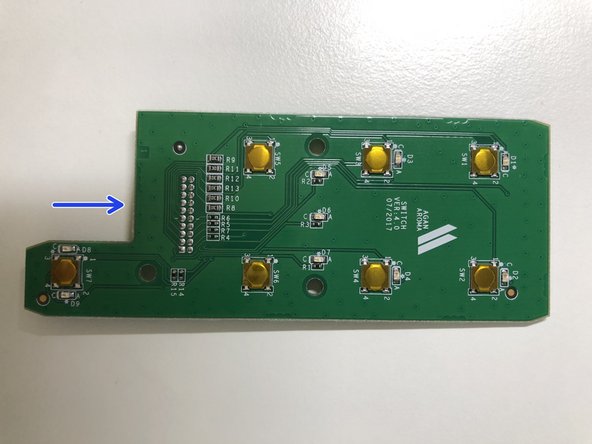
The main PCB connects to the control PCB with a ribbon cable.
-
It can be removed with 2 screws.
-
The 2 cell battery pack is located under the main PCB.
-