Введение
This teardown provides clarification regarding the different subsystems within a Portable Luminaries lamp and how the subsystems work together resulting in a functioning lamp. The guide proceeds step by step through each disassembly process providing insight regarding the different appearing subsystems and their functional relevance. Each step details the specific disassembly process and explains the corresponding image's systems.
Выберете то, что вам нужно
-
-
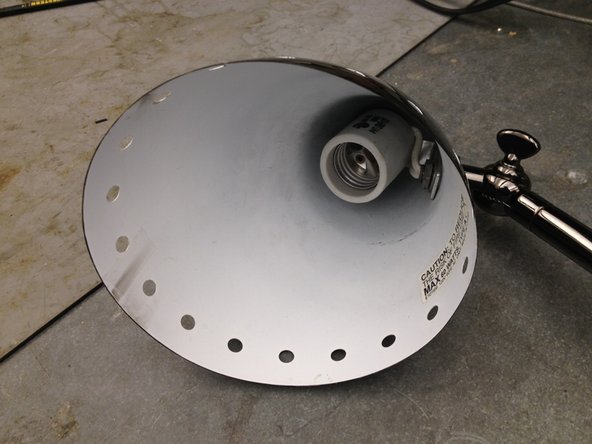
The attached picture displays the lamp before the teardown.
-
-
-
Place the lamp gently on its side on a flat surface
-
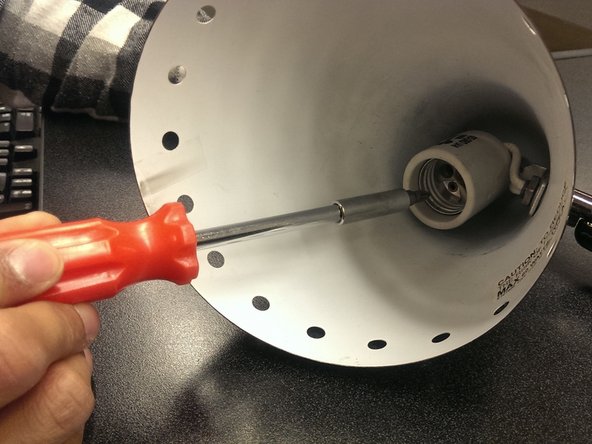
Twist the lightbulb counter-clockwise to remove it from the lamp's head.
-
After lightbulb removal, the component attaching the lightbulb and lamp's head is exposed.
-
-
-
-
Next, the light bulb housing can be detached from the lamp head
-
Using the Philips screw driver, unscrew the two 5mm diameter screws within the light bulb housing
-
-
-
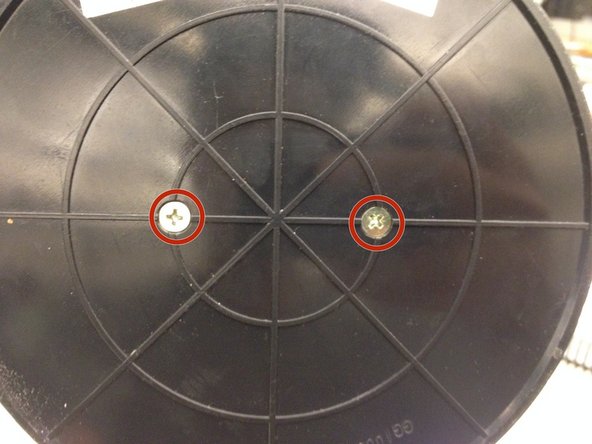
Keep the lamp on its side
-
The bottom is now exposed and two screws are visible
-
Using the Philips Screwdriver, unscrew the two 7mm gold screws from the bottom of the base
-
-
-
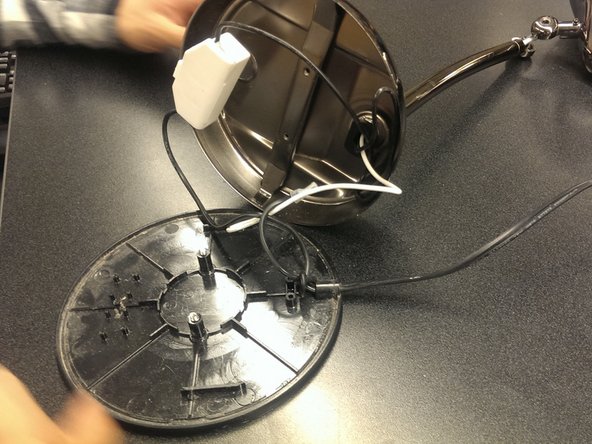
Once the screws attached to the base are removed, the base's bottom lid detaches from the lamp.
-
Within the base resides two components: the lamp's weight and the switch.
-
The weight sits on the bottom base lid, so it separates without the use of additional tools.
-
-
-
The white container holding the switch does not need tools for opening.
-
The switch container is clipped shut and opens by unlatching the tab
-