Перейти к основному содержанию

Выберете то, что вам нужно

Это разборка для изучения а не руководство по ремонту. Чтобы отремонтировать Ratchet, воспользуйтесь нашим сервисным руководством.

  1. Ratchet Teardown, Duralast Ratchet Teardown: шаг 1, изображение 1 из 1
    • Complete ratchet

  2. Ratchet Teardown, Removing the flexible head: шаг 2, изображение 1 из 1
    • The head is attached with a machine screw and a split washer to make the head hold its position.

    • If the head slips sometimes the helical split washer can be bent out or replaced.

  3. Ratchet Teardown, Removing the ratcheting mechanism: шаг 3, изображение 1 из 2 Ratchet Teardown, Removing the ratcheting mechanism: шаг 3, изображение 2 из 2
    • Head opened and in pieces

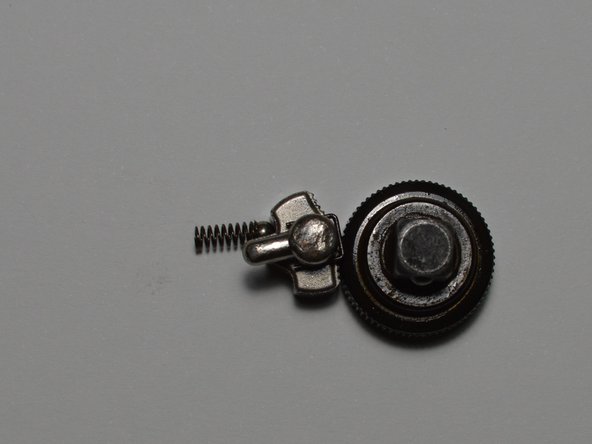
  4. Ratchet Teardown, Ratcheting Mechanism: шаг 4, изображение 1 из 3 Ratchet Teardown, Ratcheting Mechanism: шаг 4, изображение 2 из 3 Ratchet Teardown, Ratcheting Mechanism: шаг 4, изображение 3 из 3
    • Ratcheting mechanism in various views

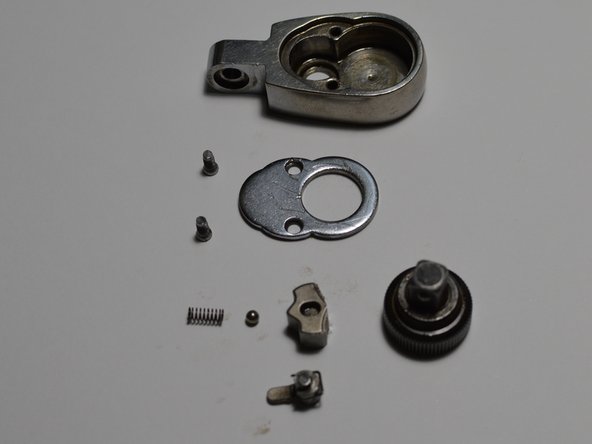
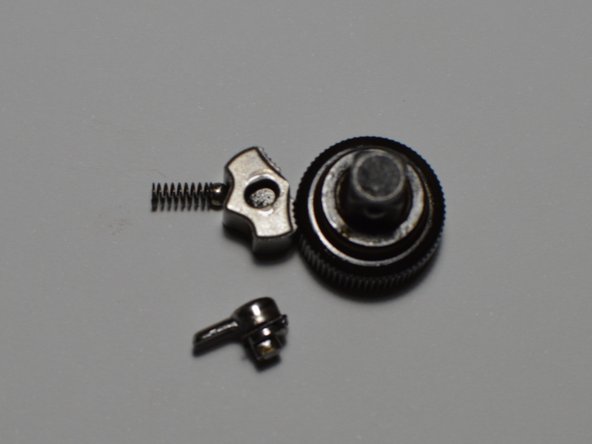
  5. Ratchet Teardown, Ratchet Mechanism Parts: шаг 5, изображение 1 из 1
    • Spring: holds ball bearing against pawl

    • Ball bearing: holds pawl in its position

    • Pawl: allows gear/tang to rotate in only one direction

    • Gear/Tang: part that rotates

    • Lever: selects the pawls position and what direction the gear turns

  6. Ratchet Teardown, Complete Ratchet: шаг 6, изображение 1 из 1
    • All parts laid out

Wieli

Участник с: 01/08/23

2 141 Репутация

Автор 13 руководств

0 Комментариев

Добавить комментарий

Статистика просмотров:

За последние 24 час(ов): 2

За последние 7 дней: 13

За последние 30 дней: 44

За всё время: 984