Перейти к основному содержанию

Выберете то, что вам нужно

Это демонтаж а неруководство по ремонту. Чтобы отремонтировать Samsung GT-E1205Q, воспользуйтесь нашим сервисным руководством.

  1. Samsung GT-E1205Q Teardown, A Quick Look at the Phone: шаг 1, изображение 1 из 3 Samsung GT-E1205Q Teardown, A Quick Look at the Phone: шаг 1, изображение 2 из 3 Samsung GT-E1205Q Teardown, A Quick Look at the Phone: шаг 1, изображение 3 из 3
    • Looking at the phone, it’s pretty cool! It has:

    • Backlit Alpha-Numeric Keypad

    • FM Radio

    • SMS Messaging

    • Games

    • Conversion Tools

    • 10 Ringtone Choices and 4 Alert Tone Choices

    • Alarm and Timer

  2. Samsung GT-E1205Q Teardown, Battery: шаг 2, изображение 1 из 2 Samsung GT-E1205Q Teardown, Battery: шаг 2, изображение 2 из 2
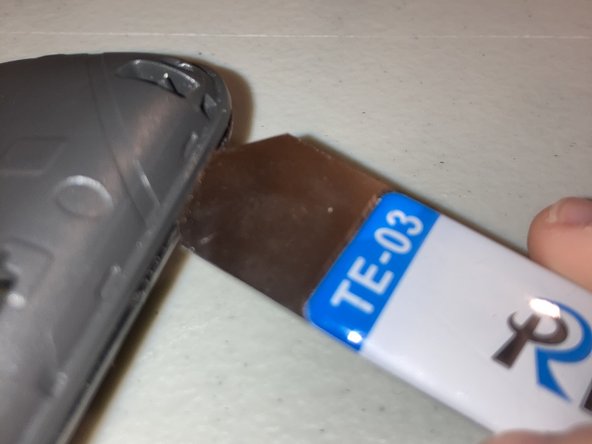
    • Now let’s use an opening tool to remove the back by pushing the tool into the indent on the bottom and working your way around a little until you pop the cover off. Then remove the battery by pulling it out with your hand.

    • Be careful not to puncture the battery. I don’t think you feel like having an exploded battery all over the place!

    • Make sure the phone is off before removing the battery to prevent damage.

  3. Samsung GT-E1205Q Teardown, Screws: шаг 3, изображение 1 из 3 Samsung GT-E1205Q Teardown, Screws: шаг 3, изображение 2 из 3 Samsung GT-E1205Q Teardown, Screws: шаг 3, изображение 3 из 3
    • Now, unscrew the three Phillips screws with a PH#000 screwdriver and use an opening tool to work your way around the edges to get the back-off.

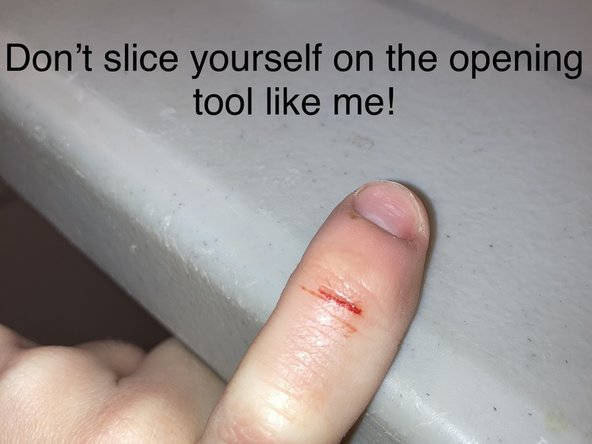
    • Be careful not to hurt yourself with the opening tool! (See Photo 3)

  4. Samsung GT-E1205Q Teardown, Parts to Remove: шаг 4, изображение 1 из 2 Samsung GT-E1205Q Teardown, Parts to Remove: шаг 4, изображение 2 из 2
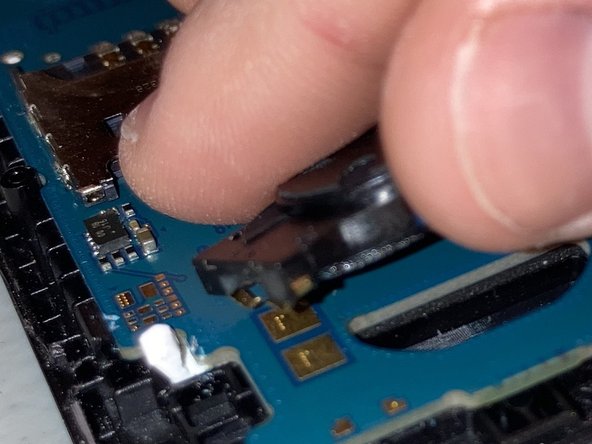
    • On the back of the phone, we can remove the vibration motor and then on the circuit board, you can remove the speaker.

  5. Samsung GT-E1205Q Teardown, Board & Alpha-Numeric Keypad: шаг 5, изображение 1 из 3 Samsung GT-E1205Q Teardown, Board & Alpha-Numeric Keypad: шаг 5, изображение 2 из 3 Samsung GT-E1205Q Teardown, Board & Alpha-Numeric Keypad: шаг 5, изображение 3 из 3
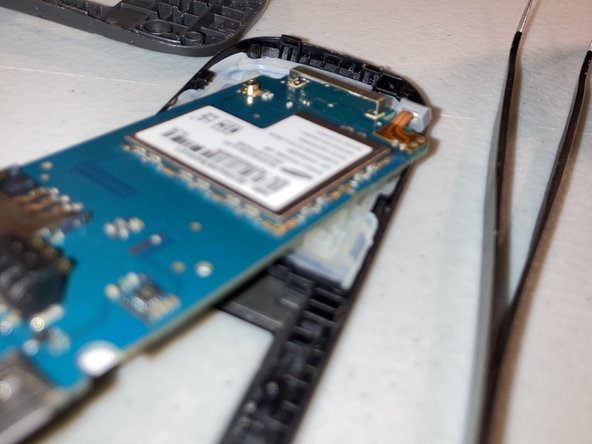
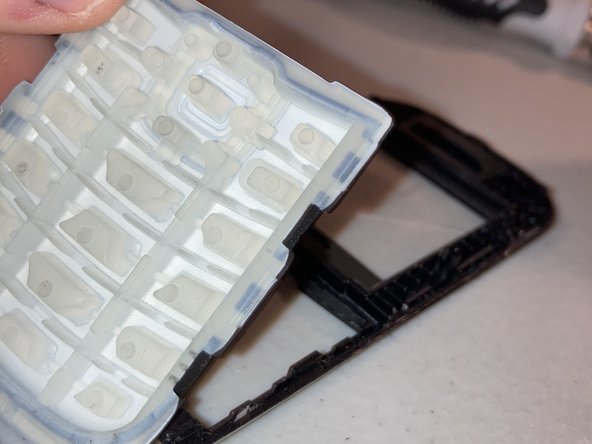
    • Now, pull up on the top of the board, use tweezers to push the bottom right clip in, and then pull the board to the right and up. Next, remove the fake keypad.

  6. Samsung GT-E1205Q Teardown, Screen: шаг 6, изображение 1 из 3 Samsung GT-E1205Q Teardown, Screen: шаг 6, изображение 2 из 3 Samsung GT-E1205Q Teardown, Screen: шаг 6, изображение 3 из 3
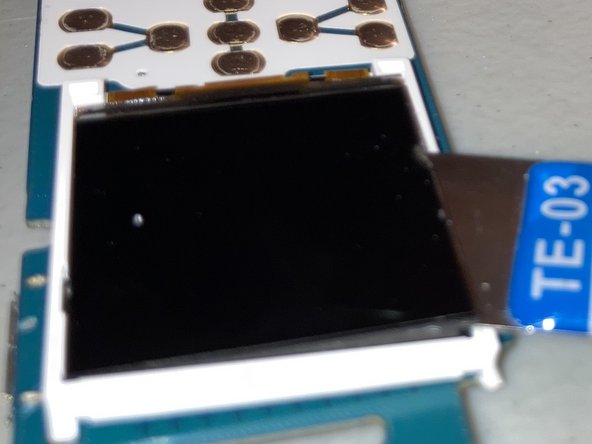
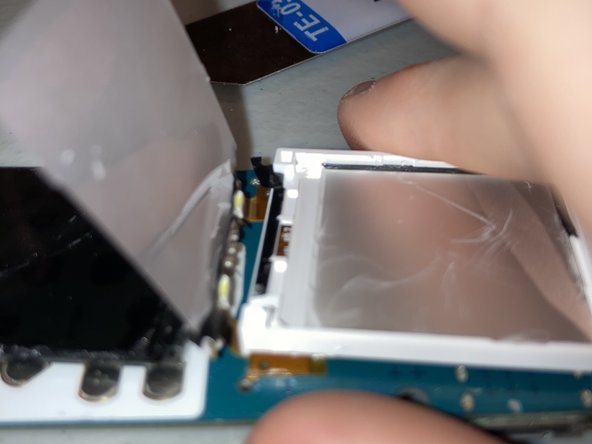
    • Now, unclip the two white clips on the board, flip the board over and ever so carefully push an opening tool UNDER the screen and lift, CAREFULLY! Then remove the white plastic piece that WAS under the screen.

    • WARNING! Be careful not to crack or shatter the LCD screen because the liquid crystal inside it is TOXIC!

  7. Samsung GT-E1205Q Teardown, Last Thing!: шаг 7, изображение 1 из 1
    • If you didn’t break it, then congrats! You made it to the end! Thank you so much for reading this guide. See ya!

Liam Kandell

Участник с: 02/21/21

1 198 Репутация

Автор 4 руководств

0 Комментариев

Добавить комментарий

Просмотр статистики:

За последние 24часов: 0

За последние 7 дней: 7

За последние 30 дней: 27

За всё время: 1,060