Перейти к основному содержанию

Выберете то, что вам нужно

Это демонтаж а неруководство по ремонту. Чтобы отремонтировать Samsung Galaxy Centura, воспользуйтесь нашим сервисным руководством.

  1. Samsung Galaxy Centura Teardown, Samsung Galaxy Centura Teardown: шаг 1, изображение 1 из 2 Samsung Galaxy Centura Teardown, Samsung Galaxy Centura Teardown: шаг 1, изображение 2 из 2
    • This is the Samsung Galaxy Centura, a low-end smartphone made for the Tracfone/Straight Talk networks.

  2. Samsung Galaxy Centura Teardown: шаг 2, изображение 1 из 2 Samsung Galaxy Centura Teardown: шаг 2, изображение 2 из 2
    • Remove the battery, and then remove the 7 Phillips screws surrounding the outer casing.

  3. Samsung Galaxy Centura Teardown: шаг 3, изображение 1 из 3 Samsung Galaxy Centura Teardown: шаг 3, изображение 2 из 3 Samsung Galaxy Centura Teardown: шаг 3, изображение 3 из 3
    • Pop the 4 clips on both the left and right side of the phone. The outer casing should come right off by pulling.

    • This antenna can be removed with a spudger or screwdriver.

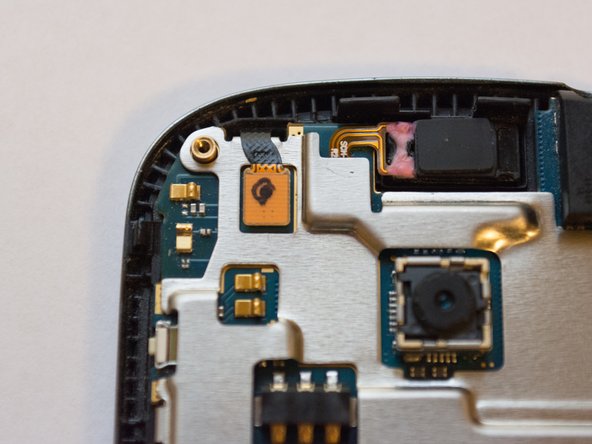
    • This is the speaker assembly (with more antennas!)

  4. Samsung Galaxy Centura Teardown: шаг 4, изображение 1 из 3 Samsung Galaxy Centura Teardown: шаг 4, изображение 2 из 3 Samsung Galaxy Centura Teardown: шаг 4, изображение 3 из 3
    • Disconnect the two flex cables with a spudger or plastic opening tool.

  5. Samsung Galaxy Centura Teardown: шаг 5, изображение 1 из 1
    • Now the display assembly is free.

  6. Samsung Galaxy Centura Teardown: шаг 6, изображение 1 из 1
    • Remove the 3 Phillips screws on the back of the motherboard to remove the EMI shielding.

  7. Samsung Galaxy Centura Teardown: шаг 7, изображение 1 из 1
    • Congrats! You've torn down the Samsung Galaxy Centura.

Brooks Robinson

Участник с: 07/16/15

127 Репутация

1 руководство автора

0 Комментариев

Добавить комментарий

Просмотр статистики:

За последние 24часов: 0

За последние 7 дней: 0

За последние 30 дней: 5

За всё время: 2,371