Перейти к основному содержанию

Эта разборка продолжается – Периодически обновляйте, чтобы увидеть последние изменения!

Выберете то, что вам нужно

  1. Samsung Galaxy Tab 3 7.0 Teardown, Samsung Galaxy Tab 3 7.0 Teardown: шаг 1, изображение 1 из 1
    • Make sure u have the essential tools need(Bought this toolkit for 10 dollars at walmart)

  2. Samsung Galaxy Tab 3 7.0 Teardown: шаг 2, изображение 1 из 1
    • Take off the micro sd card cover

  3. Samsung Galaxy Tab 3 7.0 Teardown: шаг 3, изображение 1 из 2 Samsung Galaxy Tab 3 7.0 Teardown: шаг 3, изображение 2 из 2
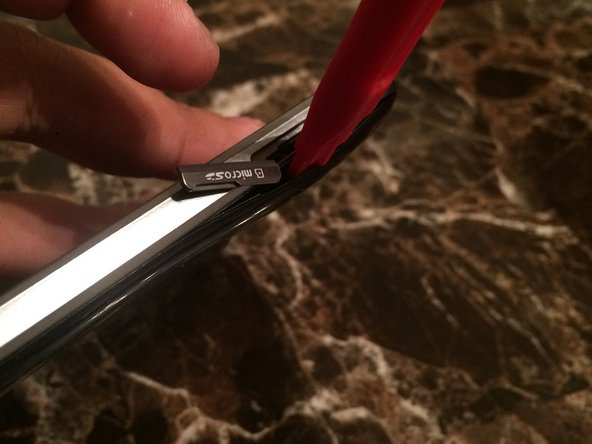
    • use the mini pry bar

    • Shove into the lining between the back and the micro sd card.

    • When its wedged push it all around the sides

  4. Samsung Galaxy Tab 3 7.0 Teardown: шаг 4, изображение 1 из 1
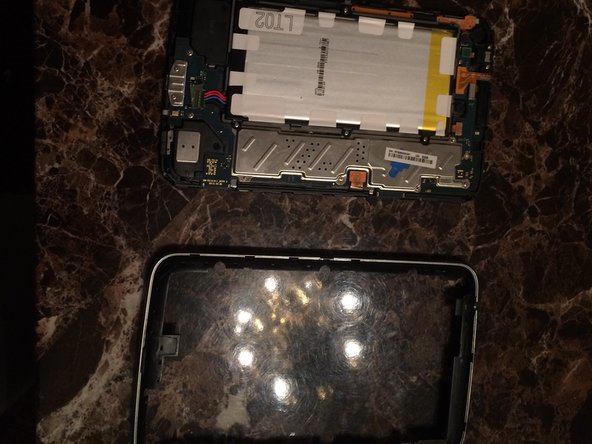
    • Now that the back is out you are looking at the insides

  5. Samsung Galaxy Tab 3 7.0 Teardown: шаг 5, изображение 1 из 2 Samsung Galaxy Tab 3 7.0 Teardown: шаг 5, изображение 2 из 2
    • turn it around then insert the mini pry bar between the screen and the silver border and slide the pry bar around all sides until the silver lining is poping off the screen

  6. Samsung Galaxy Tab 3 7.0 Teardown: шаг 6, изображение 1 из 1
    • unscrew the screws around the battery

  7. Samsung Galaxy Tab 3 7.0 Teardown: шаг 7, изображение 1 из 1
    • Now take out the connectors (all of them)

  8. Samsung Galaxy Tab 3 7.0 Teardown: шаг 8, изображение 1 из 2 Samsung Galaxy Tab 3 7.0 Teardown: шаг 8, изображение 2 из 2
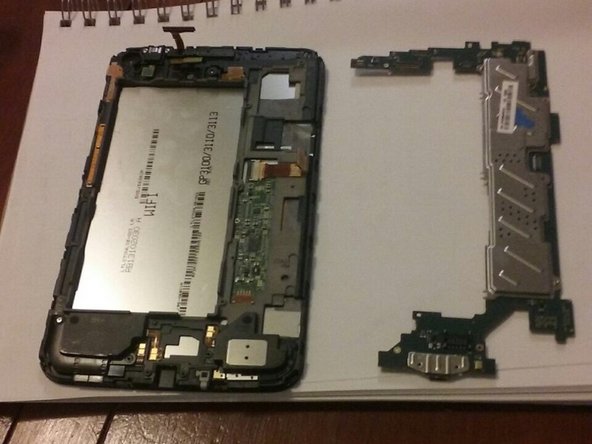
    • now take out all the screws that are all around the edges

    • than you will see that you can just pull the motherboard out

Jordan Senimanora

Участник с: 11/01/16

321 Репутация

1 руководство автора

0 Комментариев

Добавить комментарий

Просмотр статистики:

За последние 24часов: 0

За последние 7 дней: 0

За последние 30 дней: 1

За всё время: 2,208