Перейти к основному содержанию

Выберете то, что вам нужно

Это демонтаж а неруководство по ремонту. Чтобы отремонтировать Samsung Intensity, воспользуйтесь нашим сервисным руководством.

  1. Samsung Intensity Teardown, Samsung Intensity Teardown: шаг 1, изображение 1 из 1
    • Remove the back cover and battery

  2. Samsung Intensity Teardown: шаг 2, изображение 1 из 1
    • Remove the 8 screw that hold the back cover down.

    • Carefully pry back piece off

    • Start at the bottom and work toward the top.

  3. Samsung Intensity Teardown: шаг 3, изображение 1 из 1
    • Use the ipod opening tool to disconnect the Connector

  4. Samsung Intensity Teardown: шаг 4, изображение 1 из 2 Samsung Intensity Teardown: шаг 4, изображение 2 из 2
    • Carefully remove the main board

    • Make sure to not tear the microphone cable, pry it from the phone carefully

  5. Samsung Intensity Teardown: шаг 5, изображение 1 из 2 Samsung Intensity Teardown: шаг 5, изображение 2 из 2
    • Remove the 6 screws

    • Pry to ribbon cable assembly loose from the slider

    • Its glued on the left and right side

  6. Samsung Intensity Teardown: шаг 6, изображение 1 из 1
    • Remove the 4 screw the holds the slider to the phone assembly

    • one of the screws will be behind the hinge

    • Carefully pry slider assembly loose from display assembly

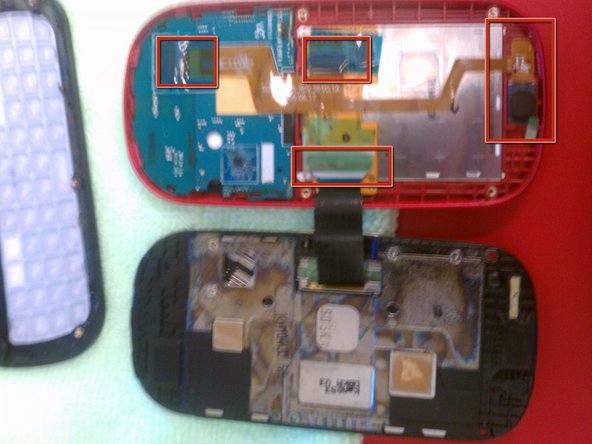
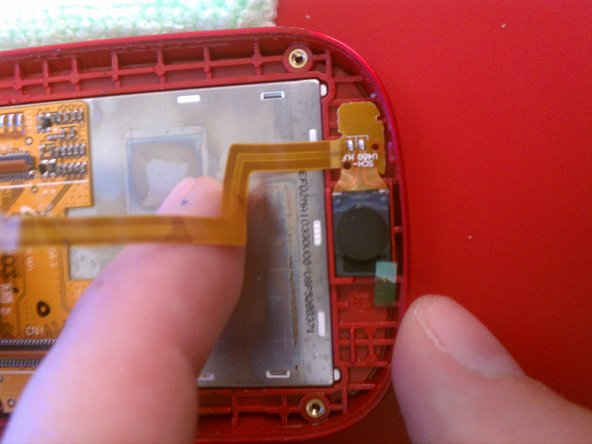
  7. Samsung Intensity Teardown: шаг 7, изображение 1 из 3 Samsung Intensity Teardown: шаг 7, изображение 2 из 3 Samsung Intensity Teardown: шаг 7, изображение 3 из 3
    • Remove the tape and pop the connectors and pull all the ribbon cables loose

    • Carefully pry the speaker loose from the case.

  8. Samsung Intensity Teardown: шаг 8, изображение 1 из 1
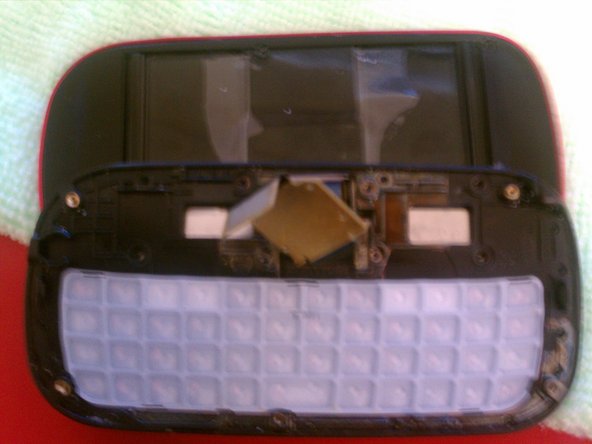
    • Carefully work the keyboard loose from the display assembly

    • There are a couple fragile clips that hold it in place

  9. Samsung Intensity Teardown: шаг 9, изображение 1 из 2 Samsung Intensity Teardown: шаг 9, изображение 2 из 2
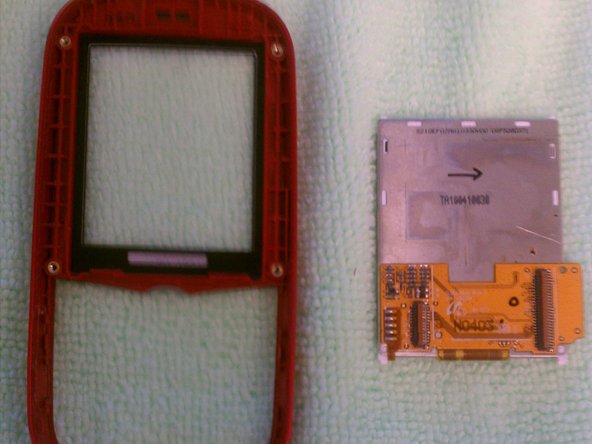
    • LCD comes out pretty easily

    • Pry it from the bottom and work up the sides to release it if stuck

    • The glass can be removed with a little heat from a heat gun or blow dryer

    • Pry it out from the outside edges working around carefully

David

Участник с: 08/10/11

148 Репутация

1 руководство автора

Команда

West Georgia Technology Участник West Georgia Technology

Business

1 член

Автор 1 руководств

Один комментарий

This was so helpful! How can I show my gratitude to you for these helpful instructions?

teh_pwnerer22 - Ответить

Добавить комментарий

Просмотр статистики:

За последние 24часов: 2

За последние 7 дней: 5

За последние 30 дней: 7

За всё время: 4,680