Введение
This is a Weather proof 80's model boombox. This thing has been around for ages. It now resdies in the Garage on the work bench Usually playing Sinatra and/ or Oldies for my Dad.
Выберете то, что вам нужно
-
-
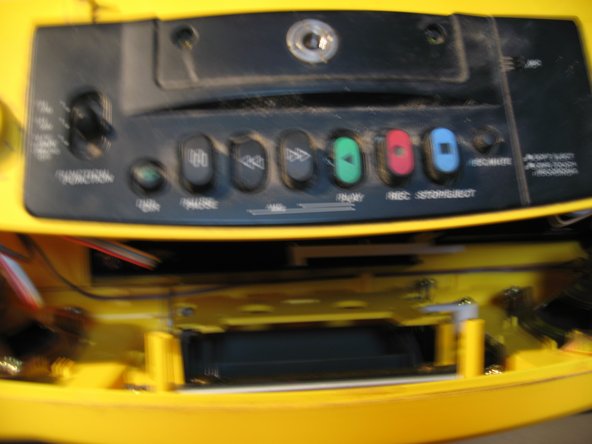
The slightly weatherproof shell and gloved buttons make this great for the beach or the river.
-
-
-
Start with Removing the Antenna by unscrewing the single screw. Then Unscrew the Seven Screws on the Back of the Radio as indicated in the Photo. Then remove the handle by simply unscrewing the knob in the middle.
-
-
-
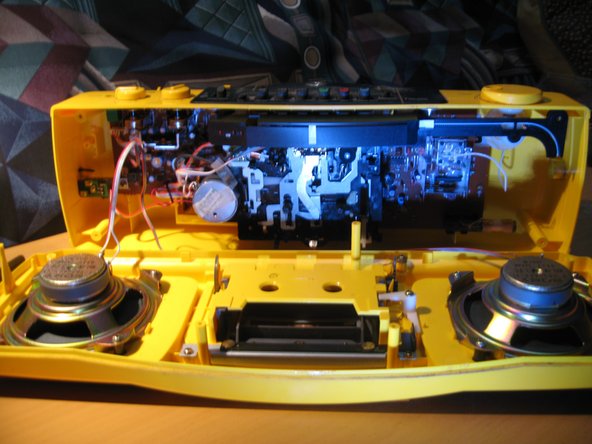
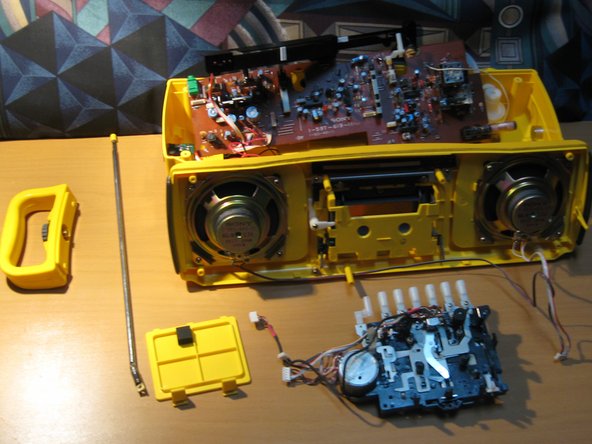
Remove the two screws located under the Stereo Handle. Now, Wedge open the front of the box. The speaker wires will still be connected at this point, so don't pull too hard
-
-
-
-
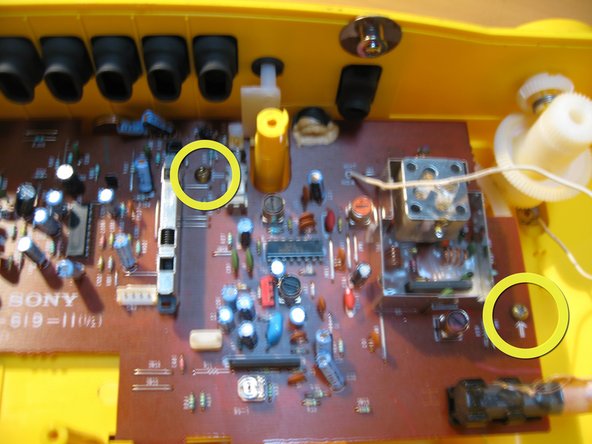
Unscrew the Single screw under the tape mechanism. Gently pop out the Radio tuner indicator lever and put to side- Do not attempt to remove this piece , it is soldered to the front face leds
-
-
-
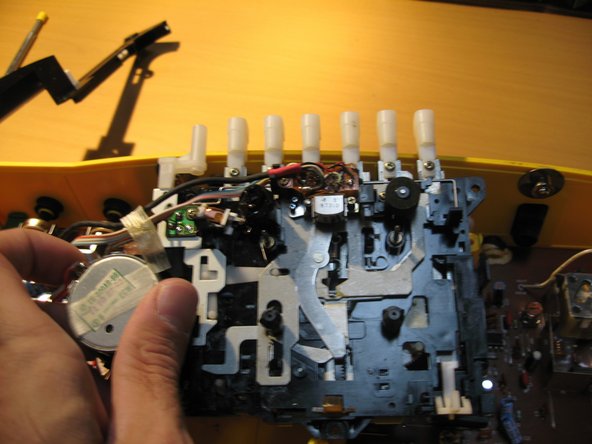
Now to remove the tape mechanism. The buttons are gloved so your gonna have to wedge them out of their sleeves. Then when removed from rubbers. Unattach the three (circled in yellow) flat cables connected to the board.
-
-
-
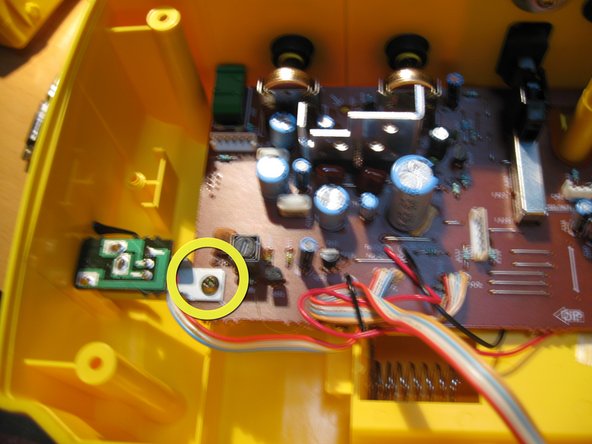
Disconnect the Flat Cable that stems to the Speakers. Remove The Screw on the right, then the Middle, then the one on the left of the MainBoard. The left one has a little supporting metal piece, remove that as well.
-
-
-
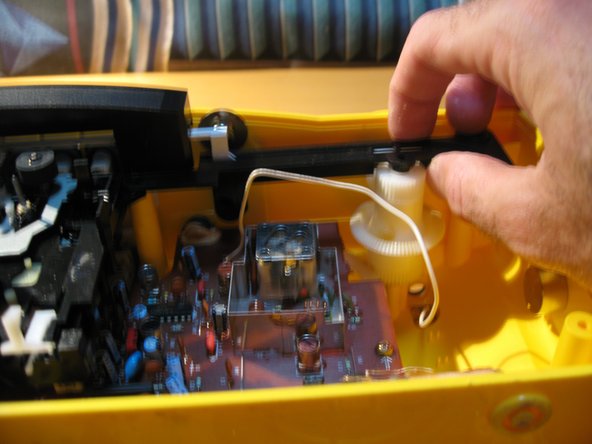
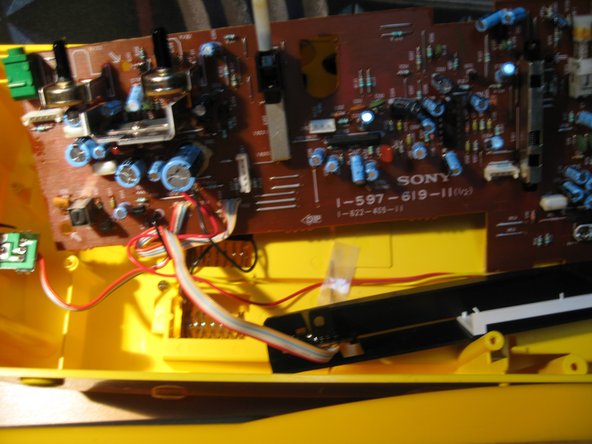
Undo the retaining clip from the Board. Make sure when Wedging upward the Radio receiver wheel is in good shape on the right of the board- and remember to realign during reassembly. Lean board upward. This is as far as i am going to go with this project because the wires below the board are soldered. Fun Fun Bladow! - Sony Stereo-Corder in a organized pile of heap.
-