Введение
As part of the Sony giveaway, I would like to contribute with this VAIO teardown. Bear with me as this is my first tutorial. This is a VGN-T12” wide screen laptop with an Intel Pentium Ma. It’s an oldie that still does the job. Well let’s get to the teardown.
Выберете то, что вам нужно
-
-
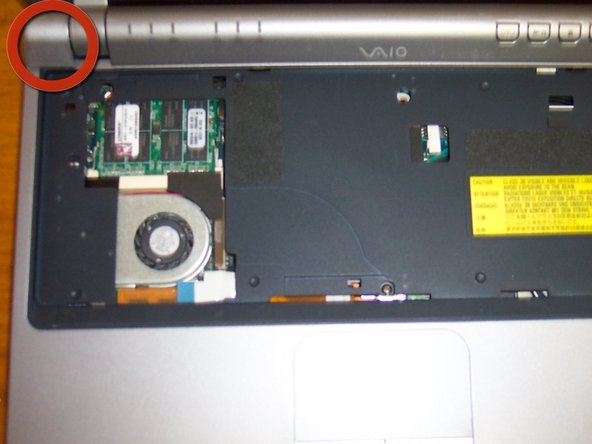
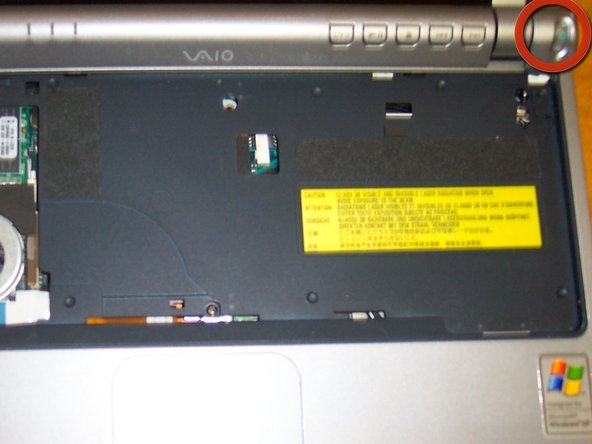
Loosen 2 latches holding the keyboard down with the flat tip screwdriver, one by the F5 key, and the other by the Num Lock key. Move keyboard towards the touch pad and pull up.
-
Remove the ribbon carefully.
-
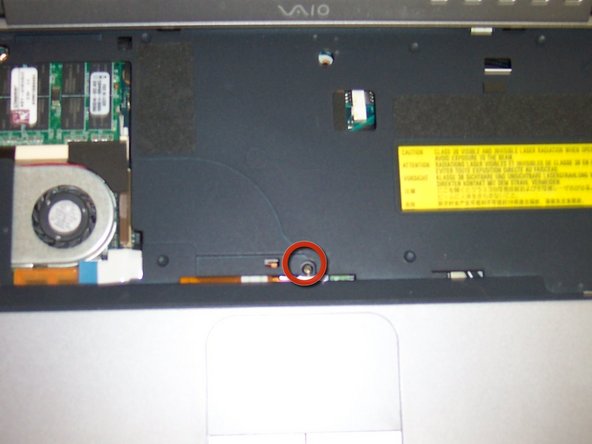
I added this step separate for the ones that just want to upgrade the RAM.
You forget there a brown flip that hold the keyboard cable, All you had to do was to flip the brown clip to the left upper position...the cable is loose...
-
-
-
-
Unsnap the top cover carefully around the edges.
-
Disconnect 3 ribbons and pull top carefully towards the left side. Remove ribbon from the motherboard.
-
-
-
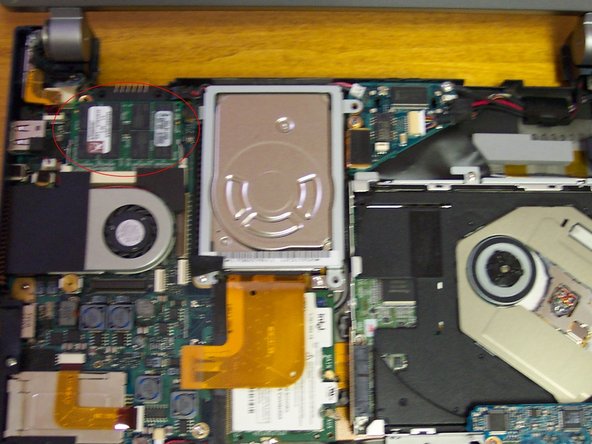
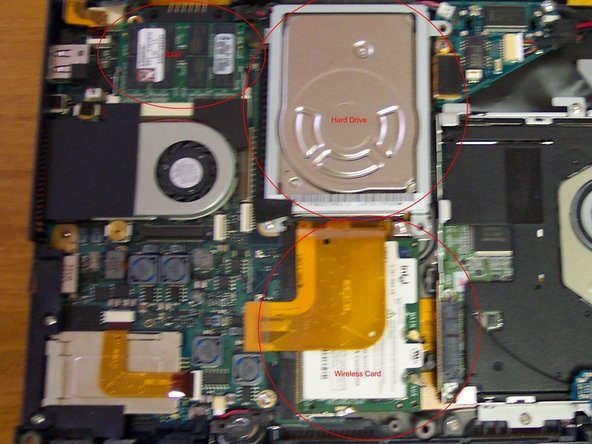
Remove the RAM.
-
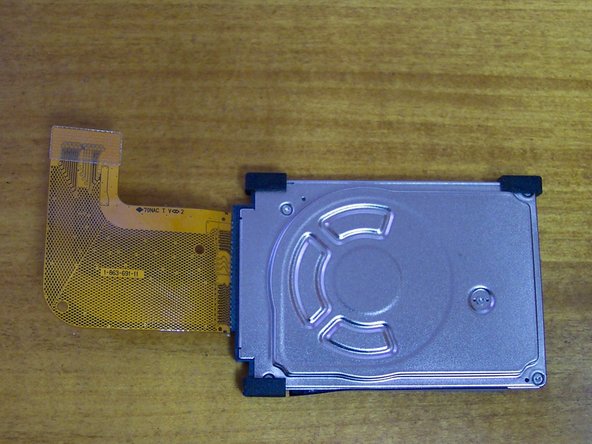
Remove the hard drive metal bracket. Mine had 2 screws but I believe there are supposed to be 4 (lost them when I replaced the hard rive last time). Disconnect ribbon from motherboard.
-
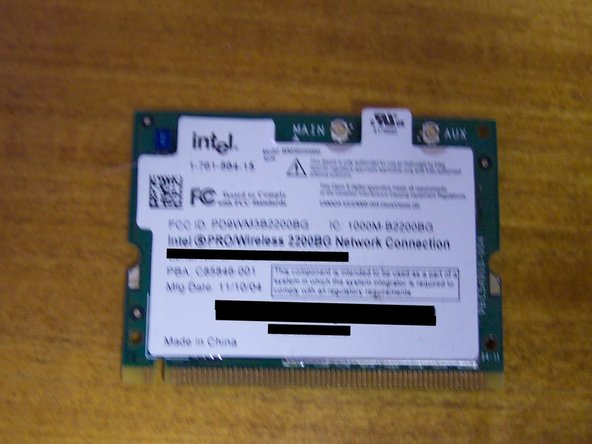
Remove the wireless card. There are 2 antennas connected to it, the back wire goes on the main, gray on aux.
-
-
-
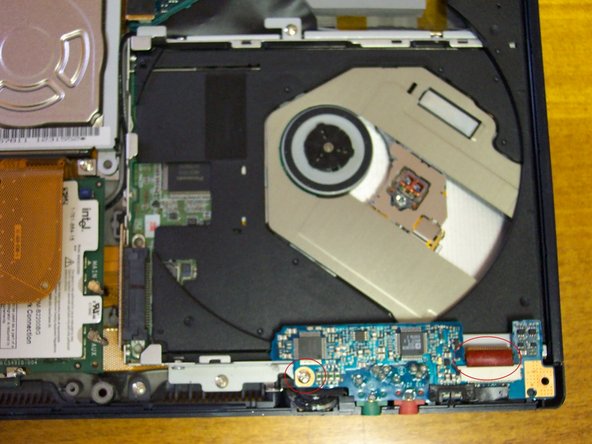
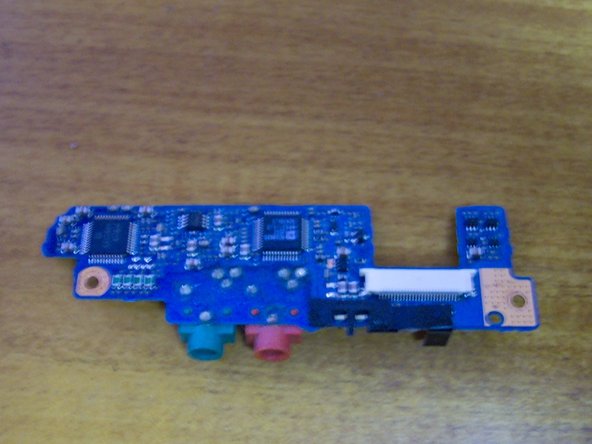
Remove one screw form the sound card. Disconnect one ribbon and one connector (under) from card.
-
-
-
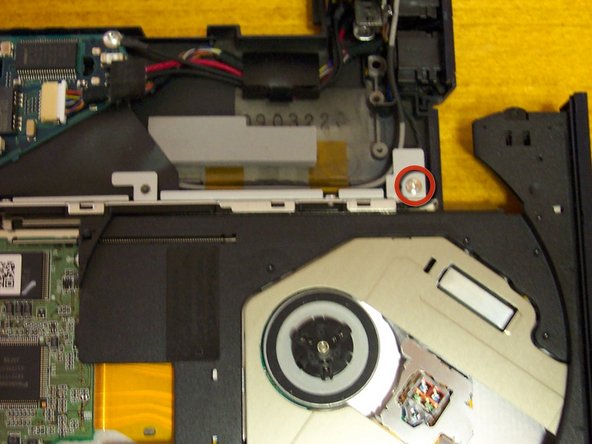
Remove the DVD drive by unscrewing 5 screws, make sure to open the drive with the paper clip to access the last one.
-
-
-
Remove one screw from the network/modem combo card. Disconnect 3 connectors and one ribbon from cards. There is an additional connector on the motherboard.
-
-
-
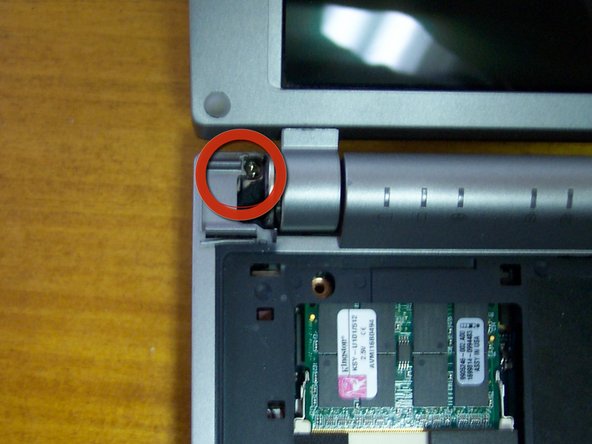
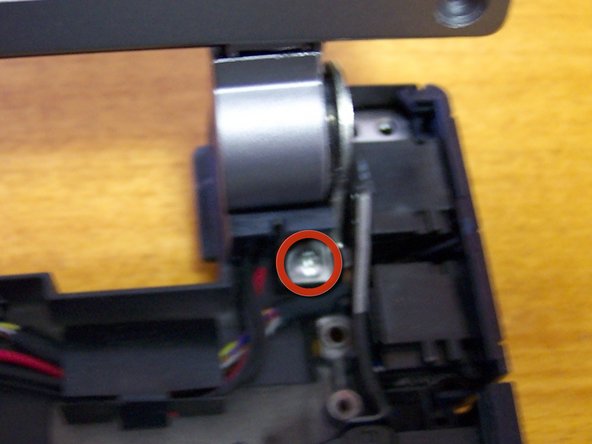
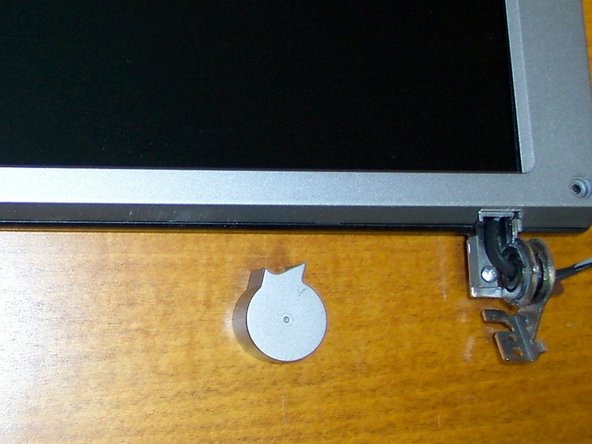
Time to remove the screen. Remove 2 screws holding the hinges down
-
Remove ground screw and wire.
-
-
-
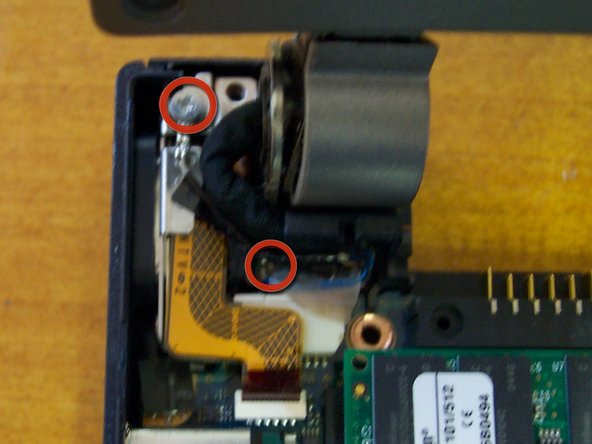
Remove 4 bezel screw covers. Remove 4 screws.
-
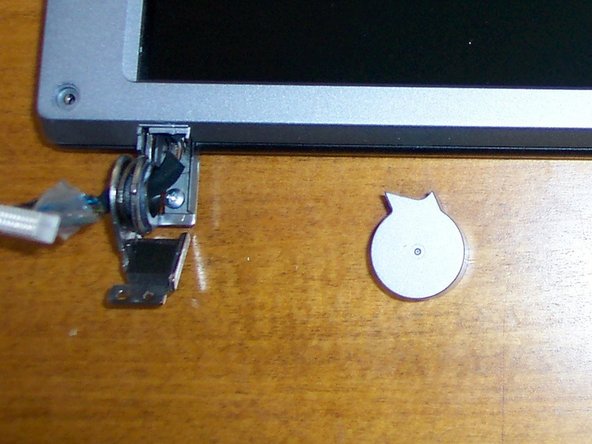
Remove 2 caps from hinges. Remove bezel.
-
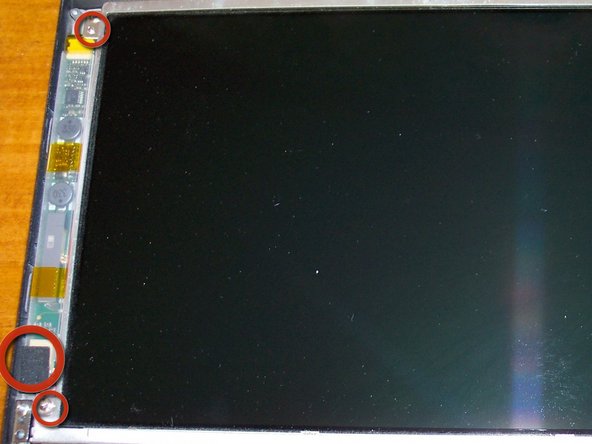
Remove 4 screws holding screen. Disconnect one connector from the power module
-
-
-
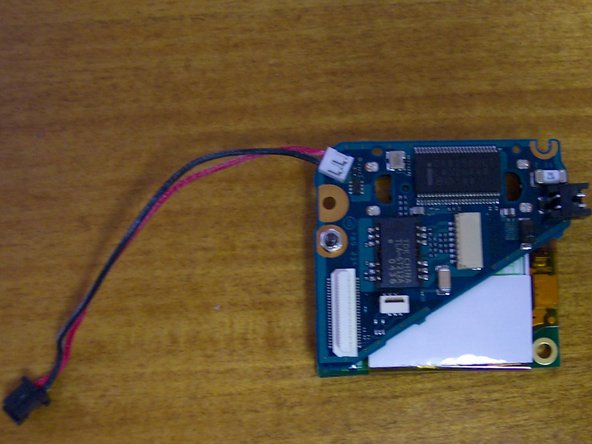
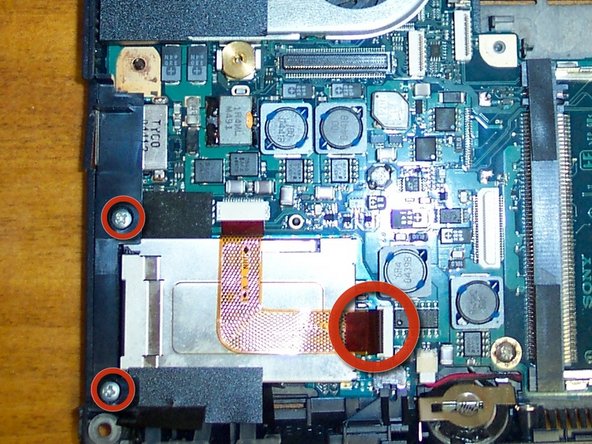
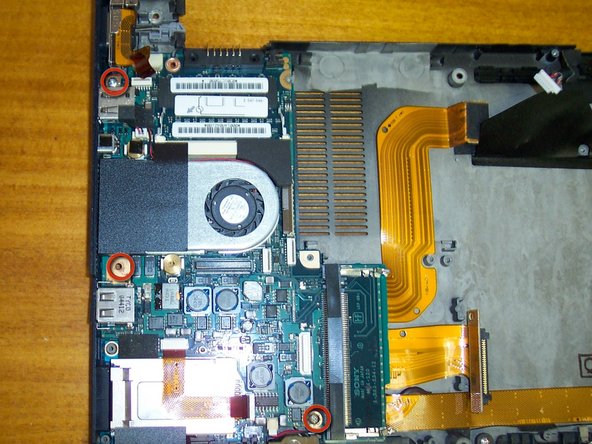
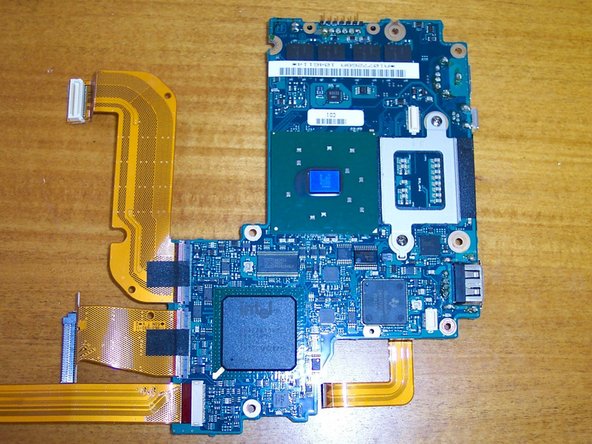
At last, the motherboard. Remove 2 screws holding a plastic bracket down.
-
Disconnect the ribbon connector and remove 3 screws.
-
-
-
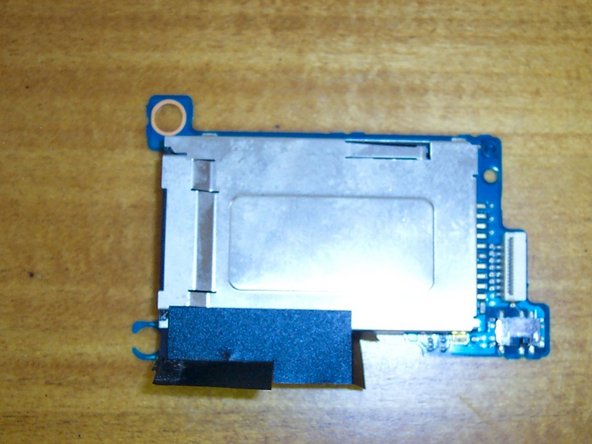
All done! Sorry for the crappy picture.
-
Just in case you are wondering, is back together and working like a champ.
Цитата от(из) ibrian:
What´s with the fuzzy pictures?
I have the same question. In order to make the pictures really useful, they should be in sharp focus, with proper lighting. A picture in sharp focus, even if it is from a slightly longer distance, is far superior to a close up that is out of focus. The use of a flash should be avoided at all costs. Often the flash will often blow out critical parts of the picture.
-


3 Комментариев
thank you for sharing your knowledge, even with "fuzzy pictures" I found this to be very helpful and useful ... I look forward to reading more of your material ... Jim 8)
thank you for sharing your knowledge, even with the "fuzzy" pictures I found this article/repair Manuel to be very useful and helpful ... once again, thank you ...
just a note to some that might find using a very small pair of needle nose pliers with serrated teeth for replacing the tiny pieces of plastic that secures the ribbons in place ... I have a pair, but they are just a bit too big and I need to find a source for some really small serrated tip pliers, so if anyone can direct me to a source, this would be most helpful and appreciated ... thanks, Jim
I believe the requirements for Vista / 7 are 2+ GB of RAM (with 4 recommended). It certainly wouldn't run it fast, by any standards.
Adam Hintz - Ответить