Перейти к основному содержанию

Эта разборка продолжается – Периодически обновляйте, чтобы увидеть последние изменения!

Выберете то, что вам нужно

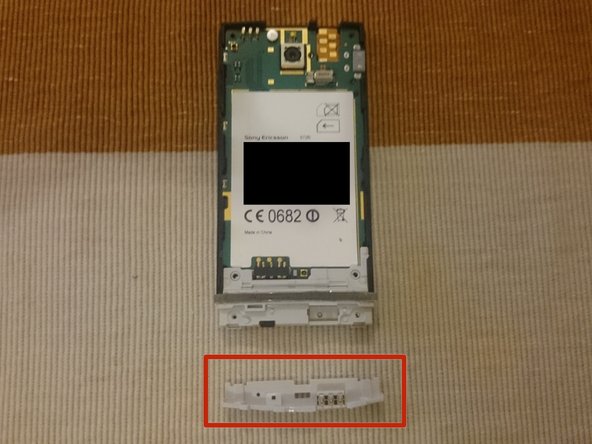
  1. Sony Xperia U Teardown, Sony Xperia U Teardown: шаг 1, изображение 1 из 1
    • Remove the back cover and the bottom clip. And also remove the sim card and battery.

  2. Sony Xperia U Teardown: шаг 2, изображение 1 из 1
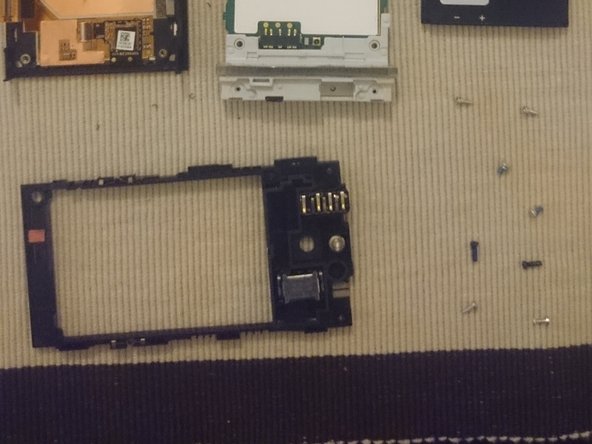
    • Remove the 6 T5 screws

  3. Sony Xperia U Teardown: шаг 3, изображение 1 из 1
    • Remove the back piece, reveiling the headphone jack, speaker and the Liquid contact indicator.

    • Camera and flash

    • Vibrating motor

    • Headphone jack

    • Speaker

    • Liquid contact indicator

  4. Sony Xperia U Teardown: шаг 4, изображение 1 из 2 Sony Xperia U Teardown: шаг 4, изображение 2 из 2
    • Remove the 2 T5 screws.

    • Remove the lower antenna.

  5. Sony Xperia U Teardown: шаг 5, изображение 1 из 2 Sony Xperia U Teardown: шаг 5, изображение 2 из 2
    • Carefully remove the motherboard being aware on the lower left edge, there is the display connector.

    • Be aware of the display connector on the lower left.

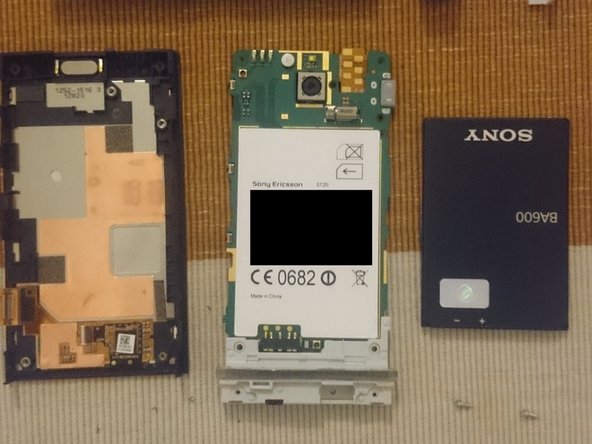
  6. Sony Xperia U Teardown: шаг 6, изображение 1 из 3 Sony Xperia U Teardown: шаг 6, изображение 2 из 3 Sony Xperia U Teardown: шаг 6, изображение 3 из 3
    • Removal back and bottom cap

    • Screen + main case, motherboard + antenna, battery

    • Back casing holding the headphone jack, speaker and liquid contact indicator.

Anthony

Участник с: 07/29/14

201 Репутация

1 руководство автора

0 Комментариев

Добавить комментарий

Просмотр статистики:

За последние 24часов: 0

За последние 7 дней: 1

За последние 30 дней: 8

За всё время: 3,082