Введение
This teardown is done as to comply with the task 2 IDES 2171. Photographed and written by Ashley Mutandiro and Aisyah Azmi, first year students of Bachelor of Industrial Design UNSW Sydney, Australia.
Выберете то, что вам нужно
-
-
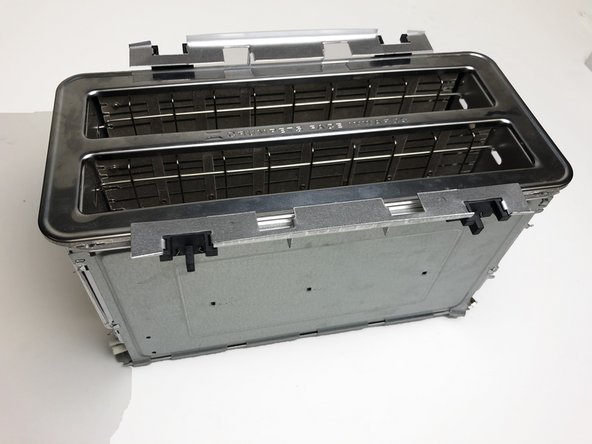
Breville Toaster.
-
The toaster before the teardown process.
-
-
-
Turn the toaster upside-down.
-
Use the drill to unscrew the six slotted Spanner head screws
-
Use the drill with corresponding screwdriver bit to remove the Truss Phillip screws
-
The Slotted Spanner head screws hold the four rubber feet at the bottom of the casing.
-
-
-
Detach the timer knob using a flat head screw driver
-
Remove the internal components from the red casing
-
-
-
Note: Red casing is still attached to the interior body of the toaster.
-
Detach electric circuit housing from red casing
-
-
-
-
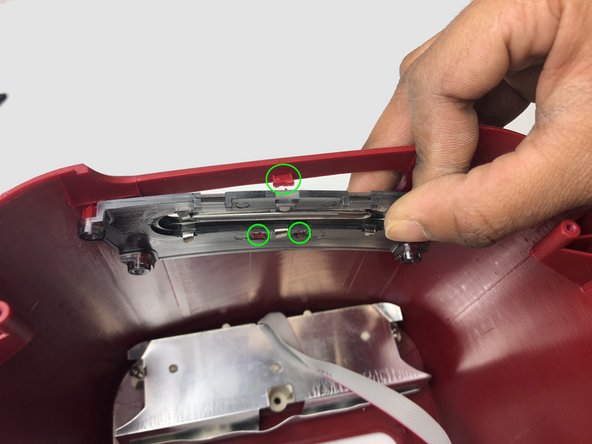
Firstly, unscrew the four Pan Phillip head screws
-
Then snap off the three welded plastic studs to detach the timer knob housing from the red casing
-
-
-
Note: There are two housings attach to both side of the interior body of the toaster.
-
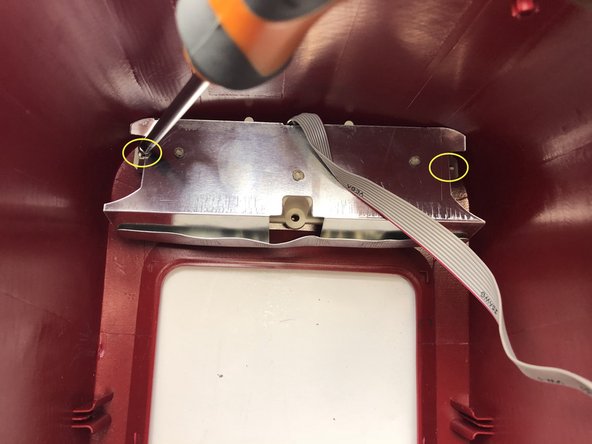
Remove the two Pan Phillip head screws to detach the circuit board from the heat controller housing.
-
Then, remove the slider as well.
-
-
-
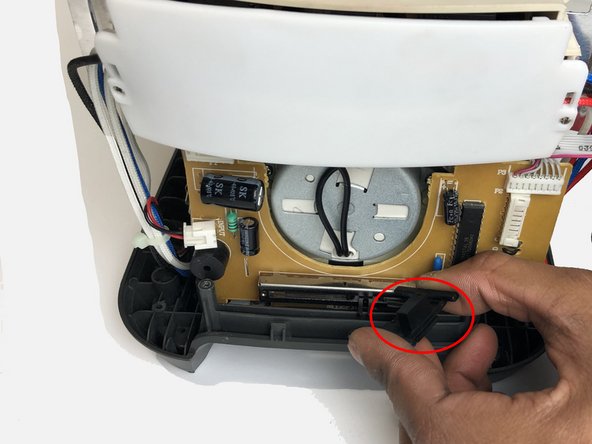
Remove the circuit board housing for the heat controller from the interior body of the toaster by unscrewing two Pan Phillip head screws
-
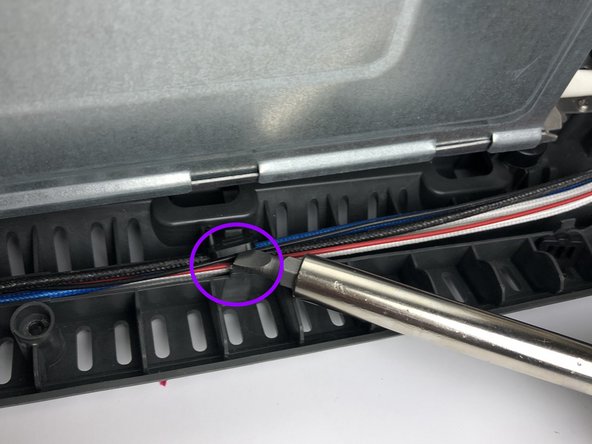
Remove the cable fasteners using a flat head screw driver
-
-
-
Separate the interior body of the toaster from the bottom cover.
-
Remove the screw caps
-
Unscrew the two Pan Phillip head screws to detach the aluminium vent
-
-
-
Use pliers to break apart the welded wires from the interior body.
-
Snip off the rest of the wires still attached to the interior body using a wire cutter
-
Remove the circuit board from its housing
-


11 Комментариев
Don’t buy this toaster…They fail and Breville won’t warranty it after 1 year….
Never again Breville..
Thank you for this tear down guide. Though it’s built pretty well and feels like a tank, It doesn’t seem very repairable. Mine stopped working a couple months ago and I’m contemplating throwing it out. Comments?
Thanks very much for posting all of this, gave me the confidence to 'go in'.
Foe anyone thinking of doing what I just did; the guts of a plastic cased model can be put into a metal cased model but there are a few differences but everything you need is there.
Purchased a Breville die cast 2 slice toaster ($160). After one year it stopped toasting evenly and then on the out side of one slice. I am capable of fixing this but Breville will not sell parts, they want you to buy a new one. My first and last Breville product.