Перейти к основному содержанию

Выберете то, что вам нужно

Это демонтаж а неруководство по ремонту. Чтобы отремонтировать Texas Instruments TI-30 XS Multiview, воспользуйтесь нашим сервисным руководством.

  1. Texas Instruments TI-30 XS Multiview Teardown, Remove the rear panel.: шаг 1, изображение 1 из 3 Texas Instruments TI-30 XS Multiview Teardown, Remove the rear panel.: шаг 1, изображение 2 из 3 Texas Instruments TI-30 XS Multiview Teardown, Remove the rear panel.: шаг 1, изображение 3 из 3
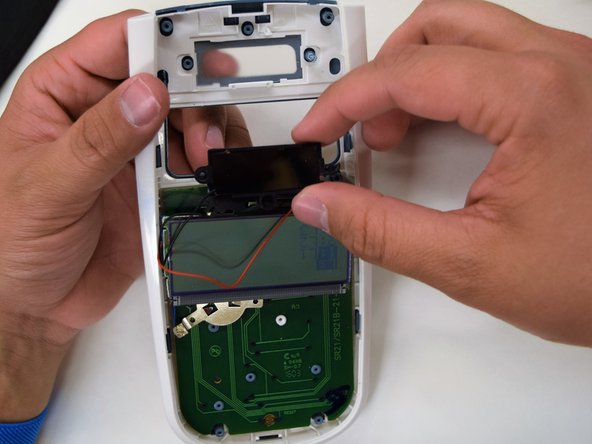
    • Use a 00 Philips screwdriver to unscrew all six of the back panel screws. Pry open the calculator from the rear panel.

  2. Texas Instruments TI-30 XS Multiview Teardown, Remove the LCD.: шаг 2, изображение 1 из 2 Texas Instruments TI-30 XS Multiview Teardown, Remove the LCD.: шаг 2, изображение 2 из 2
    • Pull out the LCD, taking care to not damage the ribbon cables.

  3. Texas Instruments TI-30 XS Multiview Teardown, Remove the power.: шаг 3, изображение 1 из 3 Texas Instruments TI-30 XS Multiview Teardown, Remove the power.: шаг 3, изображение 2 из 3 Texas Instruments TI-30 XS Multiview Teardown, Remove the power.: шаг 3, изображение 3 из 3
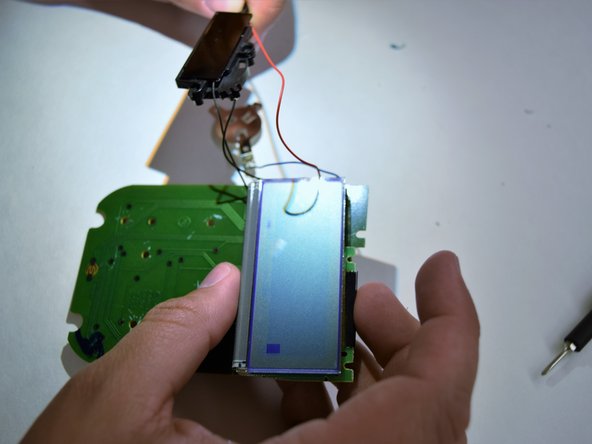
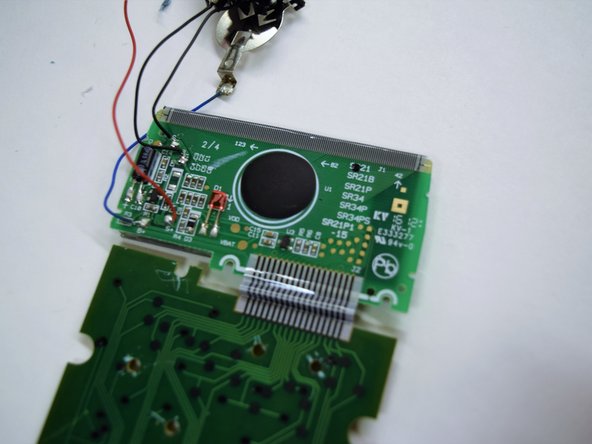
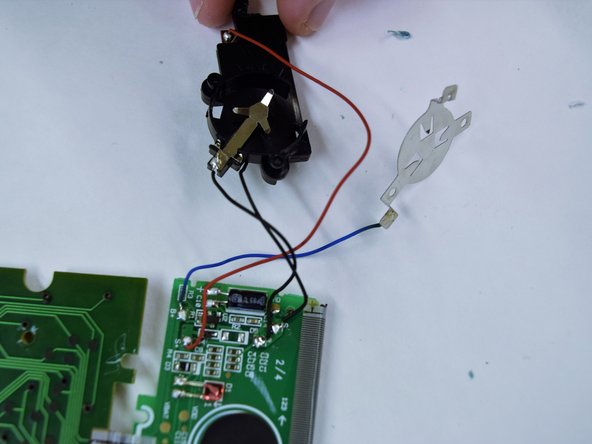
    • Use the pliers to take out the solar panel. If you desire, you may also remove the battery at this time by removing the screws holding the ground plate in place.

    • After removing the battery (a CR2032 Lithium 3 Volt coin battery, rechargable), the calculator will still operate with full functionality with sufficient light on the solar panel.

  4. Texas Instruments TI-30 XS Multiview Teardown, Remove the front plastic cover.: шаг 4, изображение 1 из 3 Texas Instruments TI-30 XS Multiview Teardown, Remove the front plastic cover.: шаг 4, изображение 2 из 3 Texas Instruments TI-30 XS Multiview Teardown, Remove the front plastic cover.: шаг 4, изображение 3 из 3
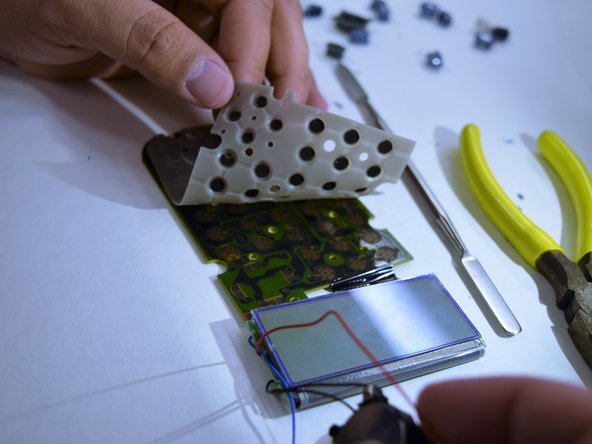
    • Pry off the plastic melts on the PCB over the buttons of the calculator. Use the needle-nose pliers to pinch them until they are weak enough to break.

    • The buttons will fall out when the cover is removed. They function as open switches, which are shorted when the button is pressed, just as the reset button of the calculator does.

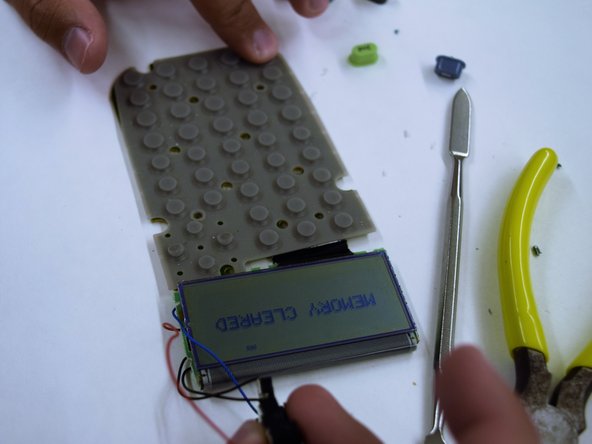
    • The device will operate with the battery touching its plate and display "memory cleared".

  5. Texas Instruments TI-30 XS Multiview Teardown, Observe disassembled calculator.: шаг 5, изображение 1 из 3 Texas Instruments TI-30 XS Multiview Teardown, Observe disassembled calculator.: шаг 5, изображение 2 из 3 Texas Instruments TI-30 XS Multiview Teardown, Observe disassembled calculator.: шаг 5, изображение 3 из 3
    • The minimum requirements for functionality are that the boards are connected to one another, the rubber dome switch is laid over the button PCB, and the solar panel has sufficient power (0.1 V to operate).

    • We now observe the disassembled calculator, including hard plastic face plates, dome buttons, PCBs, solar panel, and battery.

    • Other components of the battery are now also easy to view.

  6. Texas Instruments TI-30 XS Multiview Teardown, Reassemble your calculator.: шаг 6, изображение 1 из 1
    • The calculator can easily be reassembled by inserting each button back in to its designated place.

    • Replace the rubber dome buttons, the PCBs, solar panel, battery, and face plates. The plastic melts are not necessary to hold the components in place, so it's alright that they were broken.

    • The calculator still functions as it did before the teardown.

Jessica Patterson

Участник с: 02/28/19

133 Репутация

1 руководство автора

Один комментарий

Nice! I hope you have more repair blogs in the future!

Jeremiah Brumley - Ответить

Добавить комментарий

Просмотр статистики:

За последние 24часов: 0

За последние 7 дней: 5

За последние 30 дней: 33

За всё время: 2,019