Выберете то, что вам нужно
-
-
Lay out al the supplies in a structured way.
-
It is very important that you work in an orderly fasion
-
Before we begin with the actual teardown, it is also really important to know that you should use your hands as little as possible: Your hands will bring dirt into the device
-
Act carefully. Everything is very fragile, I was also very afraid of breacking things during this project.
-
-
-
Loosen the lower screws
-
The screws are located next to the opening for the charger
-
-
-
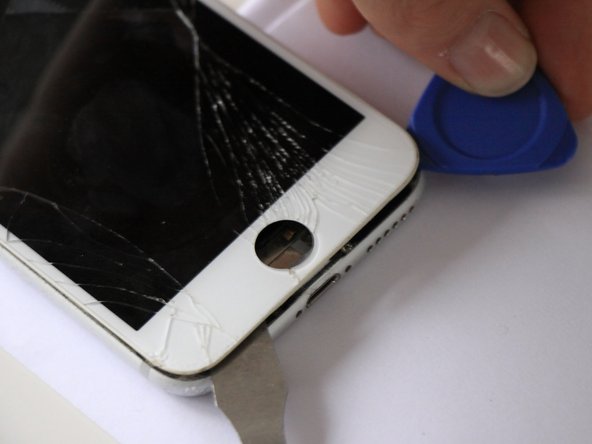
Remove the screen
-
Lift the screen with the suction cup.
-
Then remove it further by using the opening picks.
-
Now remove the entire screen by lifting it from below with your hand.
-
-
-
-
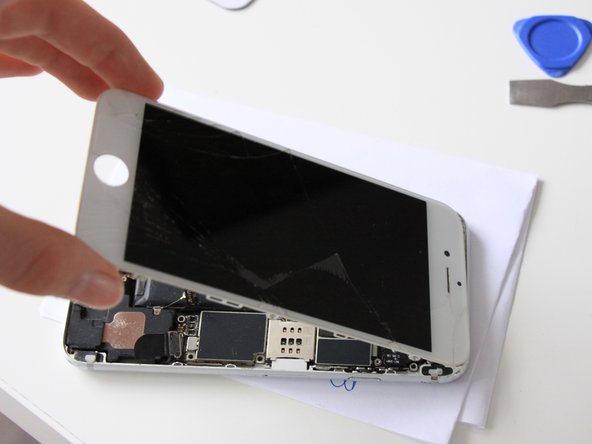
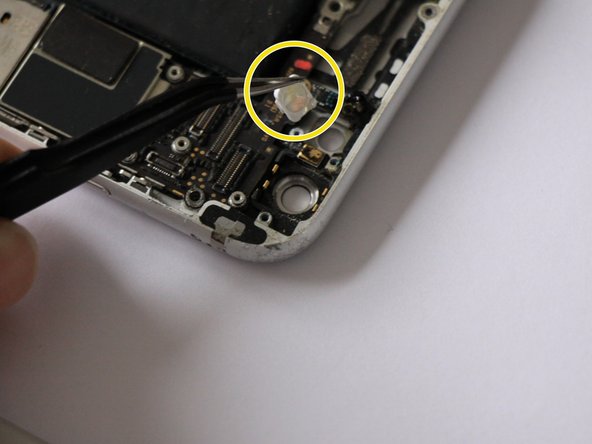
Use the antistatic tweezer to detach the connectors.
-
You now see four connectors. Two for the screen, one for the selfie camera and one for the home button.
-
The connector for the home button is in a strange place here. These connectors are located at the top of the screen, while the button itself is at the bottom. To save space, they should place it much closer to the button. Especially since you can conclude from the connector of the SIM card that it is possible to place connectors in various places
-
-
-
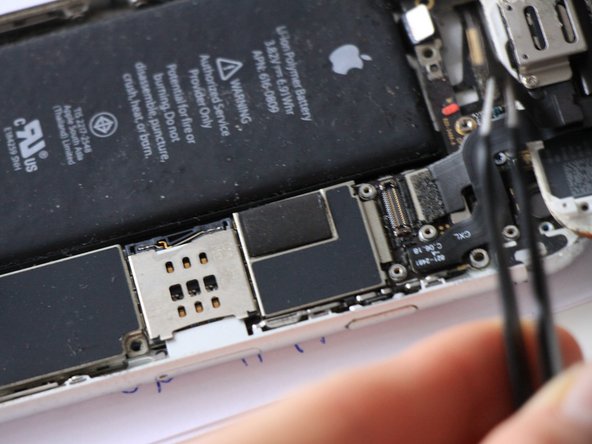
Now you can look at the device from the inside.
-
I noticed a lot of dust. This is because this IPhone is not yet waterproof. This also makes the dust come in easily.
-
I als noticed that the device is not only built in 2D but also in 3D. They probably did this to save space.
-
-
-
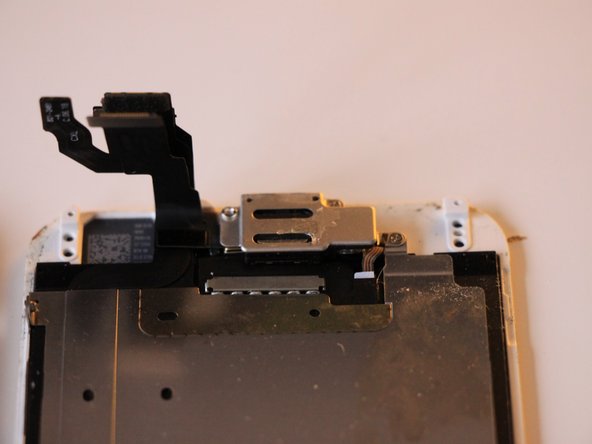
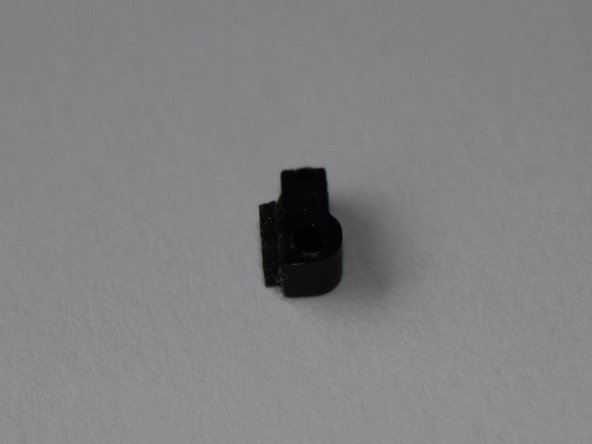
You have already found a lot of rubber.
-
At first I thought that the rubber was not important, but keep these parts well.
-
These rubber pieces ensure that electricity is not conducted in certaint places. It also ensures that all parts fit together precisely
-
-
-
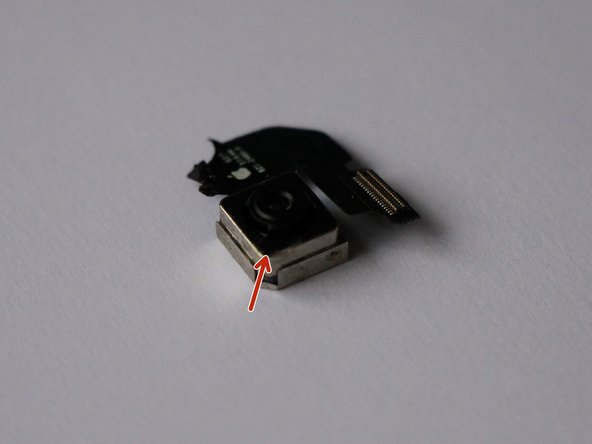
The camera is located at the top richt.
-
Loosen the screw with a screwdriver and remove the screw with an antistatic tweezer.
-
At first I thought I broke the camera, because the camera was moving ; red in the image. Later I found out that this was a stabilizer. It moves in the exact opposite direction of your shacking hands. In this way the image remains clear.
-
Next to the camera you will find the camera flash. I expected it to be way bigger. It is super small, but it still produces a large amount of lightning (yellow in the image).
-
-
-
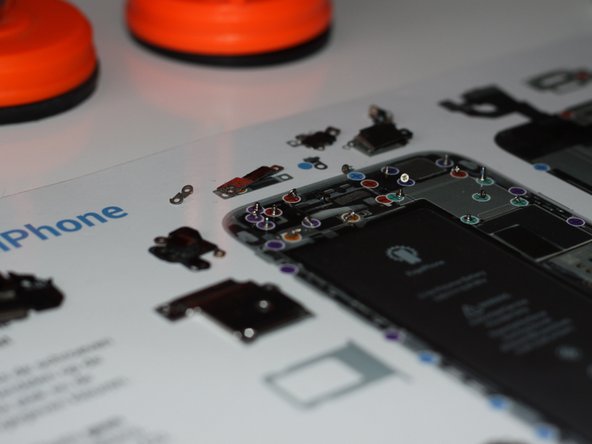
Now you have neatly collected all parts, you can view them. I personally really enjoyed it!!!
-
I noticed that all all screws have different lengths. Each screw is unique and perfectly adjusted to the corresponding part.
-