Перейти к основному содержанию

ASUS VivoBook S400C CPU Fan Replacement

Выберете то, что вам нужно

  1. ASUS VivoBook S400C CPU Fan Replacement, Remove the Bottom Cover: шаг 1, изображение 1 из 1
    • Flip the device over and remove the ten 5.7 mm screws with a Phillips #0 screwdriver.

  2. ASUS VivoBook S400C CPU Fan Replacement: шаг 2, изображение 1 из 2 ASUS VivoBook S400C CPU Fan Replacement: шаг 2, изображение 2 из 2
    • Use a spudger or your fingers to go around and lift the edges and release the back panel.

  3. ASUS VivoBook S400C CPU Fan Replacement, Disconnect the Battery: шаг 3, изображение 1 из 1
    • Using a spudger, lift up the plug connecting the battery to the motherboard.

  4. ASUS VivoBook S400C CPU Fan Replacement, Heat Shield: шаг 4, изображение 1 из 2 ASUS VivoBook S400C CPU Fan Replacement, Heat Shield: шаг 4, изображение 2 из 2
    • Remove the black shield covering the display connector and the heat sink.
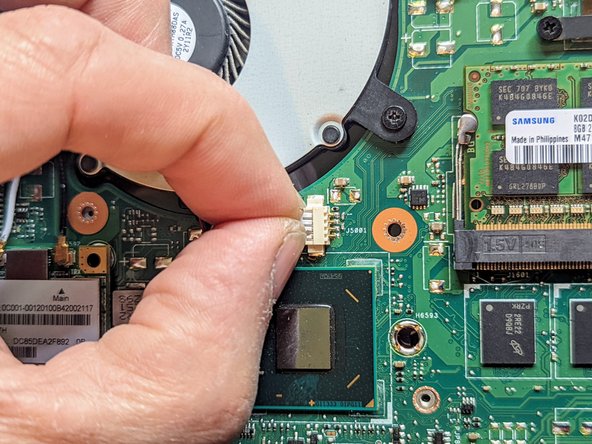
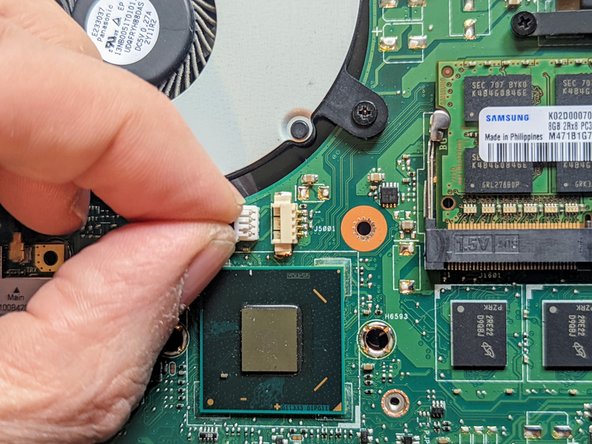
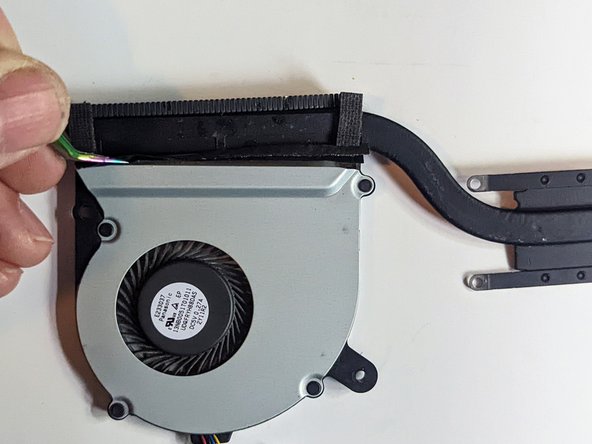
    • You may need to use double-sided adhesive tape to resecure the shield.

  5. ASUS VivoBook S400C CPU Fan Replacement, CPU Fan / Heat Sink Assembly: шаг 5, изображение 1 из 3 ASUS VivoBook S400C CPU Fan Replacement, CPU Fan / Heat Sink Assembly: шаг 5, изображение 2 из 3 ASUS VivoBook S400C CPU Fan Replacement, CPU Fan / Heat Sink Assembly: шаг 5, изображение 3 из 3
    • Unplug the fan.

    • Grasp the plug with a fingernail on either side and pull it straight out from the connector.

  6. ASUS VivoBook S400C CPU Fan Replacement, Remove the Fan and Heatsink Screws: шаг 6, изображение 1 из 1
    • Remove the two 5 mm screws securing the fan.

    • Remove the four 3 mm screws securing the heat sink.

    • Removing the screw covered by the warning label will void your warranty.

  7. ASUS VivoBook S400C CPU Fan Replacement, Remove the Fan and Heatsink: шаг 7, изображение 1 из 1
    • Lift the fan and heatsink straight up to remove it.

    • Before reassembly it is essential to clean off the old thermal paste from the processor and the heatsink and to apply new. How to apply thermal paste explains how.

  8. ASUS VivoBook S400C CPU Fan Replacement, CPU Fan: шаг 8, изображение 1 из 2 ASUS VivoBook S400C CPU Fan Replacement, CPU Fan: шаг 8, изображение 2 из 2
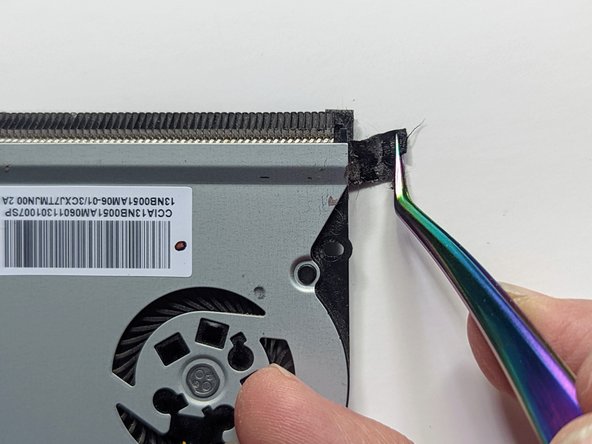
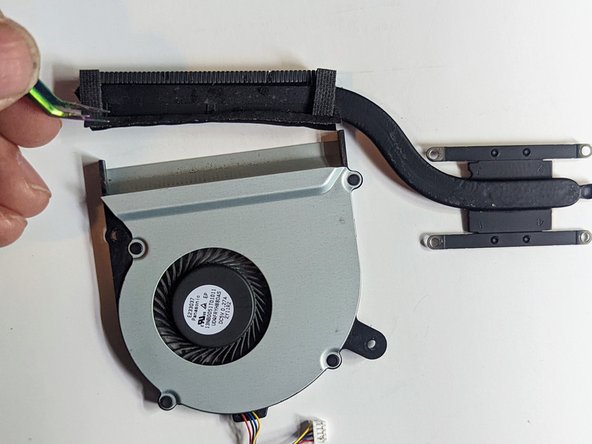
    • Flip the assembly over and peel off the tape wrapped around the edge of the fan.

  9. ASUS VivoBook S400C CPU Fan Replacement: шаг 9, изображение 1 из 3 ASUS VivoBook S400C CPU Fan Replacement: шаг 9, изображение 2 из 3 ASUS VivoBook S400C CPU Fan Replacement: шаг 9, изображение 3 из 3
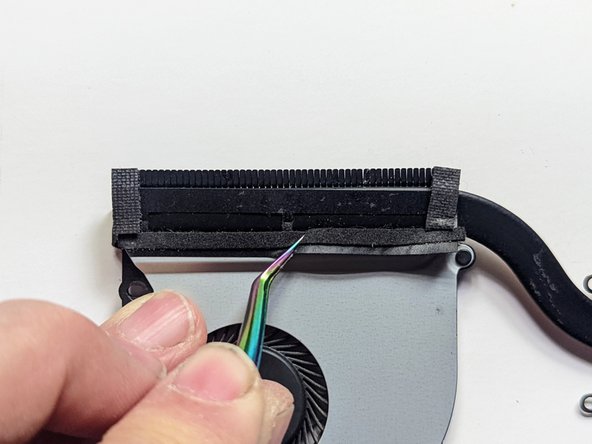
    • Starting at one end, carefully peel off the tape securing the heatsink to the lip of the fan.

  10. ASUS VivoBook S400C CPU Fan Replacement: шаг 10, изображение 1 из 1
    • Separate the fan from the heatsink.

  11. ASUS VivoBook S400C CPU Fan Replacement, Clean the Heatsink: шаг 11, изображение 1 из 2 ASUS VivoBook S400C CPU Fan Replacement, Clean the Heatsink: шаг 11, изображение 2 из 2
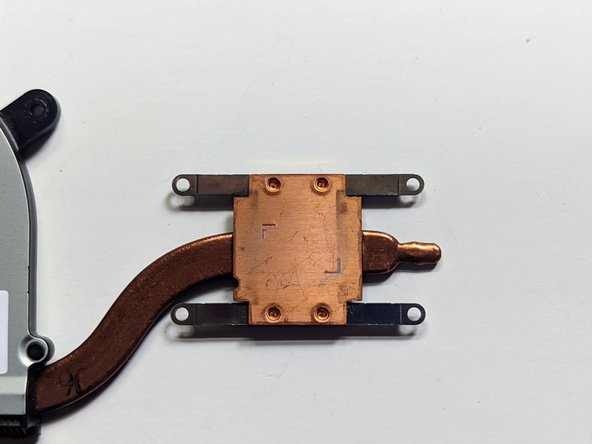
    • Clean the old thermal paste off the heatsink until it is spotless.

  12. ASUS VivoBook S400C CPU Fan Replacement, Clean the CPU: шаг 12, изображение 1 из 2 ASUS VivoBook S400C CPU Fan Replacement, Clean the CPU: шаг 12, изображение 2 из 2
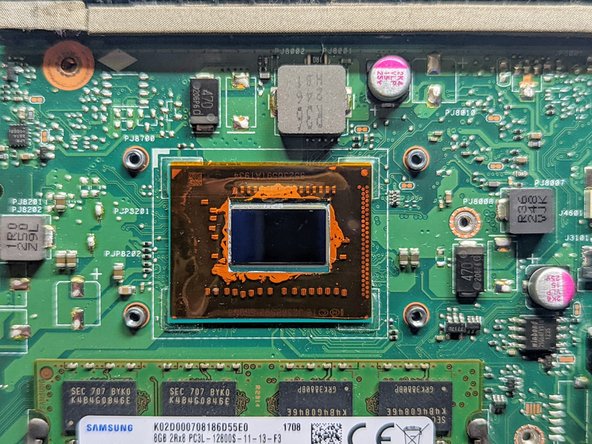
    • Carefully remove the old thermal paste from the CPU. It is not vital to get the old paste off the parts of the chip under the Kapton tape, but be obsessive about cleaning the silicon chip itself and the area immediately next to it.

    • Do not fail to apply new thermal paste to the processor before reinstalling the heatsink. Failure to do so could lead to overheating and the possible death of your processor.

Заключение

To reassemble your device, follow these instructions in reverse order.

Jerry Wheeler

Участник с: 03/21/22

57 851 Репутация

Автор 69 руководств

Команда

Oregonians Участник Oregonians

Community

7 членов

Автор 176 руководств

0 Комментариев

Добавить комментарий

Просмотр статистики:

За последние 24часов: 0

За последние 7 дней: 3

За последние 30 дней: 11

За всё время: 378